Category: Rio Frontera

Building an O Scale River Steamer – The Canyon Queen


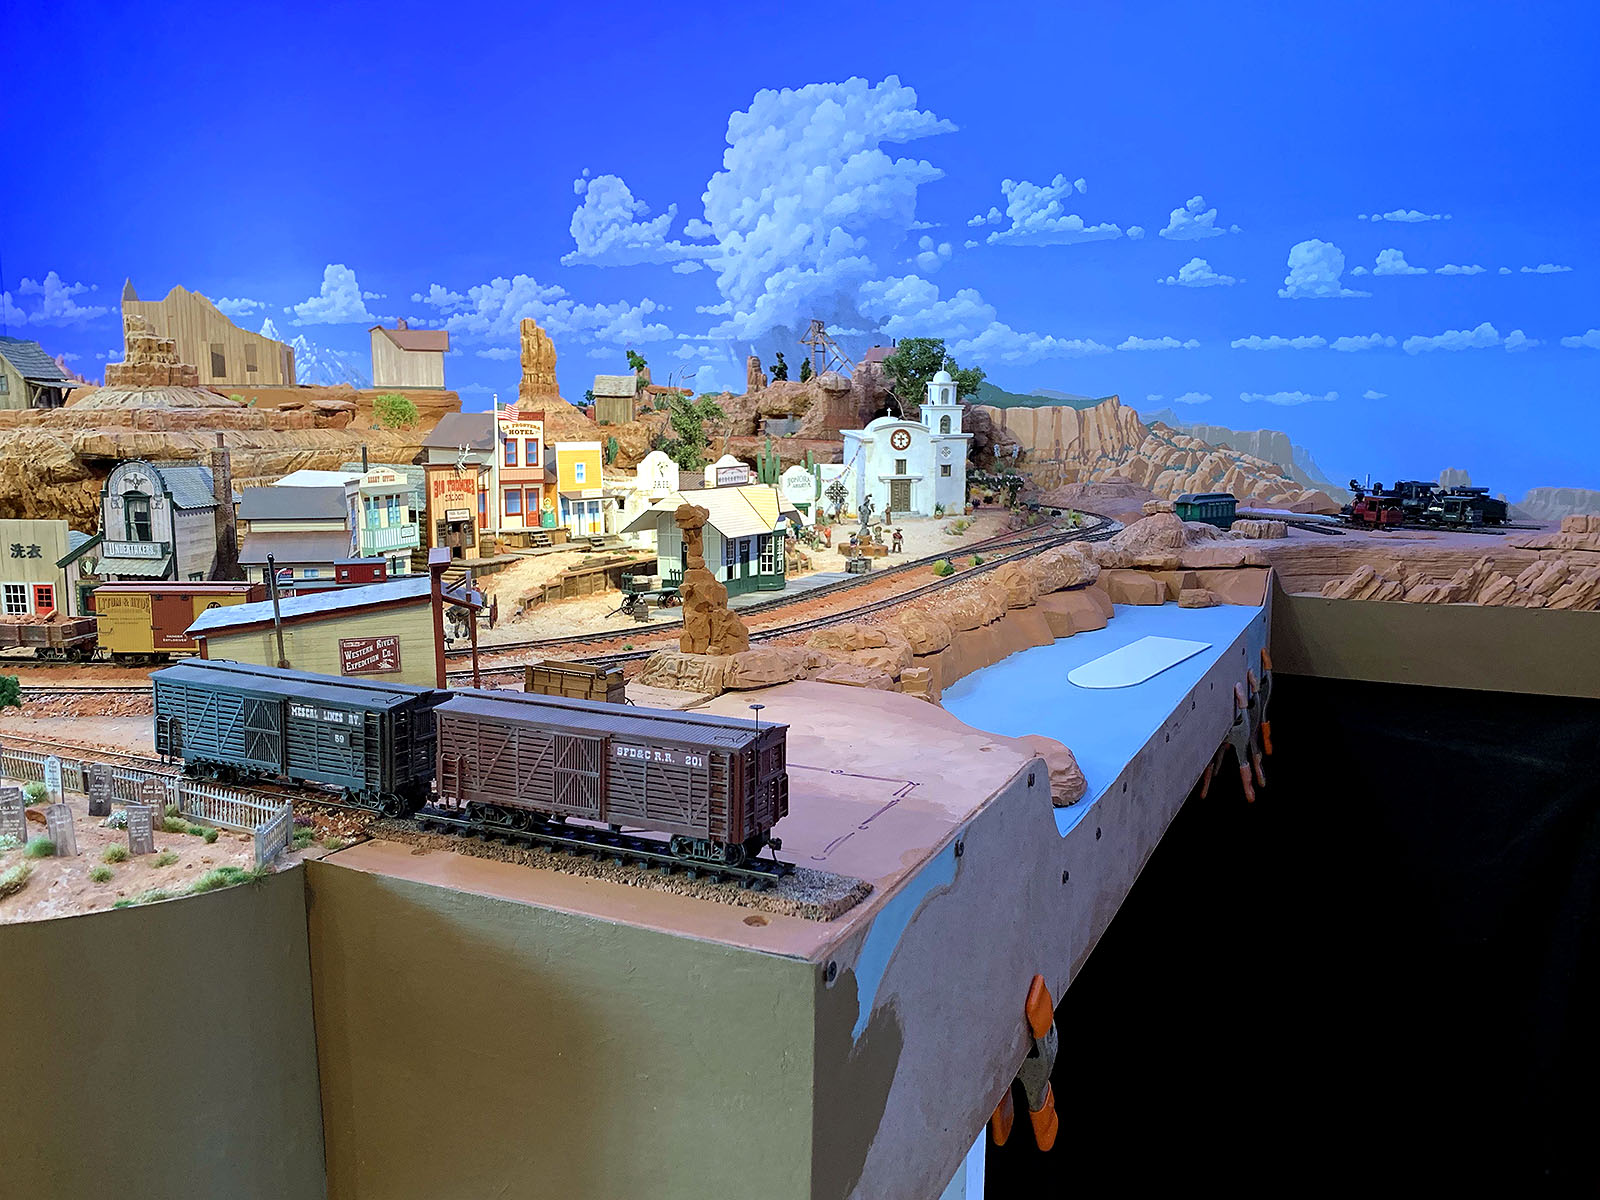
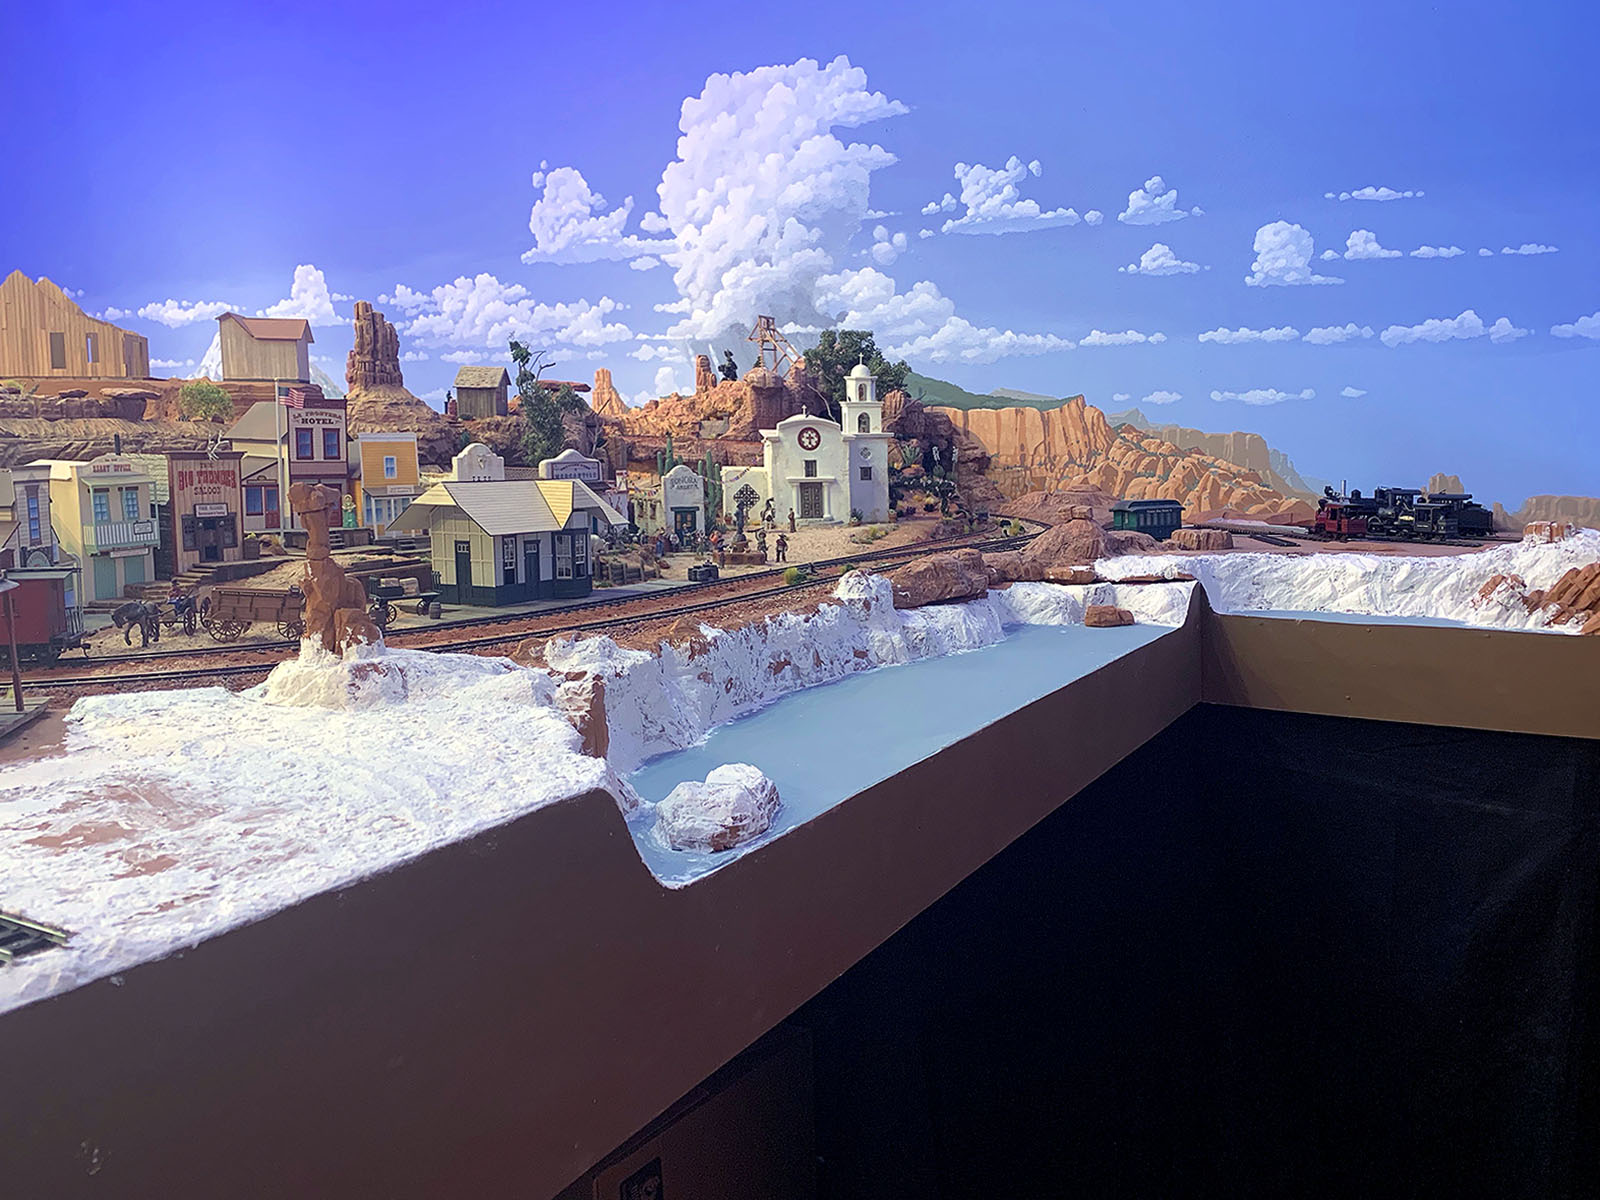
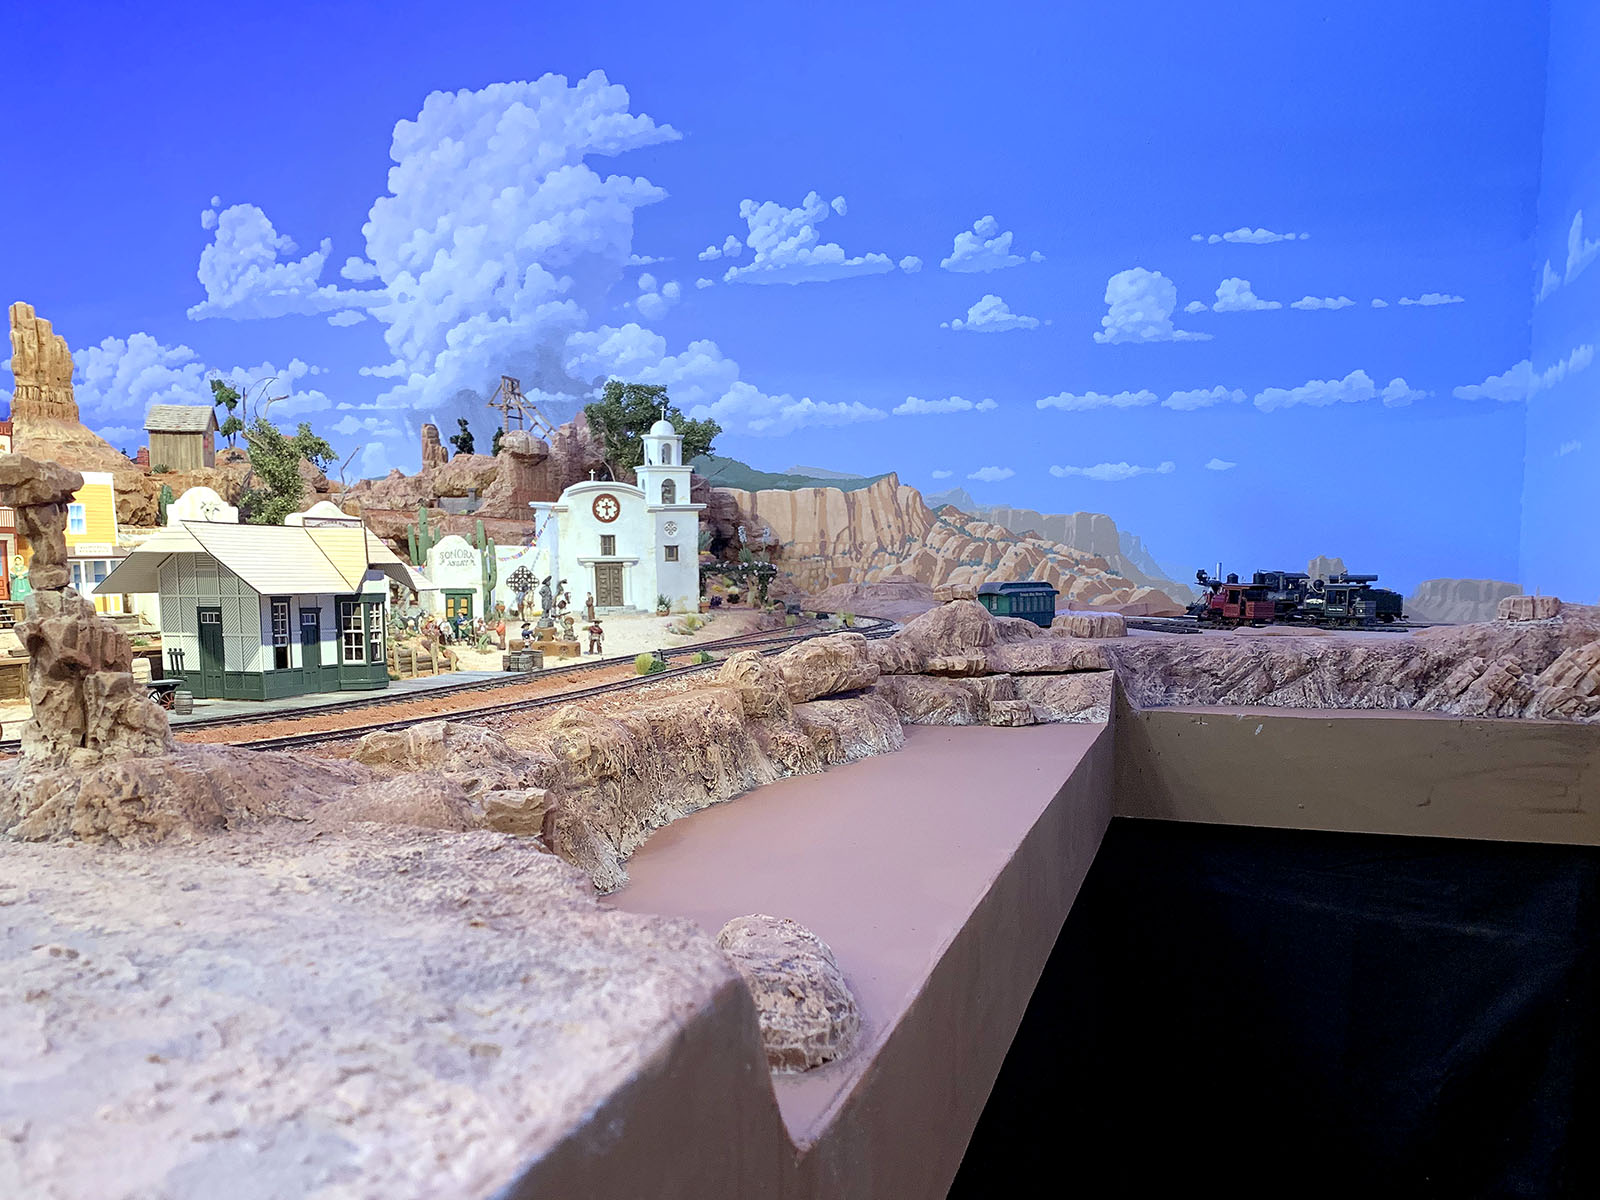
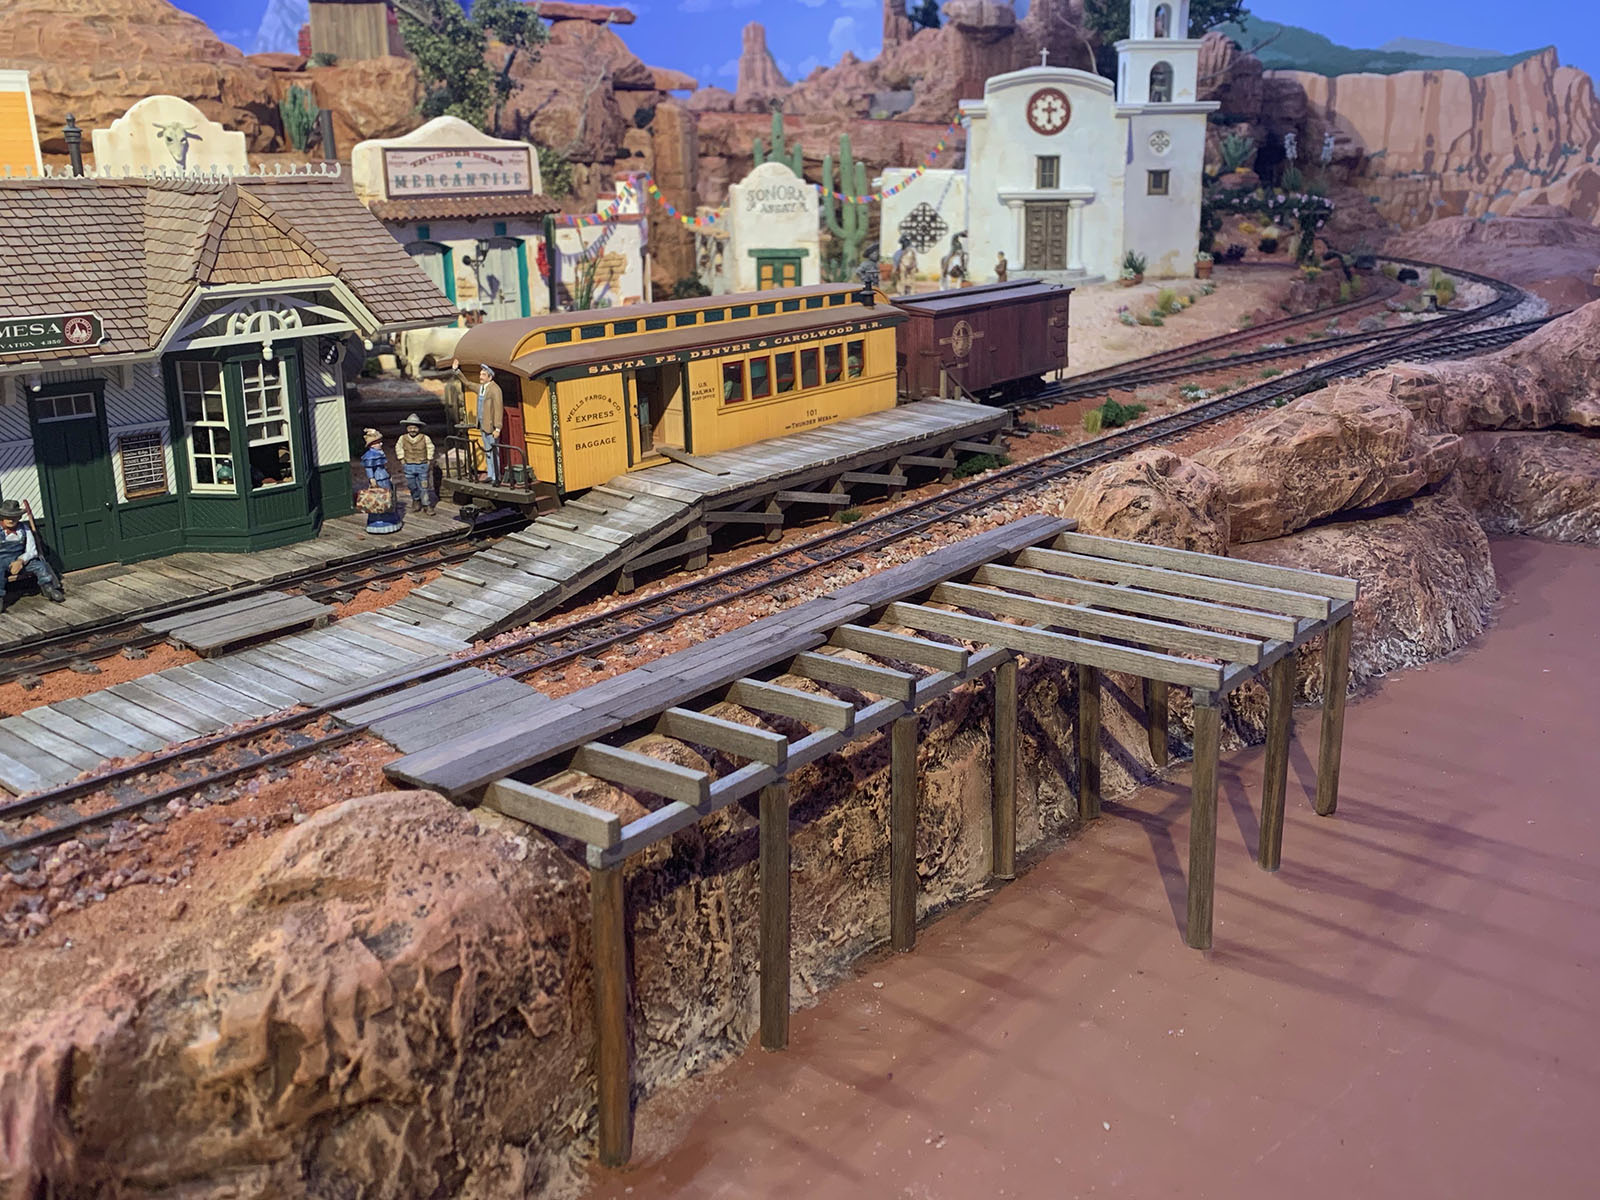
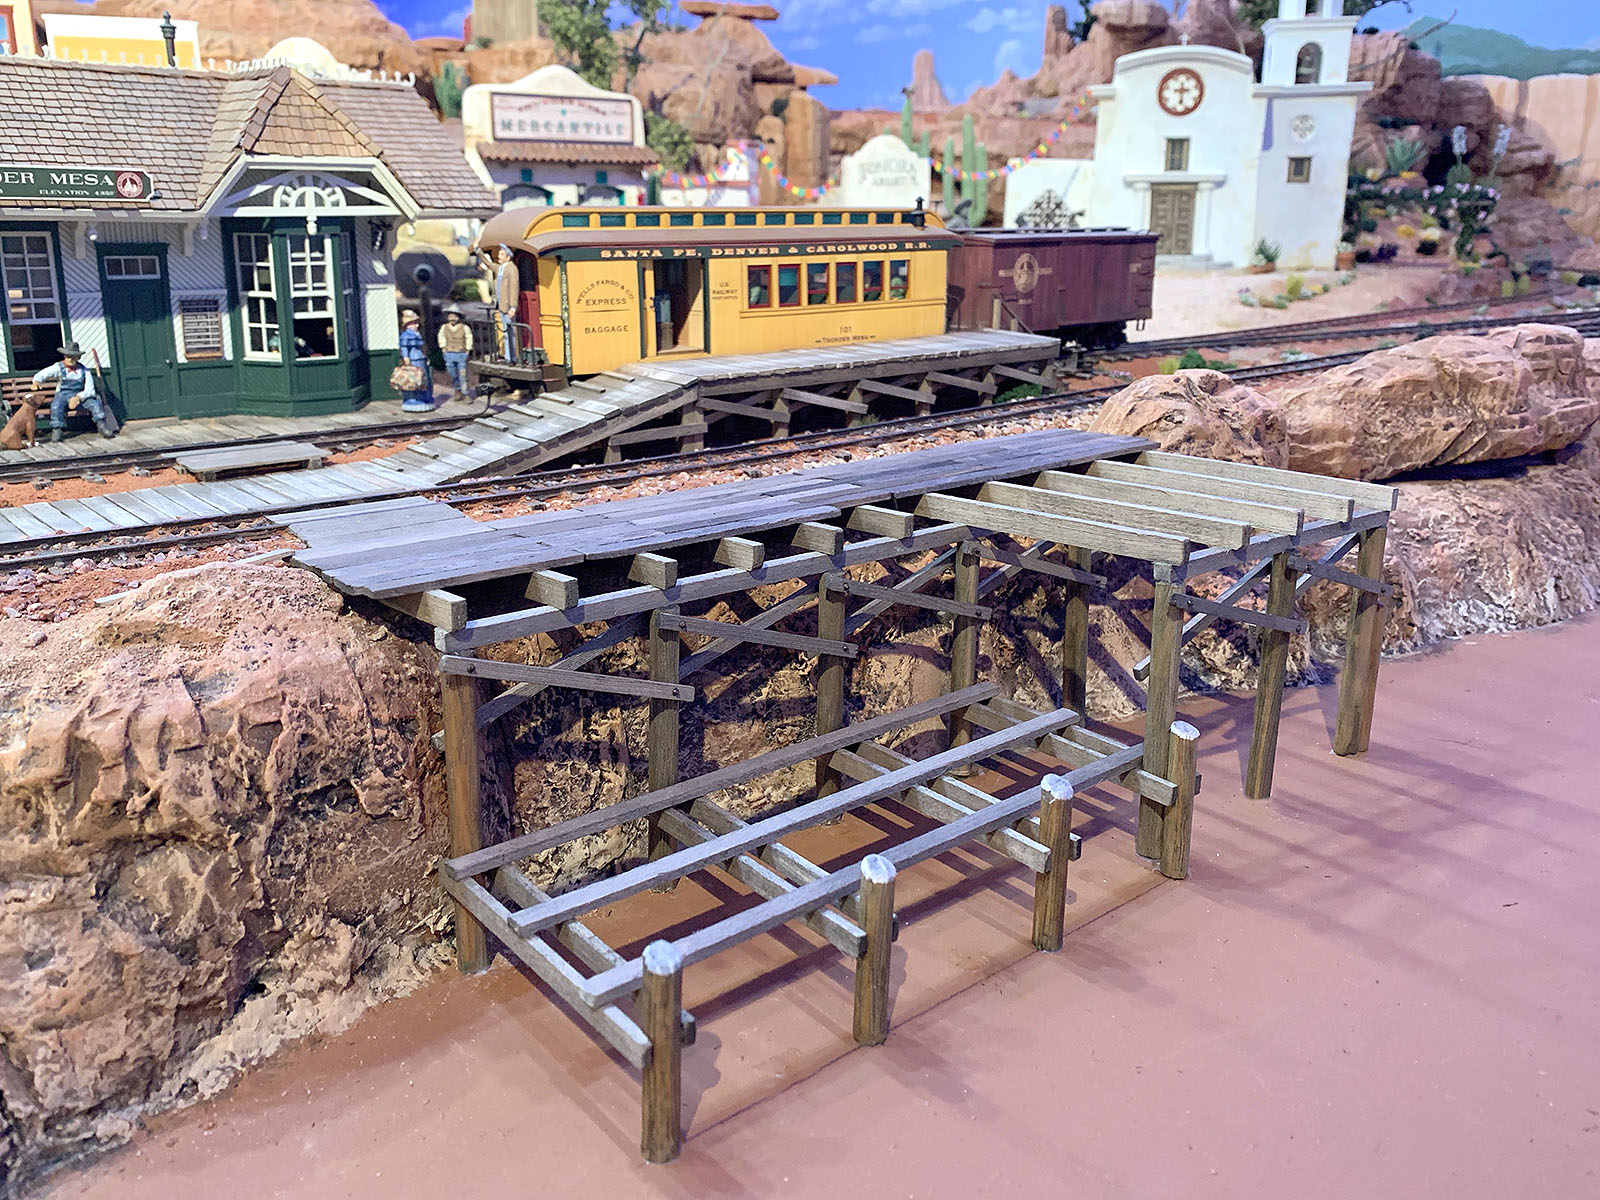
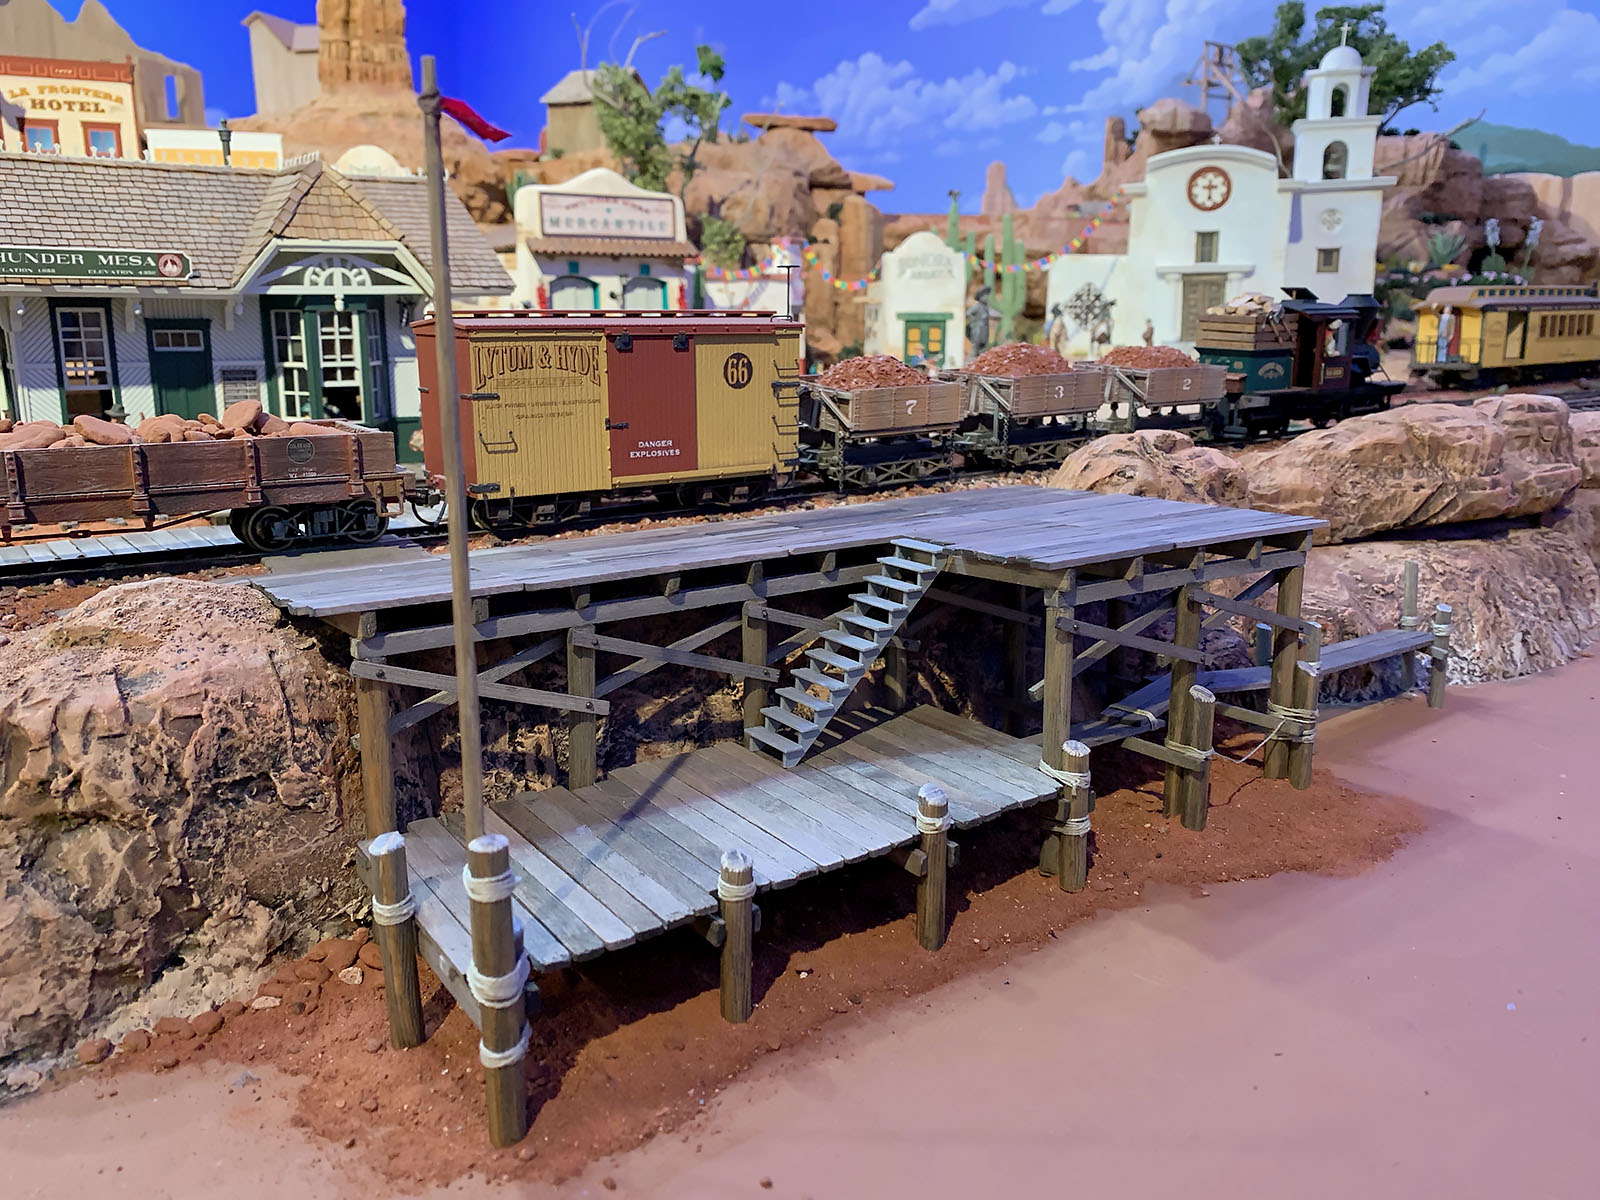
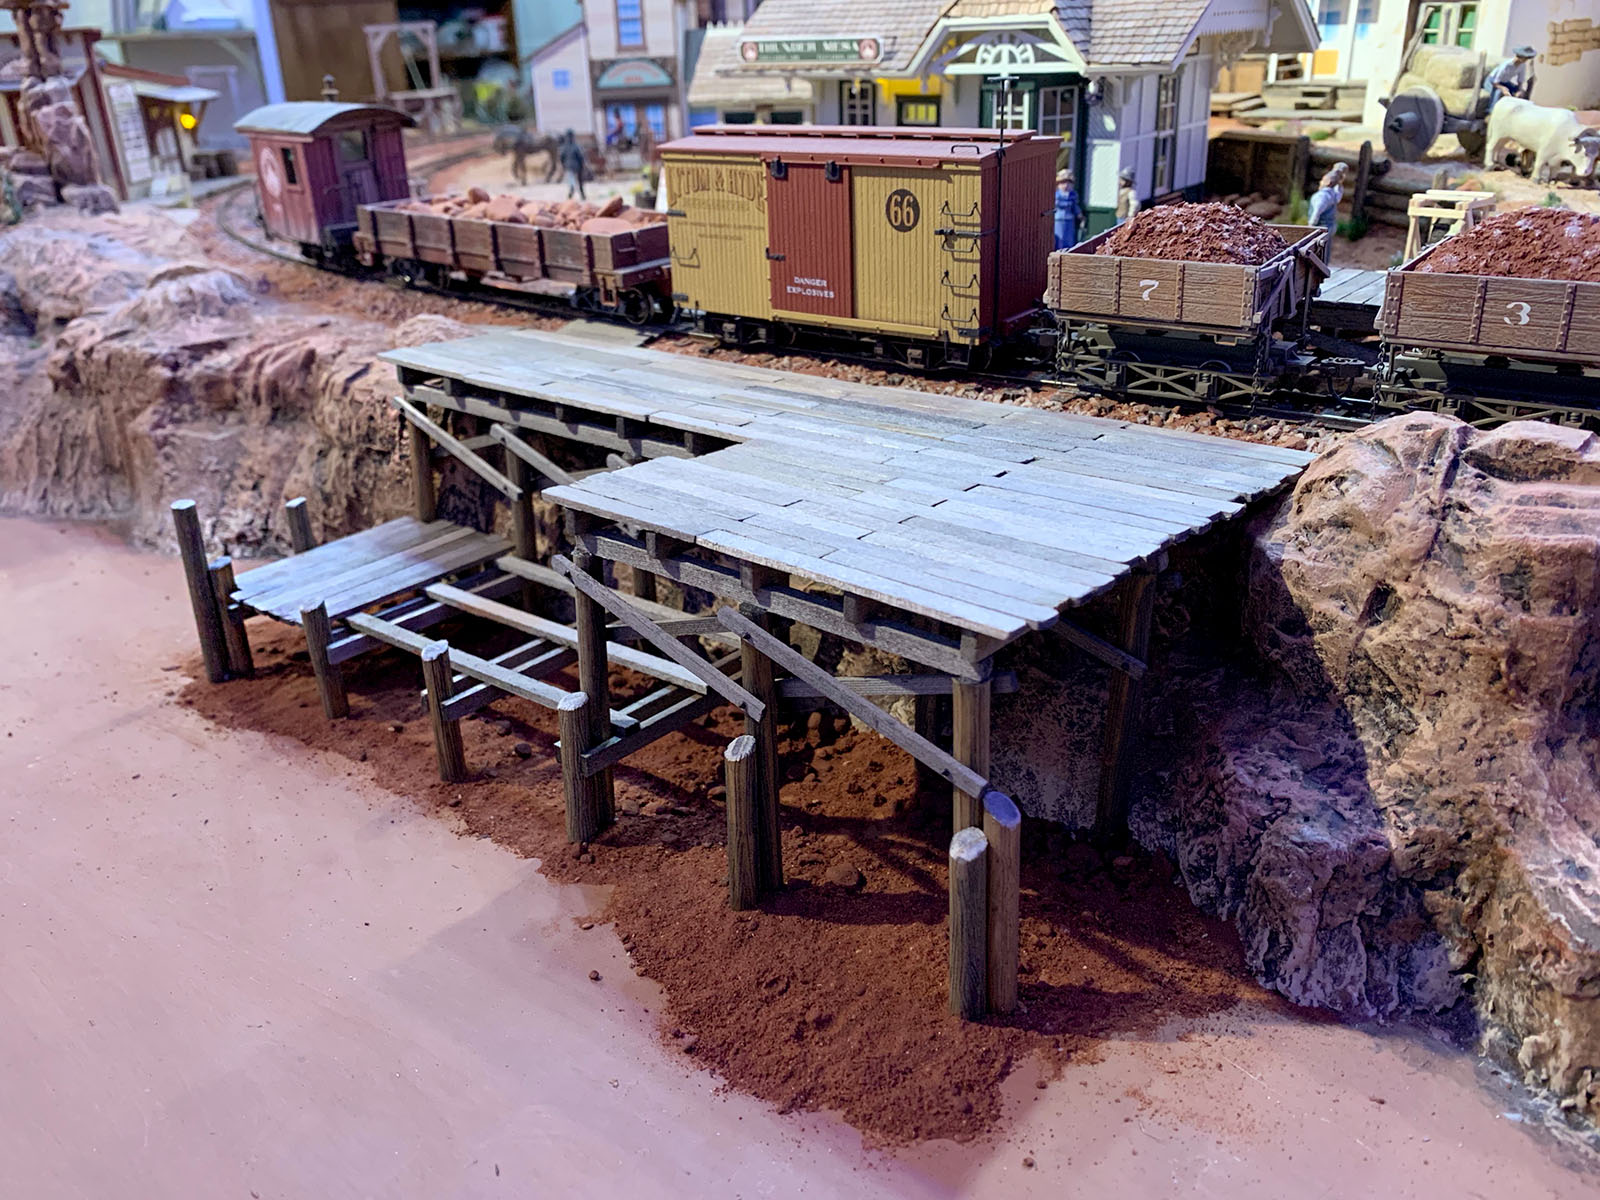
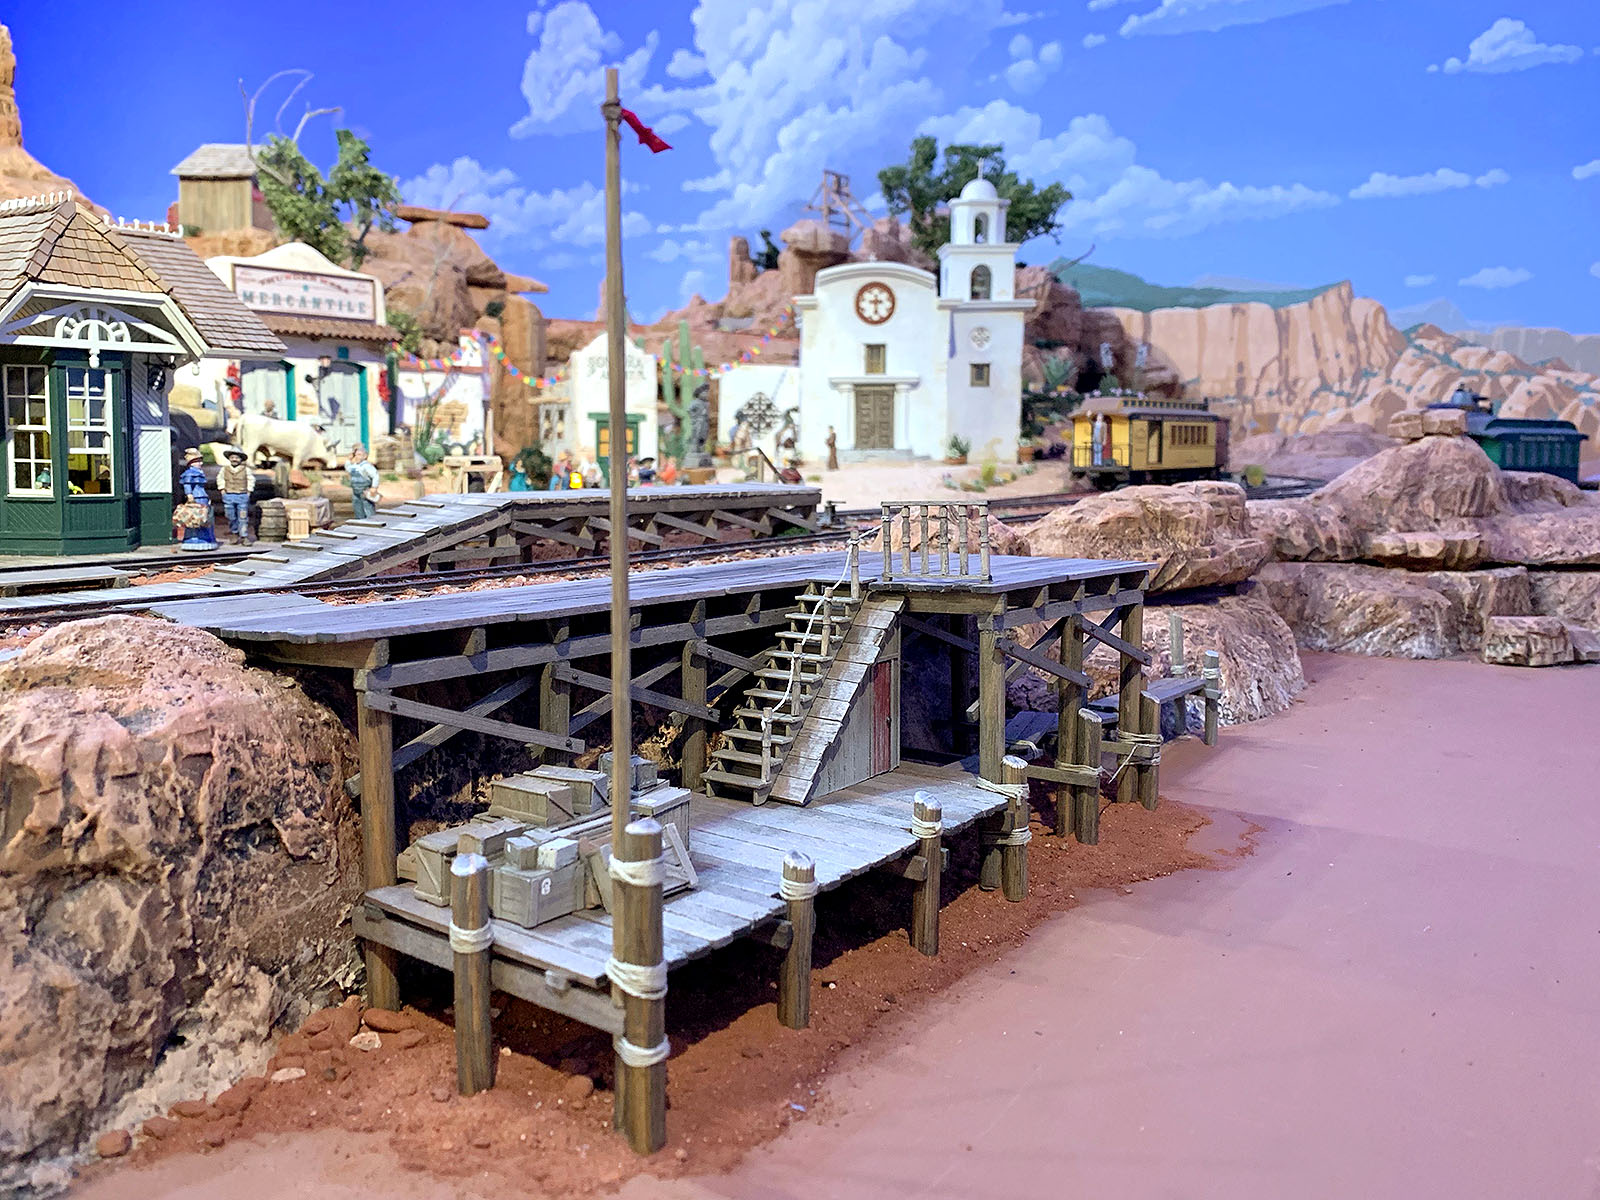
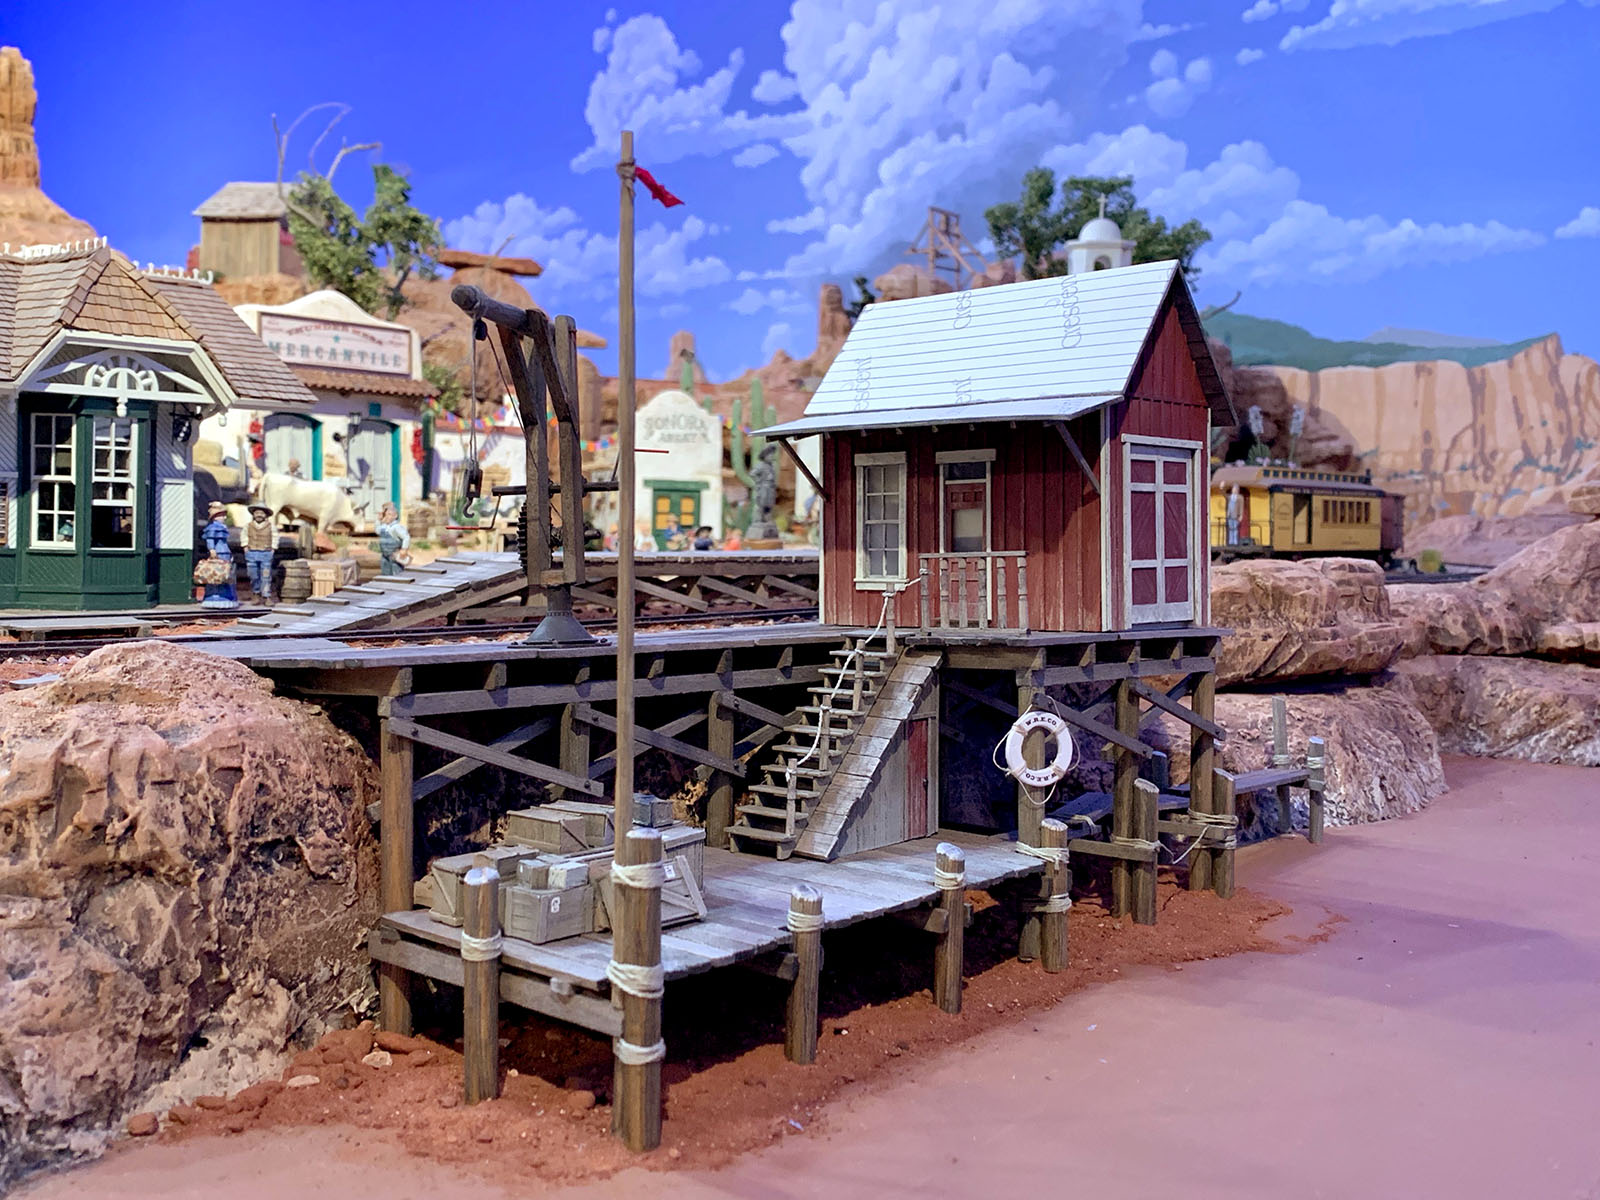
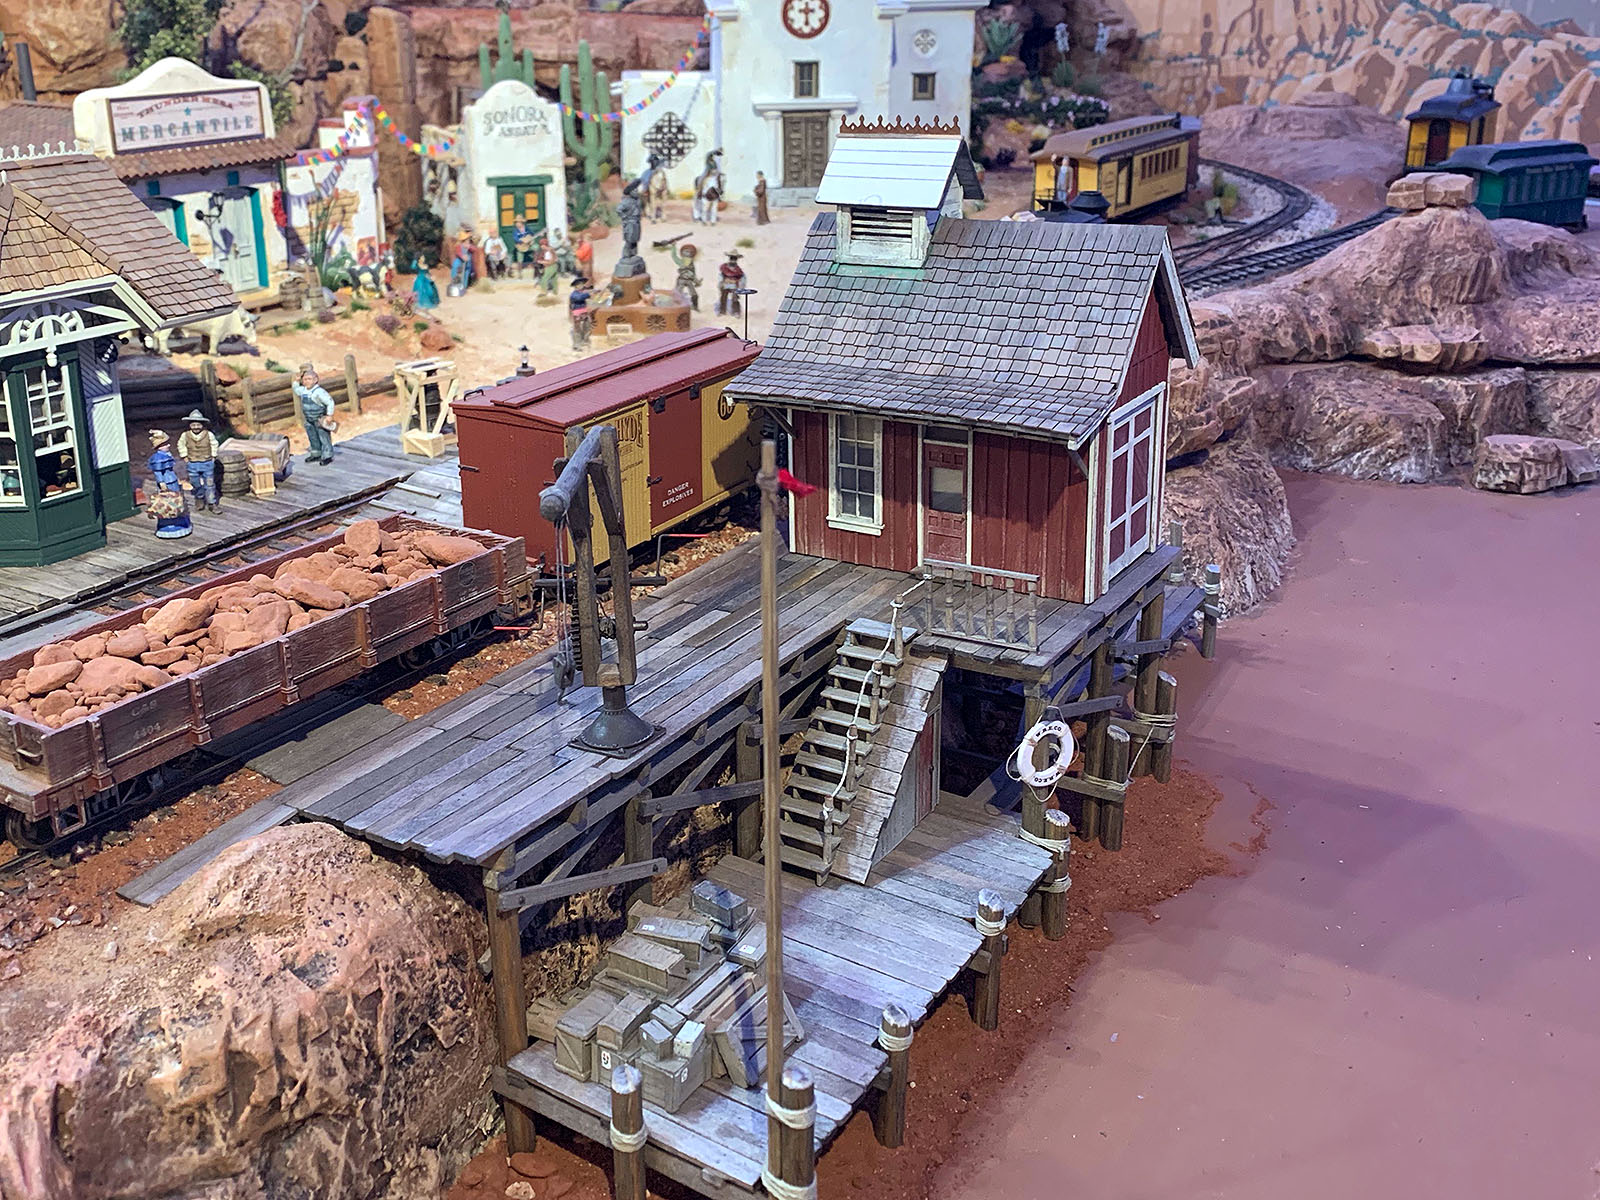
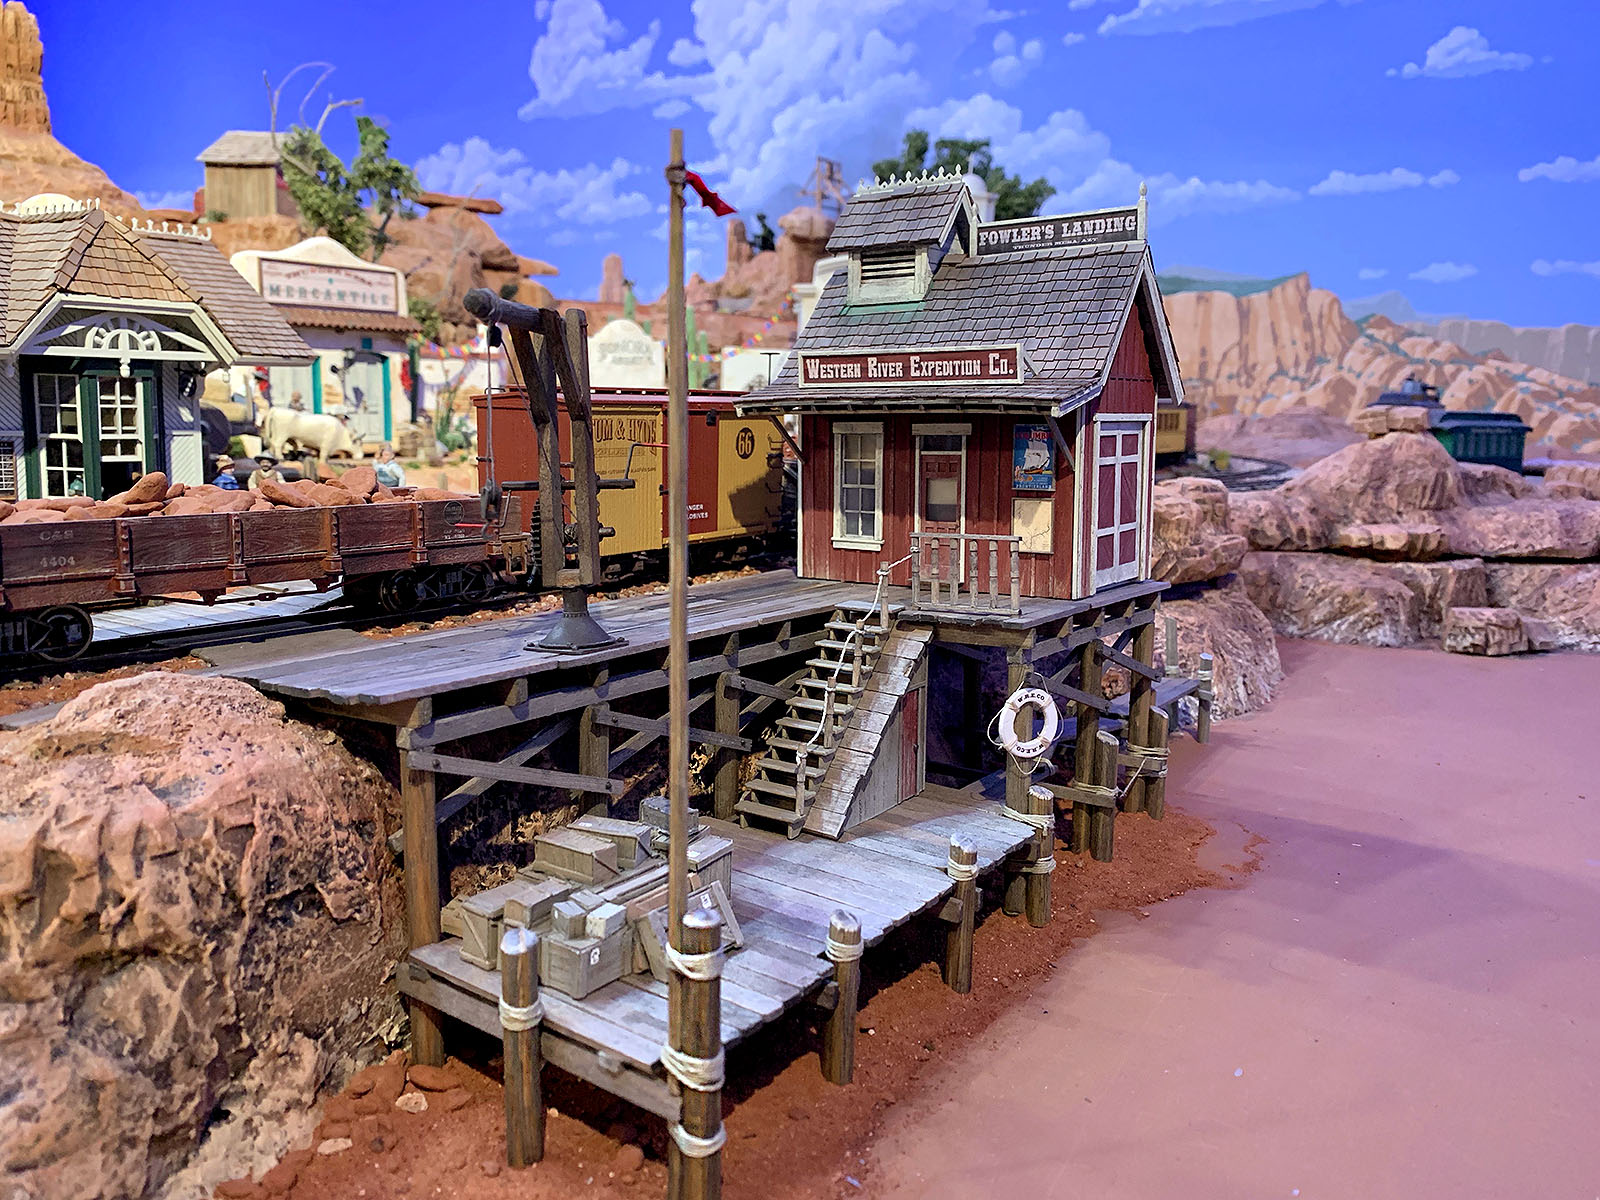
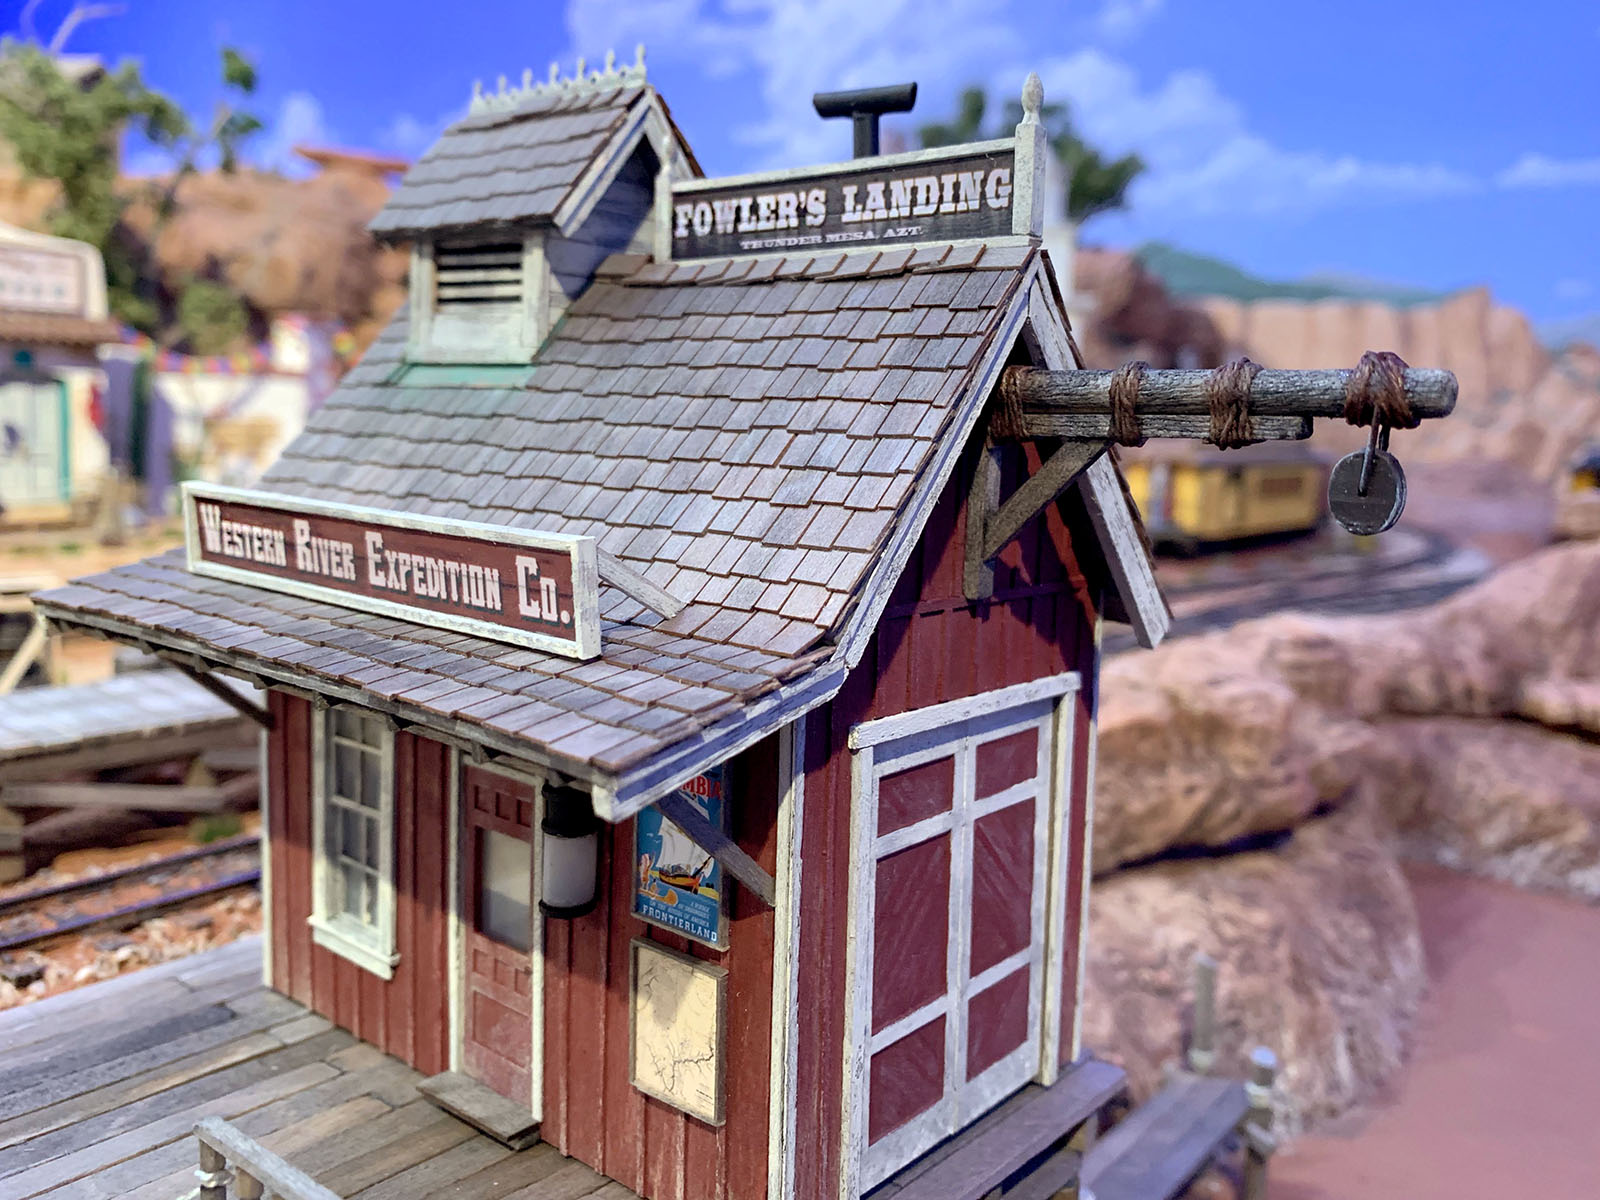
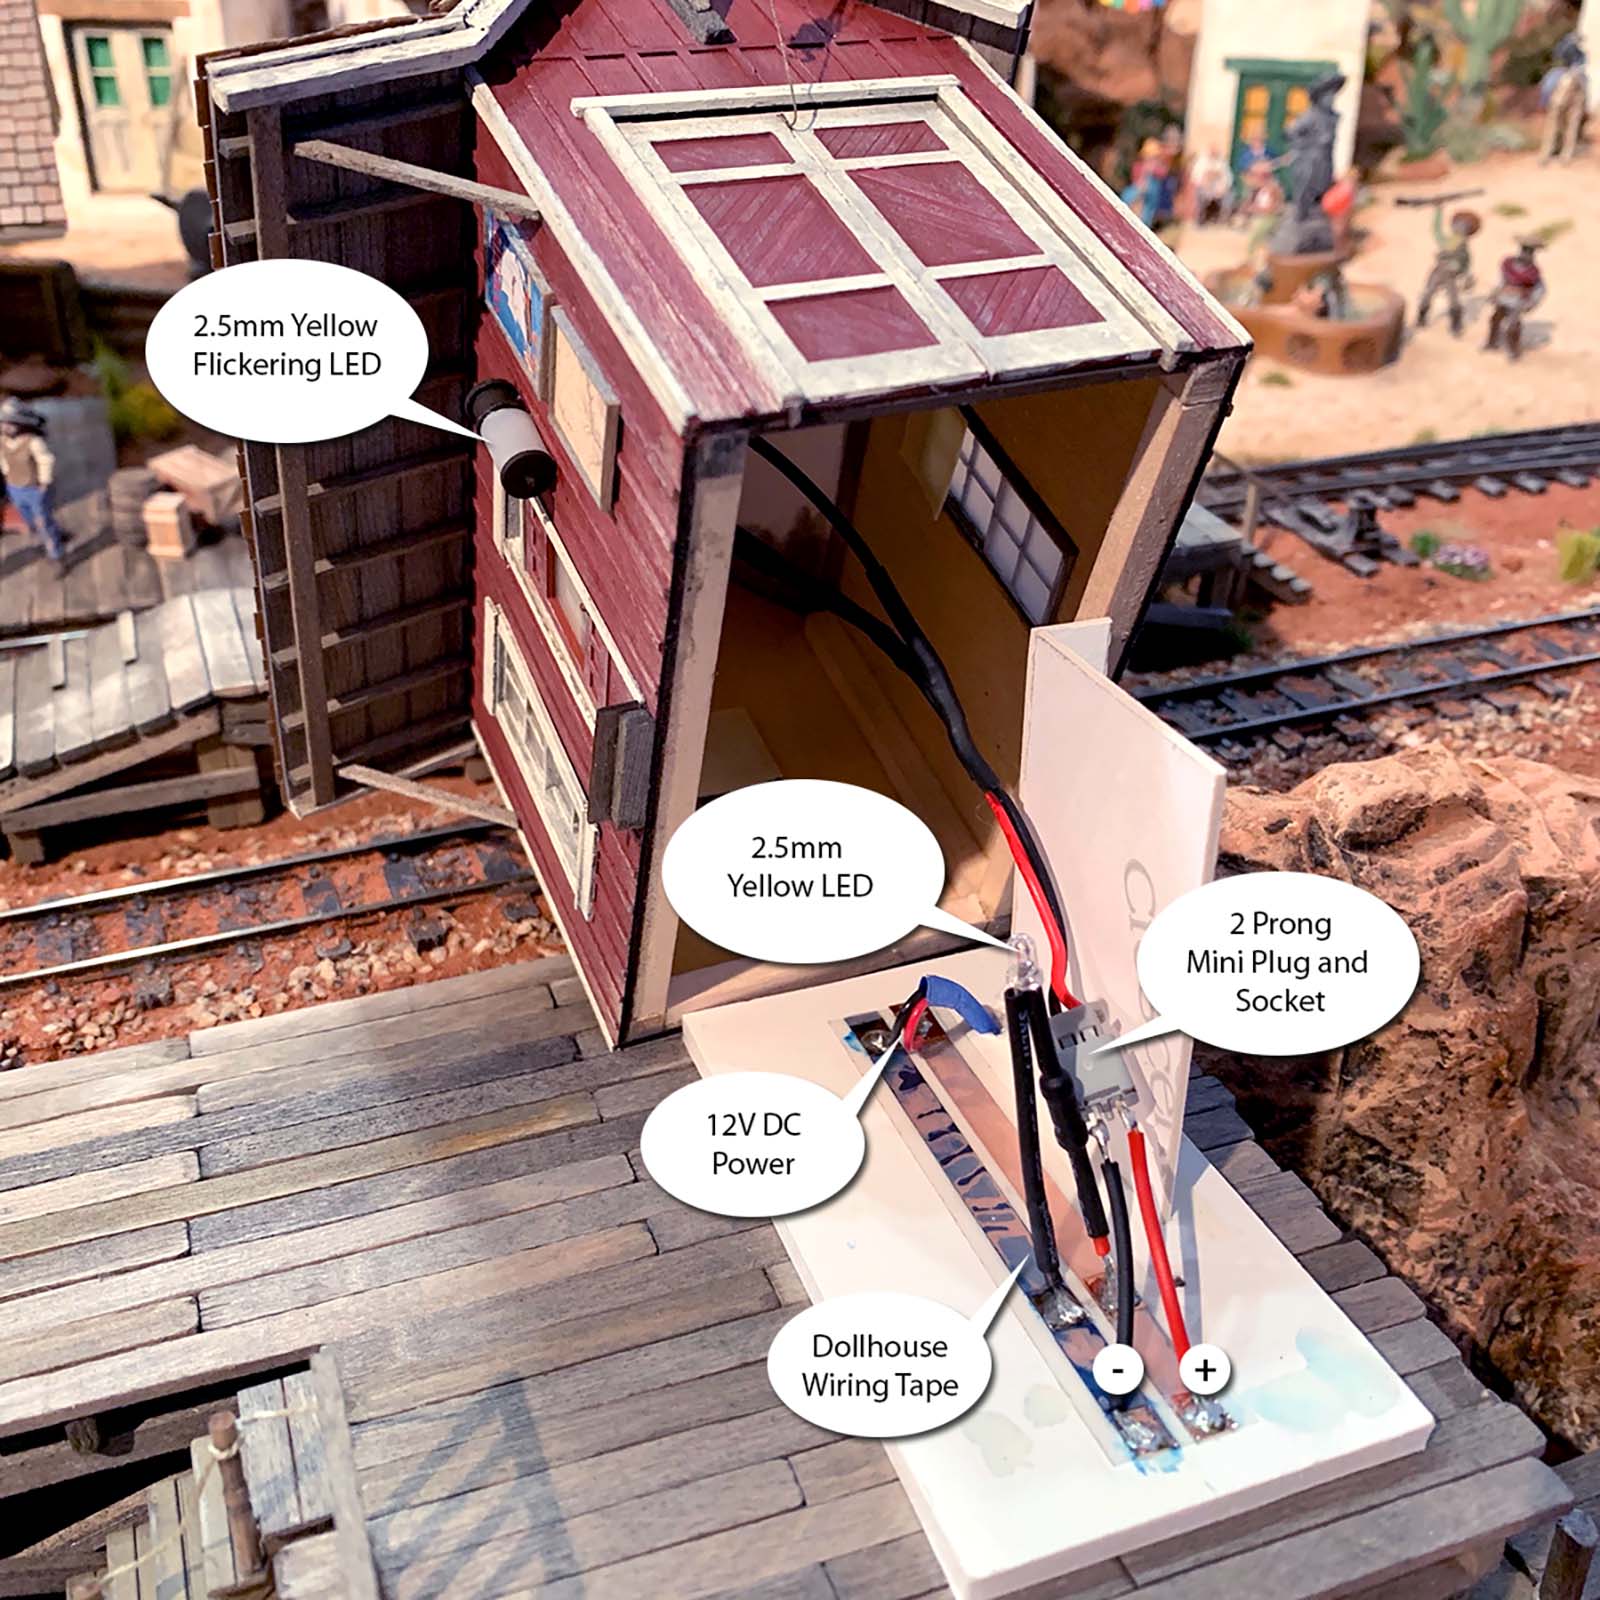
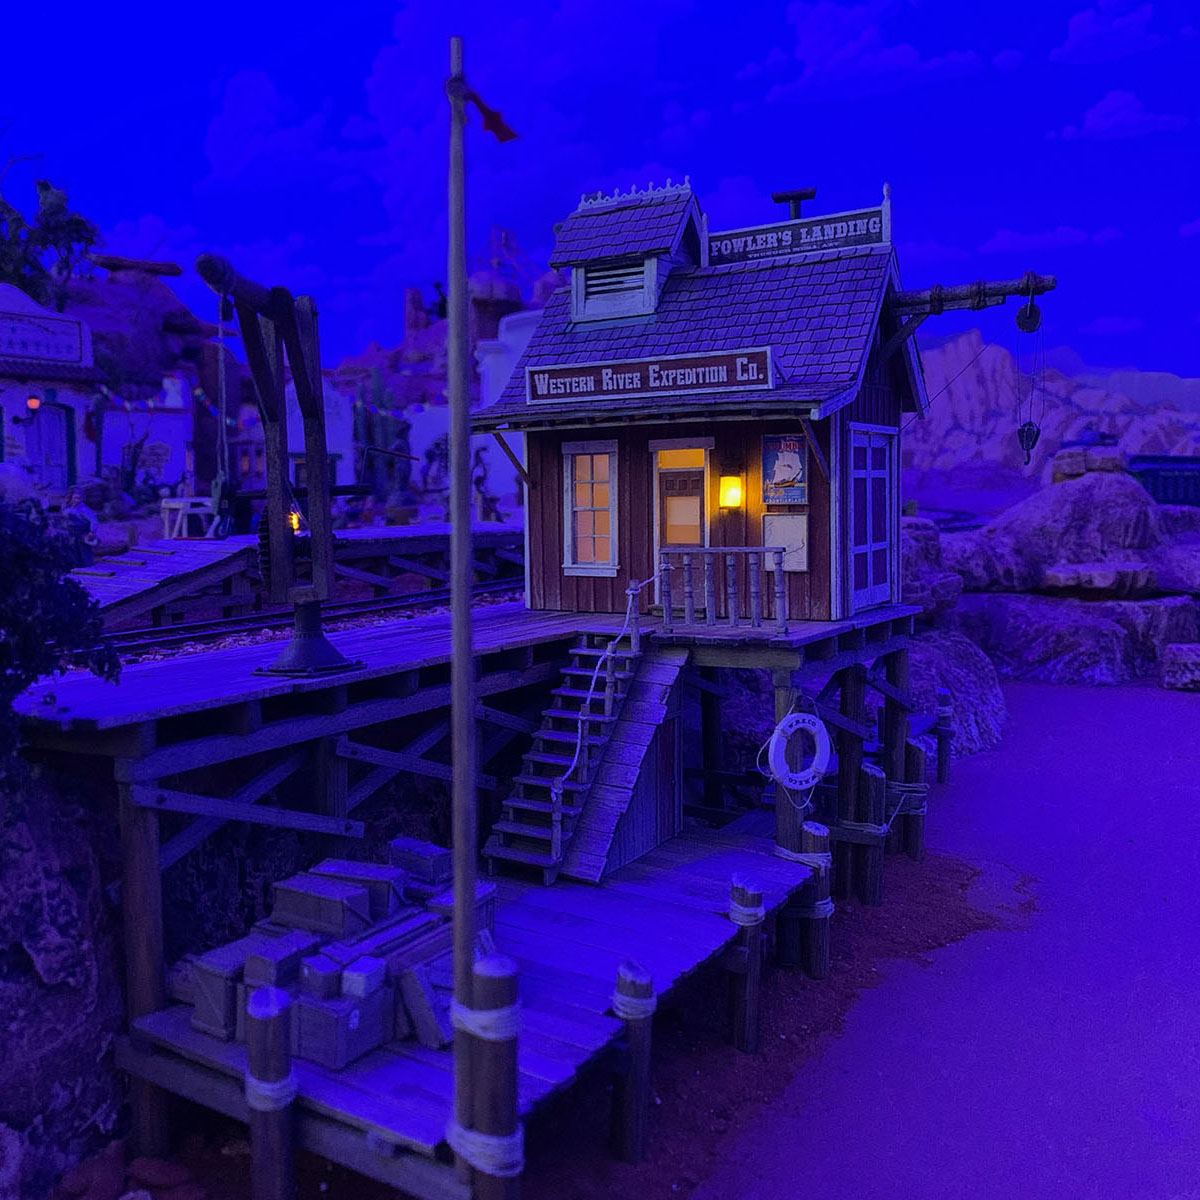
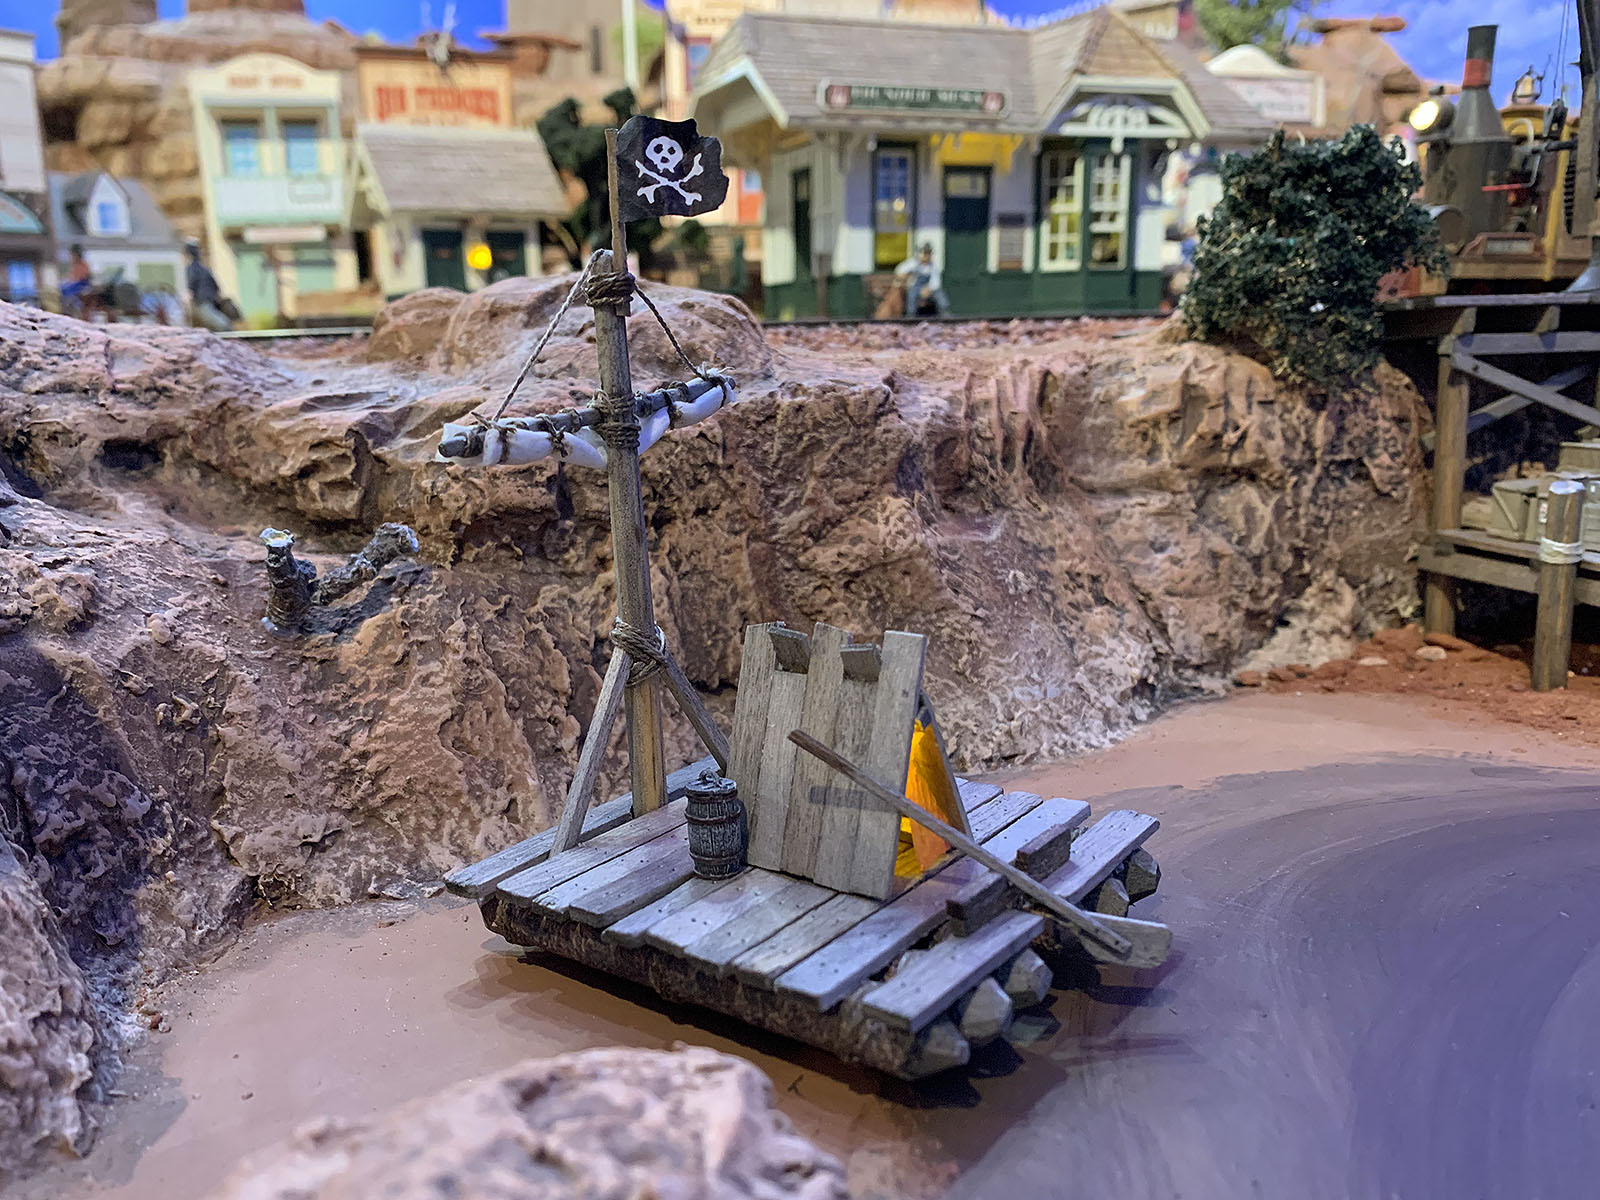
Welcome aboard the Canyon Queen! She’s a 50′ paddlewheel river steamer like those that once plied the mighty western rivers of America. Starting with a fine kit from Kitwood Hill Models in the UK, I build a on-of-a-kind Victorian era sternwheeler with tons of Disney flavor. Step by step descriptions of the process from rigging to LED lighting.

Thanks for watching, amigos!
Dave

Kitwood Hill Models 50′ Paddle Steamer Kit

Update on the Thunder Mesa Riverfront

Building Fowler's Landing


The little mining town of Thunder Mesa sits along the banks of the Rio Frontera, where steamboats up from the Sea of Cortez still deliver passengers and cargo. Follow along as I build the docks at Fowler's Landing and the colorful headquarters of the Western River Expedition Company.

For the new riverfront scene, a 10" wide addition was added to the layout in front of Thunder Mesa Town. This replaced a previous roll-away river module that simply took up too much space and blocked access/viewing of the town and future engine service area. I decided that I really want folks to see the models and scenes that I so laboriously build! This decision made for a narrower aisle, but I believe the trade off was worth it.

Here it looks a little like it snowed down along the Thunder Mesa riverfront, but this is the next step in building the scenery along El Rio Frontera. Sculptamold is applied over and around the foam pieces to add texture and blend things together. After this dries overnight it gets a coat of the scenic base color.

Skipping ahead, here's the final look of the rockwork after painting with acrylics. The process is to apply a scenic base color (raw sienna in my case), then use a diluted black wash to bring out the shadows and details. Then, gradually lighter and bolder colors are lightly brushed on until I'm satisfied with the look.

As is my usual practice, I built a cardstock mock-up to make sure everything I had planned for the scene would fit. The white card is the footprint for a 50' river steamer.

The docks were Scratchbuilt in place with dimensional basswood, dowels for the piles and good old coffee stir sticks for the decking. All of the wood was distressed with a razor saw and stained with an alcohol/shoe dye mixture prior to assembly with carpenter's glue. The stairs down to the lower dock are from Grandt Line, while all of the "rope" is #8 crochet thread in a natural color. Grandt nut/bolt/washer castings were used on the joists and sway braces and other details come from various manufacturers. The stair balusters and upper deck railing were made with fancy wooden toothpicks. Just in case anyone is foolish or drunk enough to fall in the river, I added the Western River Expedition Co. life ring. It was created in Adobe Photoshop and printed out on heavy paper. I then used a very fine emery-board to round off the edges before adding the scale rope.

Naturally, crews need a way to get freight from the riverboat dock to trackside and vise-versa. I scratchbuilt this armstrong jib crane with some Crow River, Berkshire Valley, and Grandt Line details. The winch line is elastic thread.

With the docks themselves just about finished, I began work on the Western River Expedition Co. building at Fowler's Landing. It was Scratchbuilt using some laser cut walls I had lying around from another project. The battens were individually applied, then I started adding some color, weathering as I went. The design, layout and colors of the structure were all chosen to compliment the depot scene across the tracks. Setting the structure at a 90º angle to the depot acts as a framing device to help bracket the scene and focus the viewers attention.

Doors, windows and trim were added (most modified Grandt Line castings) before starting on the roof. I used real cedar wooden shingles over an illustration board base, and the distinctive cupola was built up from scale basswood and flashed with real copper strips. The gingerbread roof trim was leftover from my depot build, and the various signs and posters were all created in Photoshop.

Some final details were the crossed oars on the upstream side and the nautical looking jib above the cargo doors.

Like most of my structures, Fowler's Landing has lights. The interior is illuminated by a single 2.5 mm constant yellow LED, while the exterior lamp houses a 2.5mm flickering yellow LED. The lamp itself was built from a doubled and rolled up piece of Scotch Magic Tape with parts from my scrap box. To keep the structure removable, it's a simple press-fit on a rectangle of foamcore attached to the wooden dock. 12V DC power comes from below the dock (and the layout) and is distributed via some very handy dollhouse wiring tape. A mini plug and socket for the porch-light keeps the structure removable. Proper polarity for the LEDs is maintained using color coded wiring (red for +, black for -). All of the window glazing is fogged using Scotch Tape so the interior and wiring does not show when the lamps are illuminated.

With the structures complete, I began adding more details on and around the docks. Looks like Old Bob's got a big catfish on the line - even though the water hasn't been poured yet! The figure is by Arttista with scratchbuilt fishing pole. Just downriver from the docks, Tom and Huck's raft is pulled in close to shore in yet another nod to the Disneyland inspiration.

And that's it for the build of Fowler's Landing! Next will come the 50' river steamer that will be the true centerpiece of this scene. After that, I can actually finish modeling the river itself with epoxy resin. Stay tuned!


Thanks for following along, amigos. Registered users can leave questions and comments below so, please, join in the conversation!

All the best,
Dave

Lone Rock Moves to the Thunder Mesa Riverfront

TMMC Update - August 5, 2017

The 12x24" Lone Rock Diorama was built in January of 2015 to demonstrate scenery techniques and to act as a platform for photographing rolling stock models outdoors. It appeared in Joey Ricard's Trackside Scenery video on how to realistically model rocks, and in Verne Niner's cover shot for the April, 2015 issue of Model Railroader Hobbyist Magazine. That's a fairly illustrious history, but since moving the TMMC to its new home in Jerome, the old diorama has been sitting in a corner just gathering dust. After exploring several different scenarios for working it into the larger layout, I finally decided to remove its short stretch of On30 track and add the remainder of the diorama to the new riverfront scene.

1

The Lone Rock Diorama was never designed to function and the track had no power. It was built mainly to demonstrate rock carving techniques in urethane foam. It was a fun, quick project, and I'm very happy with the way it turned out. But it's time to move on and recycle this chunk of scenery into the larger layout.

2

With the decision made, disassembly of the diorama was quick and relatively painless. I popped the foam off of the 1x2" base, removed the track and roadbed, pried out the short stone bridge (to be reused at a new location), and then used a hotwire tool to cut away the parts that wouldn't fit the river scene. All in all, I was able to salvage about 90% of it.

3

From most viewing angles, Lone Rock will now obscure the point where the river meets the backdrop, giving the illusion that it disappears around a bend in the canyon. Once it was glued into position with Loctite Powergrab, I cut and contoured pieces of pink EPF foam to blend it with the rest of the riverbank.

4

With the butte in place, I turned my attention back to the near bank and finished roughing in the road with foam, cradstock and plaster cloth. I don't use a lot of plaster on the layout, but plaster cloth is perfect for creating the contours of a dirt road like this and blending it with the foam.

5

Ordinarily, the next step would be to blend the carved foam layers together with Sculptamold. However since I'm expecting guests for today's Open Studio & Train Day, I decided to go ahead and give the riverbed and rocky shoreline a base coat of latex paint. Much of this will be covered in the next step but it gives things a more finished look for now.

6

The paint colors used were leftover from the backdrop and the final river color will be a bit different. In the meantime, I'm digging the photo opportunities that this new River Unit will present, and the miles and miles of depth it will add to scenes like this one.

Ok Amigos! That's going to do it for this week. Now I've got to head up and sweep the studio to prepare for today's Open Studio & Train Day event! I hope to see some of you there today, but if you can't make it, just remember that I do it just about every month on the first Saturday. Adios for now!

Big Changes for Calico and a Little Riverfront Progress

TMMC Update - July 29, 2017

It's been a busy week life-wise since the last update so I haven't had too much time to work on the railroad. We took a family trip out to California to spend some time with friends old and new, and to revisit a few old haunts of mine, including Knott's Berry Farm and Calico Ghost Town out near Barstow. It was a fun trip that left me energized and inspired to get things done on the TMMC. Back at the studio, I took a long hard look at my plans for the Calico section and ultimately decided to change course a bit and revive earlier plans for a portable mini-layout based on Knott's Calico Mine Ride.

Plans for a portable On18 layout that docks with the larger TMMC have been on-again, off-again for the past couple years. I've always liked the idea, but couldn't quite figure out how to make it work in the space I had. Looking at things again with a fresh perspective, I realized I could move the town of Calico around the corner into the unused space where I'd been planning to expand the layout since moving it to the studio. This would then free up some room to extend the On18 line down from Big Thunder Camp and have it connect via a long trestle to a portable section depicting the top half of Calico Mountain.

The new mini-layout is smaller than what I had previously planned, just about 24x36", with a tight minimum radius of 9". For the uninitiated, On18 is 1:48 O scale trains running on 9mm gauge track - the same gauge as N scale. Tight curves are the norm, and I just love the chunky, top-heavy look is gives to the equipment. Perfect for a caricature of mining operations like Calico. The track plan is a simple loop with a switch or two to connect to the rest of Thunder Mesa's On18 track.

I started by cutting a piece of 1" thick extruded polystyrene foam, or EPF, to 24x36" and then drawing the basic track plan right on top. Then I placed the foam on top of the existing base I'd built for Calico Mountain and traced the contours before cutting the shape out with a hotwire tool. This gave me the beginnings of a portable module that could fit in the corner and form the top half of Calico Mountain. The next step was tracing the shape onto some 1/4" MDF board and cutting it out to match with a jigsaw. This baseboard was then braced with a simple box made of 1x2" stock to keep everything flat and level. Then the foam was lined-up and glued to the top to form the lightweight, portable benchwork.

The existing EPF base for Calico Mountain was notched and modified to accept the new module but additional bracing underneath will probably be required. The cavernous space created below will eventually be home to a detailed, underground mining scene based on the famous "Glory Hole" scene on Knott's Calico Mine Ride. In the former location of Calico Town, the track has been simplified and the short passing siding removed. This area will now be called Mojave Flats and a trestle from the On18 line will feed a large ore transfer bin here before connecting to the existing On18 track behind Hanging Rock. What was once East Calico will become the new home for Balancing Rock Canyon, a feature from Disneyland's old Mine Train Thru Nature's Wonderland that I have long wanted to model.

As for the town of Calico itself, it will still mostly consist of structures from Knott's Ghost Town. I still need to finalize plans for the new section of benchwork to be built to the left of Calico Mountain, but I hope to have enough space for a better representation of the town, along with a new passing siding, and possibly a reverse loop that ducks behind the backdrop to connect with a planned staging area above my modeling bench.

Meanwhile, Back at the River...

Work also continues on the roll-away Thunder Mesa Riverfront section where I'm still roughing in the riverbanks and cliff sides with EPF. My 50' paddlewheel steamer kit is on it's way from Kitwood Hill Models and I'm really looking forward to finishing the scenery on this module. 

Hopefully I'll be able to make more time for work on the layout in the coming weeks. In the meantime, don't forget that the next Open Studio & Train Day is Saturday, August 5th. Come on over and say "howdy" if you're in Jerome and see what's new on the railroad for yourself. 

That's going to do it for this update. Thanks for checking in, amigos. Adios for now!

Work Begins on the Thunder Mesa Riverfront

TMMC Update - July 15, 2017

Many people today don't realize that the Colorado River along the Arizona-California border was once navigated by steamboats. Entering from the river's delta on the Gulf of California in Mexico, shallow draft paddle wheel steamers once plied the river as far north as the confluence with the Virgin River near the Nevada-Utah line. From 1852 until 1909, river towns like Fort Yuma, Ehrenberg, and Colorado City benefited from this economical form of transport between the Pacific and the rough-and-tumble mining camps of the Arizona and Utah territories.

In the world of Thunder Mesa, river transport is mainly handled by the small and sturdy steamers of the Western River Expedition Company. Tying up at Fowler's Landing, the weekly boat traffic still provides an important trade link to California, the Pacific, and beyond.

I had long dreamed of adding a river scene to the TMMC but was always at a loss as to where to put it. In my imagination, the boomtown had sprung up near the banks of some wild desert river carving its way through the canyons, but actually modeling such a scene would seam to require far more scale real estate than would be practical. The solution came to me one day recently when I was casting about for a creative way to keep casual visitors from wandering up the aisles and possibly damaging delicate details. I could, I realized, build a river scene right in the aisle in front of Thunder Mesa town, effectively blocking it for casual guests while at the same time adding a great deal of entertainment and visual depth. The trick would be to build it on wheels so that it could be rolled out of the way when actually operating the railroad.

This first step in making this plan a reality was to finish up the fascia in front of Thunder Mesa town and at the end of the aisle on the turntable/engine house section. I wanted this area to look good and finished with or without the River Unit rolled into place. All of the "Big Red Buttons" that guests can push to activate sounds or other effects were moved to the front edge of the layout and their wiring rerouted. Then it was a simple matter of cutting and fitting some flexible strips of 1/8" thick Masonite for the fascia, and then clamping and glueing them into place with Loctite Powergrab adhesive. A strip of carved extruded polystyrene foam rockwork was then glued to the top of the fascia to help ease the transition into the new river section. I carve the EPF with a hot-wire cutter, followed by a drum sanding bit in a Dremel rotary tool. For a video on how I carve EPF rockwork, click here.


Building the River Unit

Construction was fairly straightforward, using the same materials and techniques that have been successful elsewhere on the Thunder Mesa layout. The River Unit is basically a rolling table, with a box-girder style top attached to a separate L-girder and trestle leg assembly. The whole thing is very lightweight.

Before starting construction, I took very precise measurements to ensure that the River Unit would fit perfectly when docked in the aisle. I created a template from cardstock to match the inner curve of the layout fascia and then used that as a guide when cutting out the 1/8" thick Masonite top. The top is supported by a box-girder assembly of 1x3" stock, held together with Gorilla Glue and drywall screws. The base was built from 1x3" and 1x2" stock with 2x2" pine for the legs. L-girders made from 1x2's and 1x3's make up the top and bottom rails of the base, and the whole thong rolls on 3" castors. Swiveling casters were installed on one end only so that the unit could be easily steered into place like a shopping cart. The height of the Masonite top is 47" from the floor, placing it about 4" below track level in Thunder Mesa town (16' in O scale). This will be the base for the river. The entire unit measures 65x29.5" - purposefully 1/2" narrower than the aisle to give it some wiggle room when being rolled in or out.

After building the modules in my garage at home, I loaded them into the bed of my pick-up and drove them up to Jerome for installation. To my great relief, everything fit together perfectly as designed, proving once again that I can use a tape measure correctly on occasion. The assembled unit can be easily rolled in or out of the aisle. When in place, a simple C-clamp secures it firmly to the layout benchwork.

With the benchwork completed, I was ready to start roughing in the scenery. Once again I'm using pink extruded polystyrene foam board or EPF. I buy it in 4x8' x 1" sheets at my local home center. It's easy to cut and carve with a hotwire tool or a hobby knife, and I use various sanding bits in a Dremel rotary tool to carve rocky textures into the edges. It makes a huge mess, of course, but that's what shop-vacs are for.


Next Week

In the coming days, I hope to finish roughing in the river bank scenery with foam and might even make a start on the next steps of blending things together with Sculptamold and sanded grout. After that will come the scenic painting with acrylics, and real dirt and sand for the ground cover. Further on, I've got some fun structures to build for the River Unit, including one of the beautiful 50' paddlewheel steamers from Kitwood Hill Models. Stay tuned for that!

I'll also be getting back to the Marc F. Davis/Pack Mules foreground scene in the near future too since it segue-ways into the river scene. Happy modeling, friends, Thanks for checking in. Adios for now!