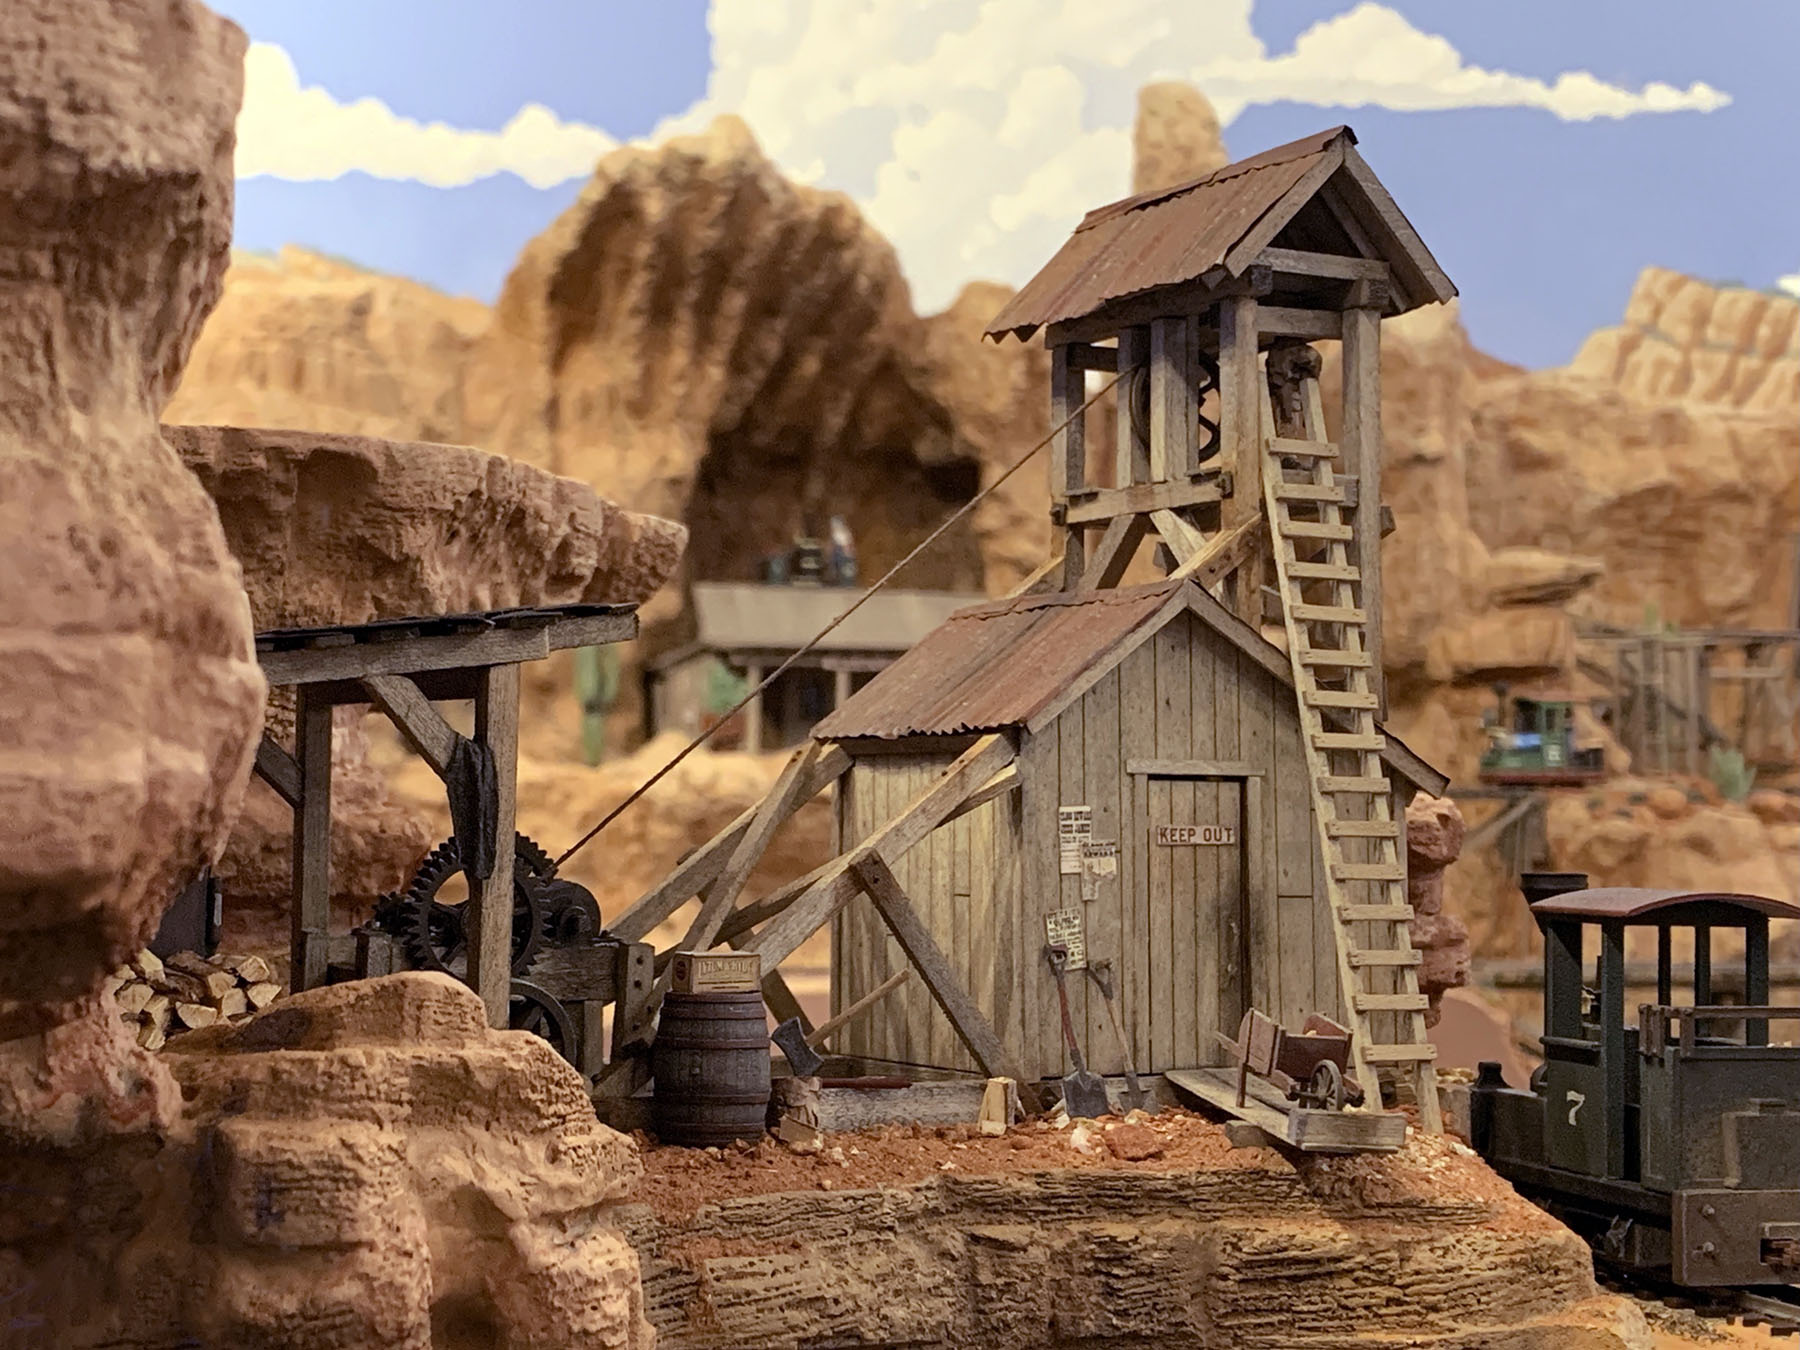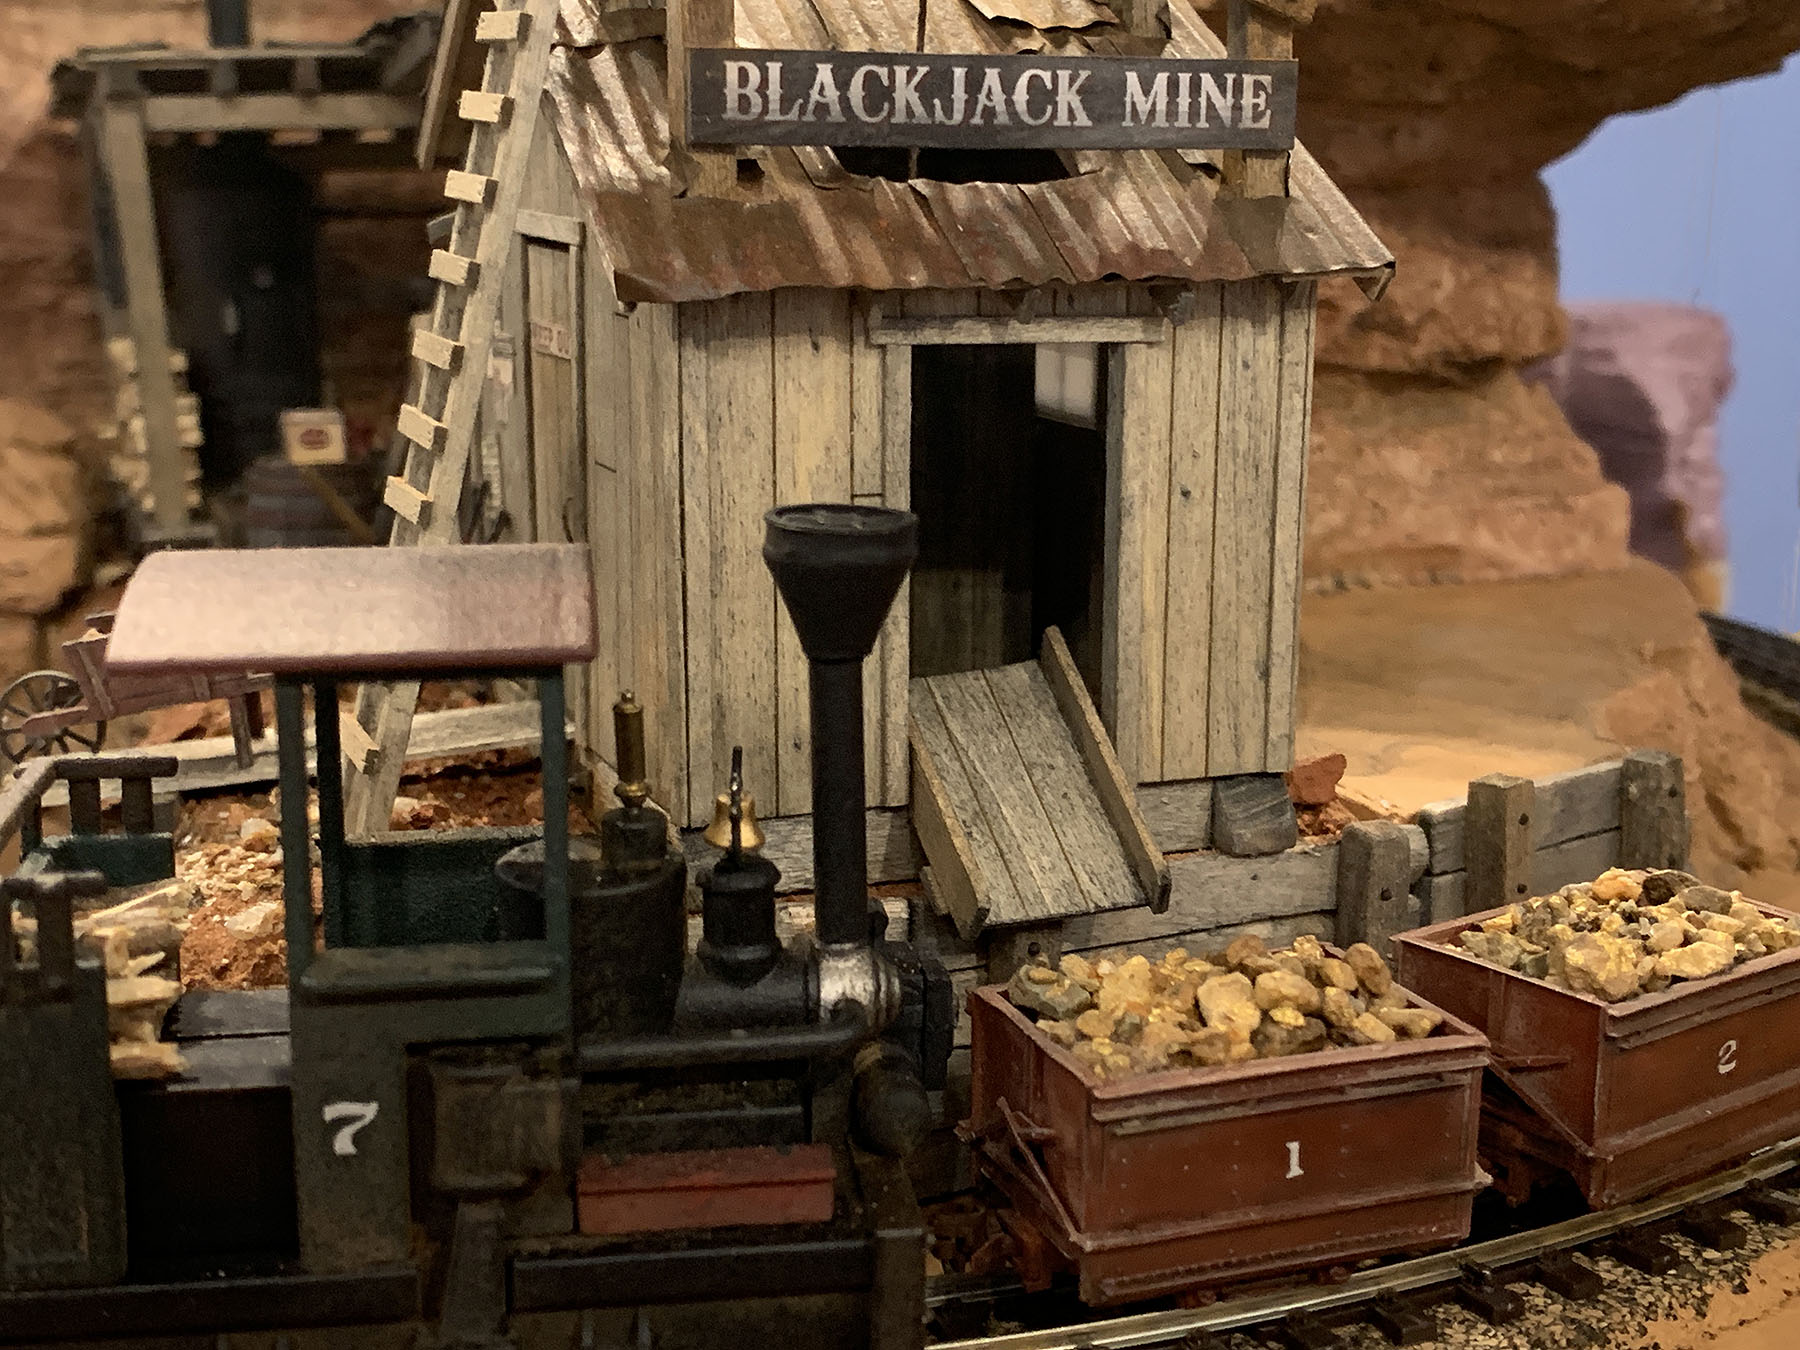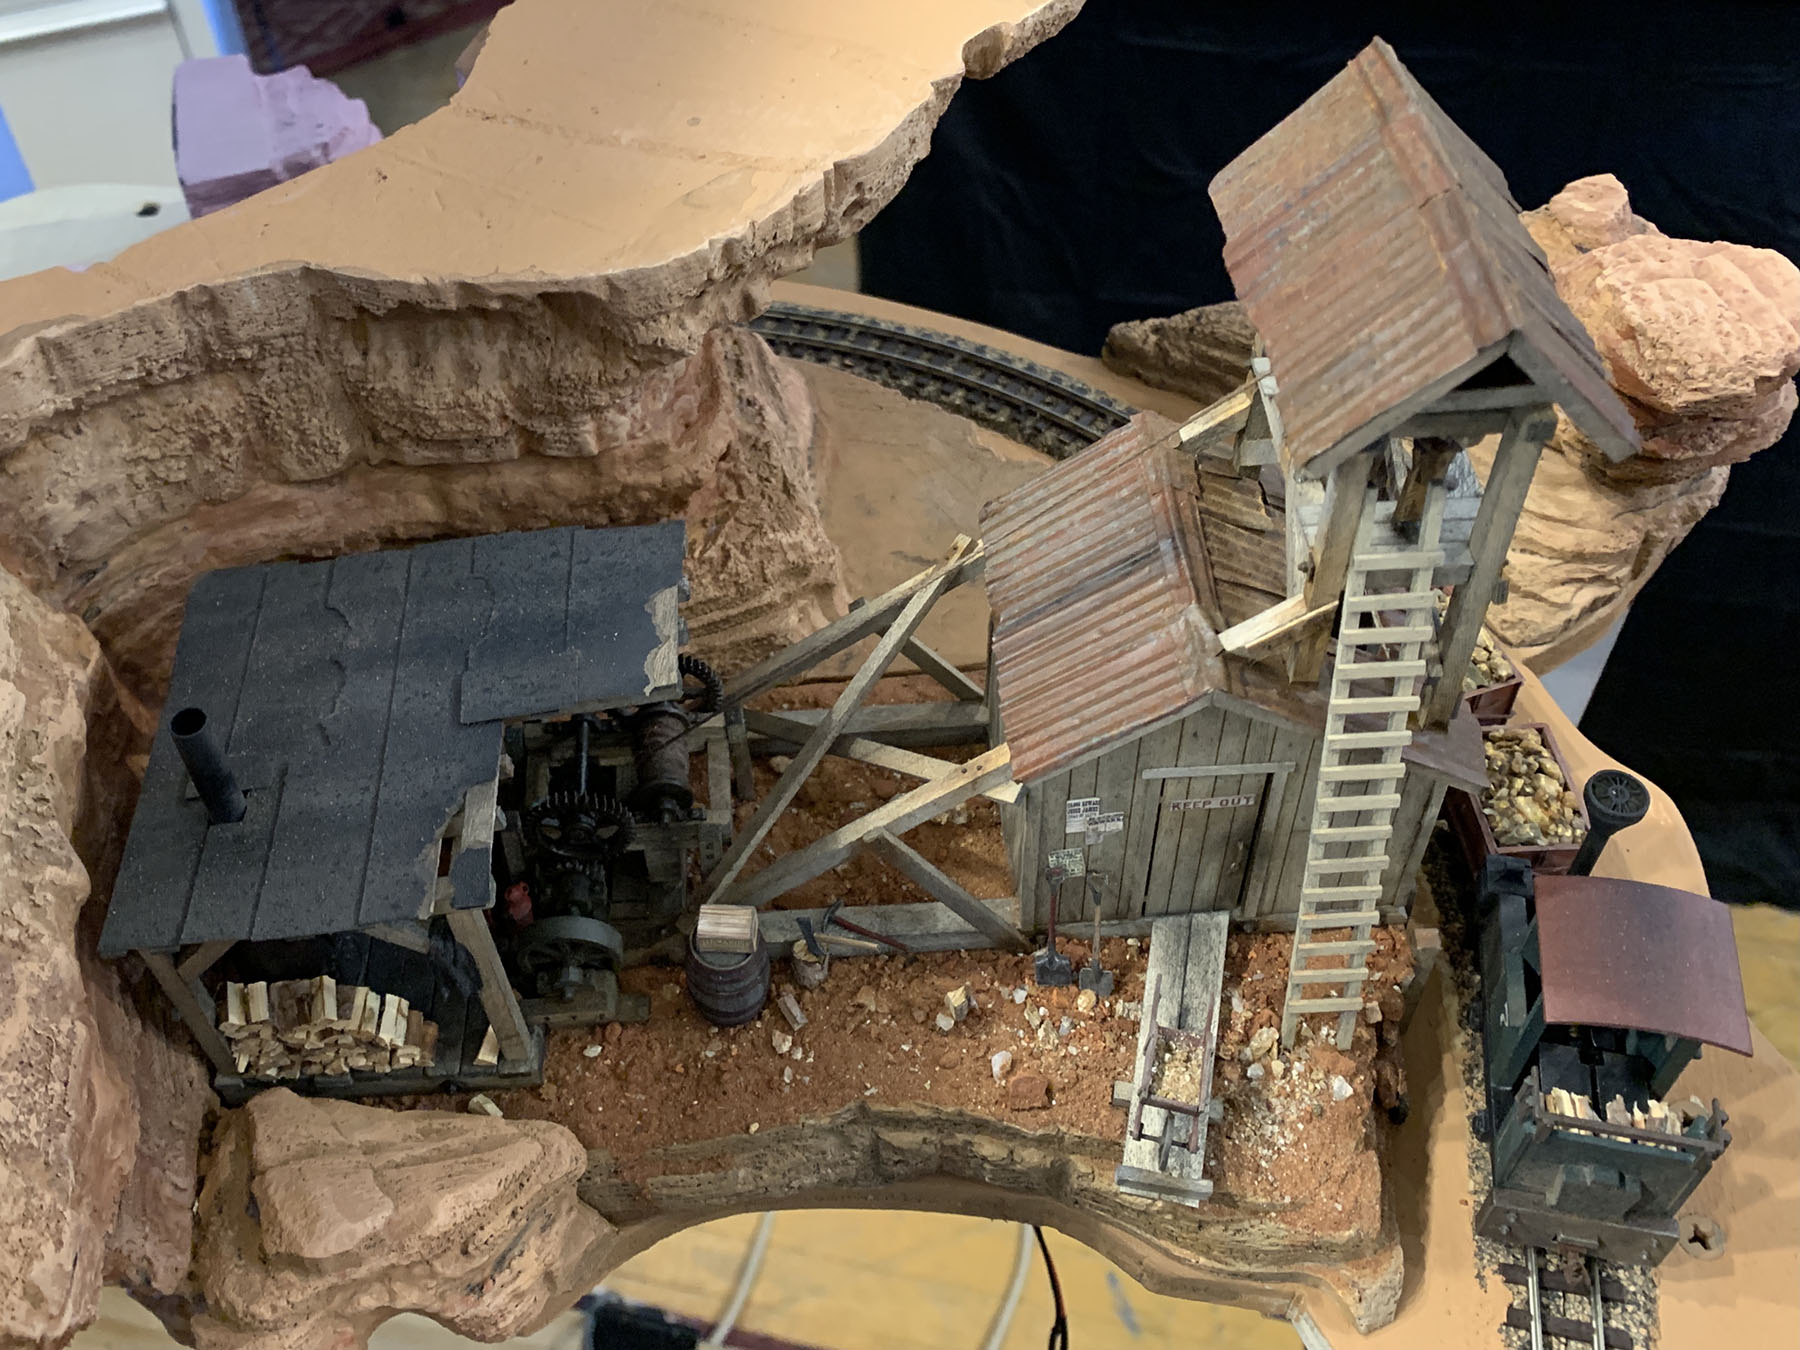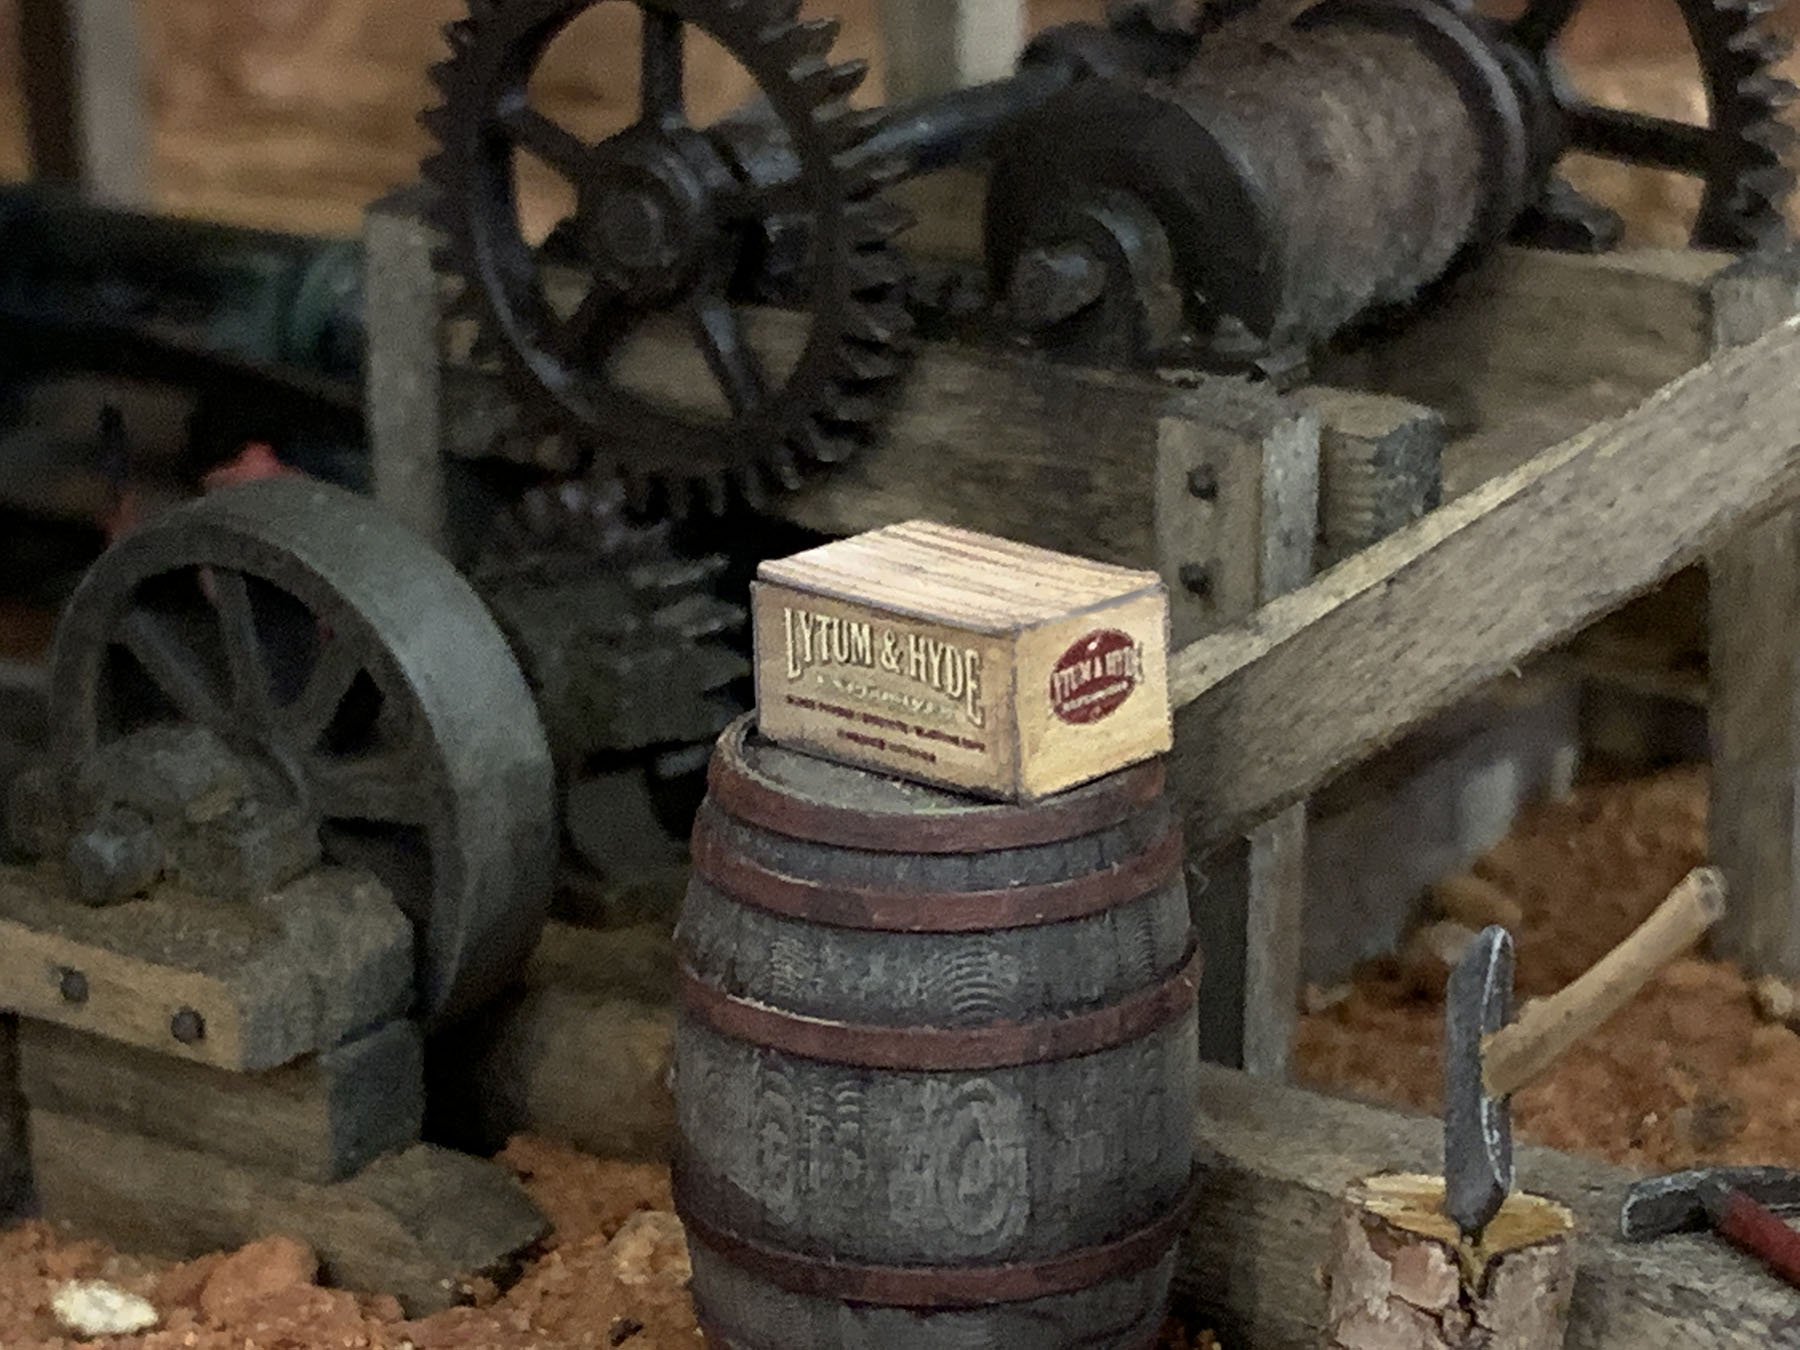
It’s time to fill that big hole in the scenery below Six Gun Butte! The Sundance Mine is a Western themed mined building along the lines of the 10 stamp mills that once dotted the rugged mountainsides of old mining towns across the American West. Follow along with this step-by-step build as take the structure from rough mock-up to finished model. This is BCRy Part X.
Thanks for watching, amigos!
Dave
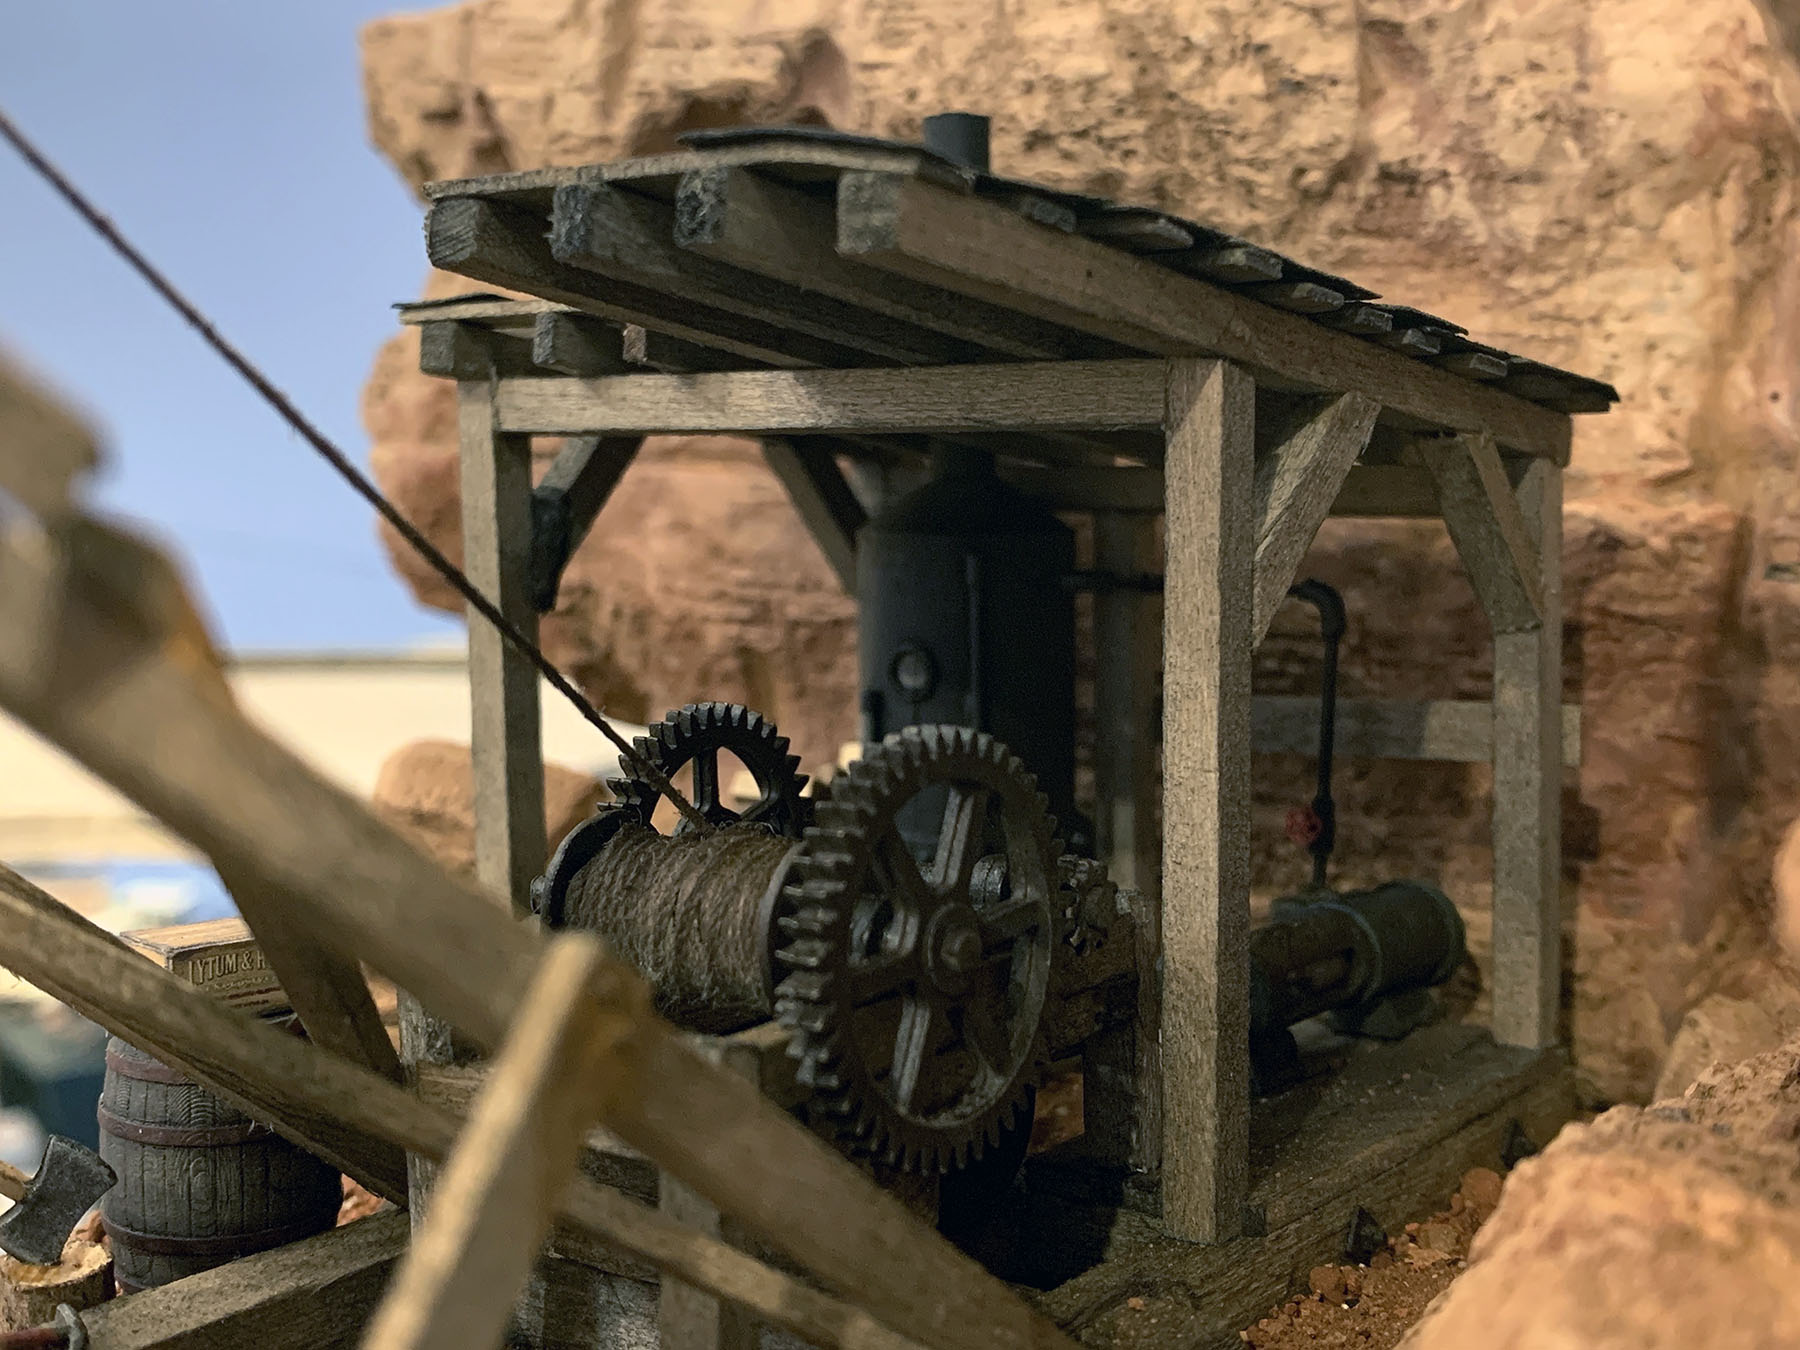
Corrugated siding from Full Circle Models: https://fcmkits.wordpress.com/