Category: track

The Saga of Geyser Gulch – Part 2

A Scene 7 Years in the Making

I first began work on Geyser Gulch back in early 2013 and wrote a little about it on the old Thunder Mesa blog. In this three part series, I'm revisiting and elaborating on some of those old posts, and describing the planning and building of the Gulch right up to the present day. Click here to read Part 1.

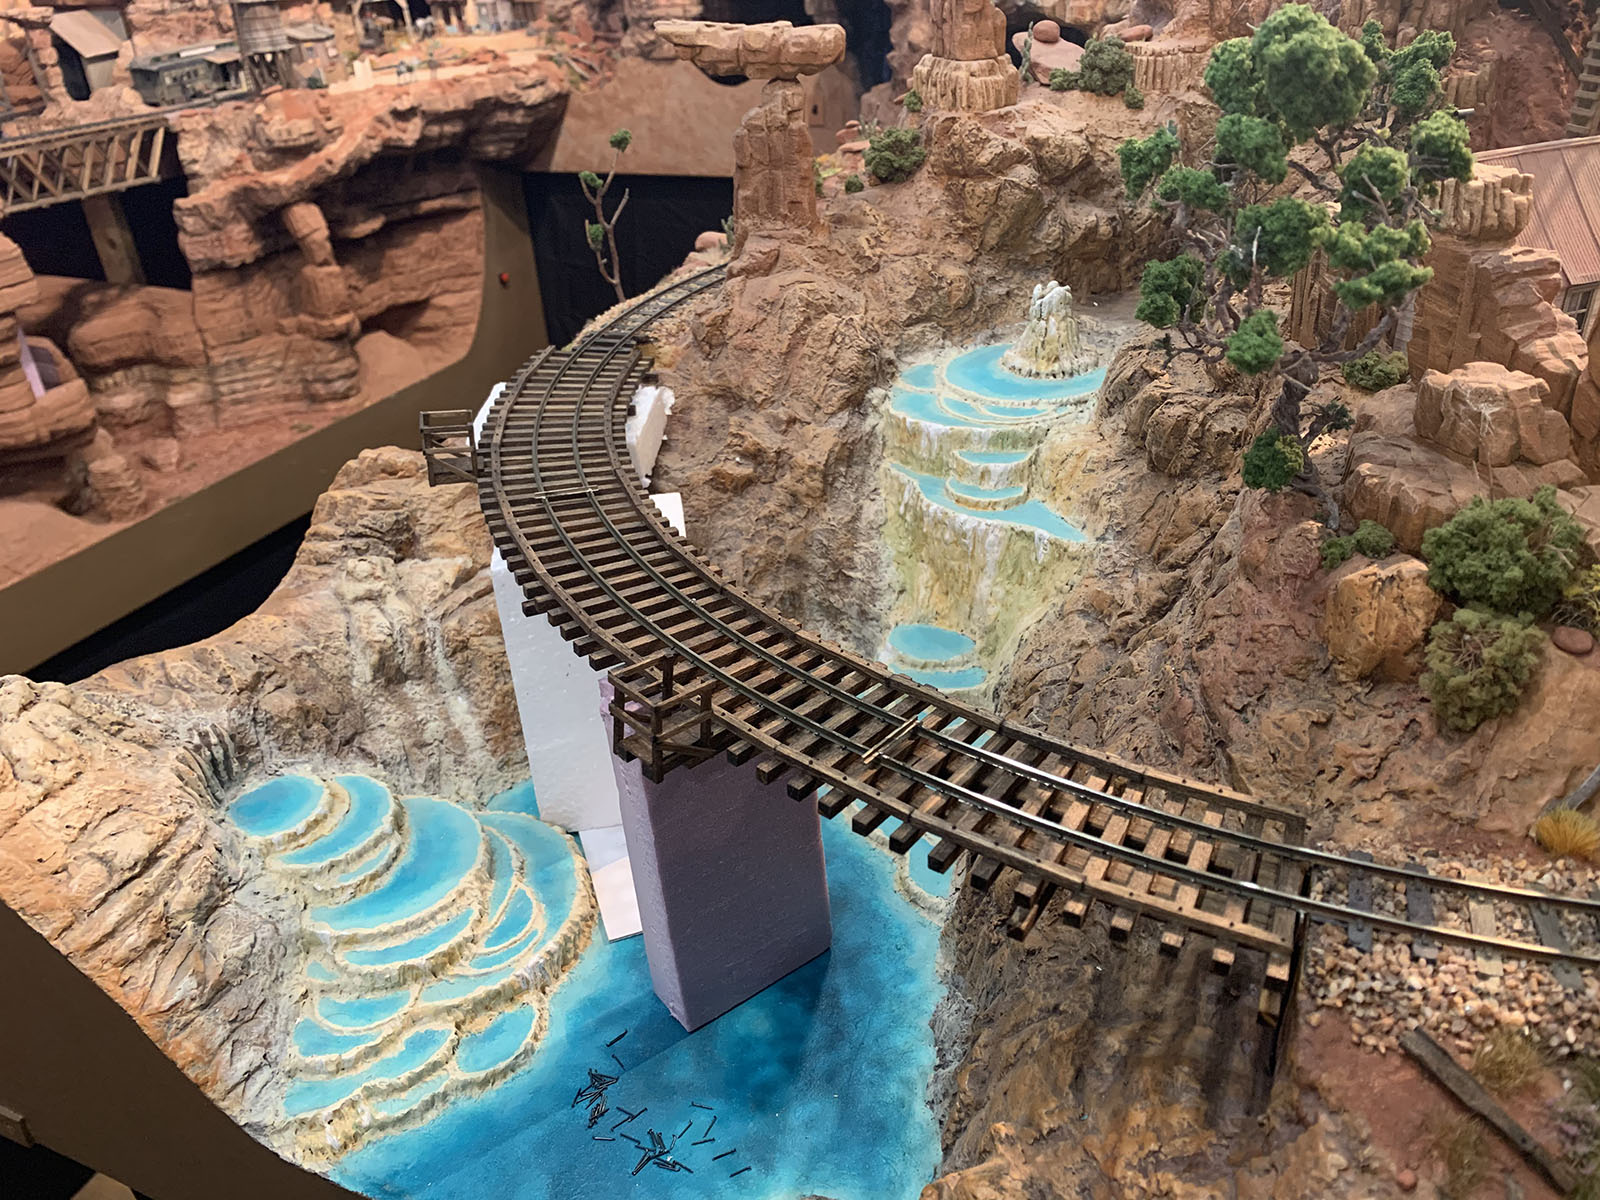
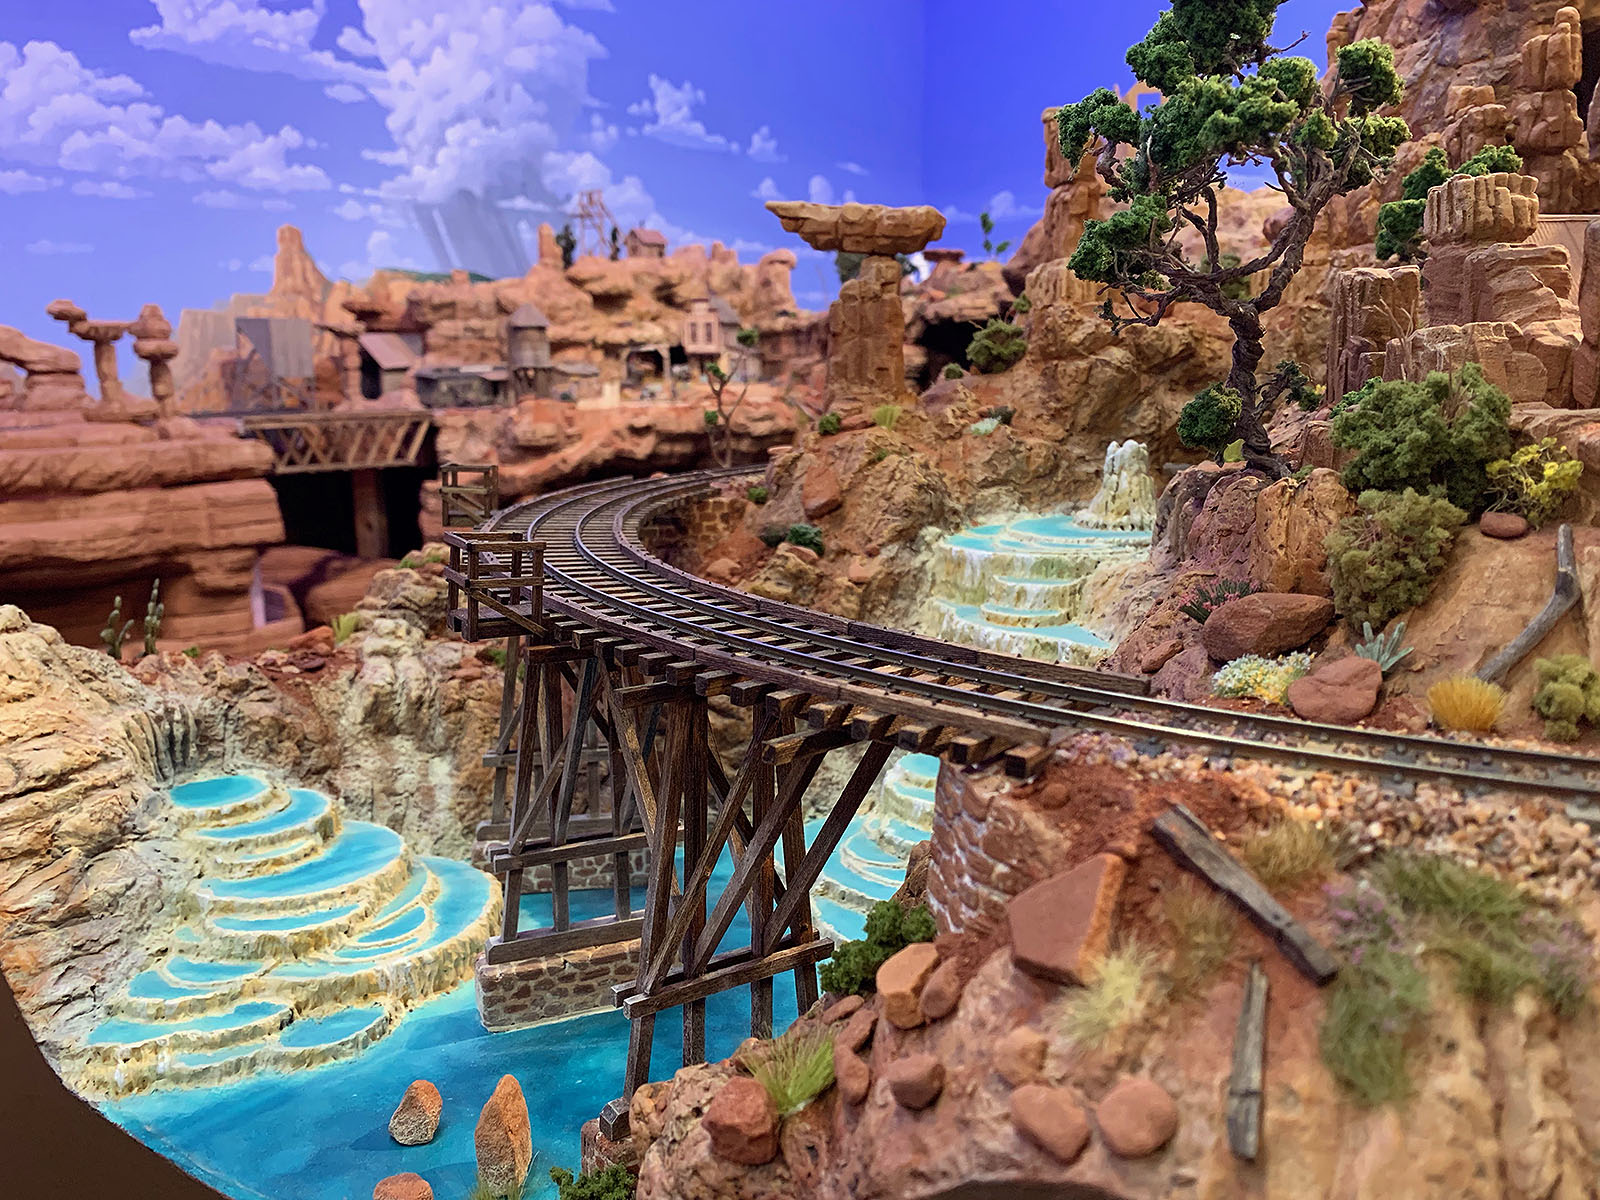
This temporary trestle bent was built to see if a bridge using lighter 8″ x 8″ posts would be convincing in the scene. It worked so well at supporting the track that the scene didn’t progress much beyond this point for nearly seven years!

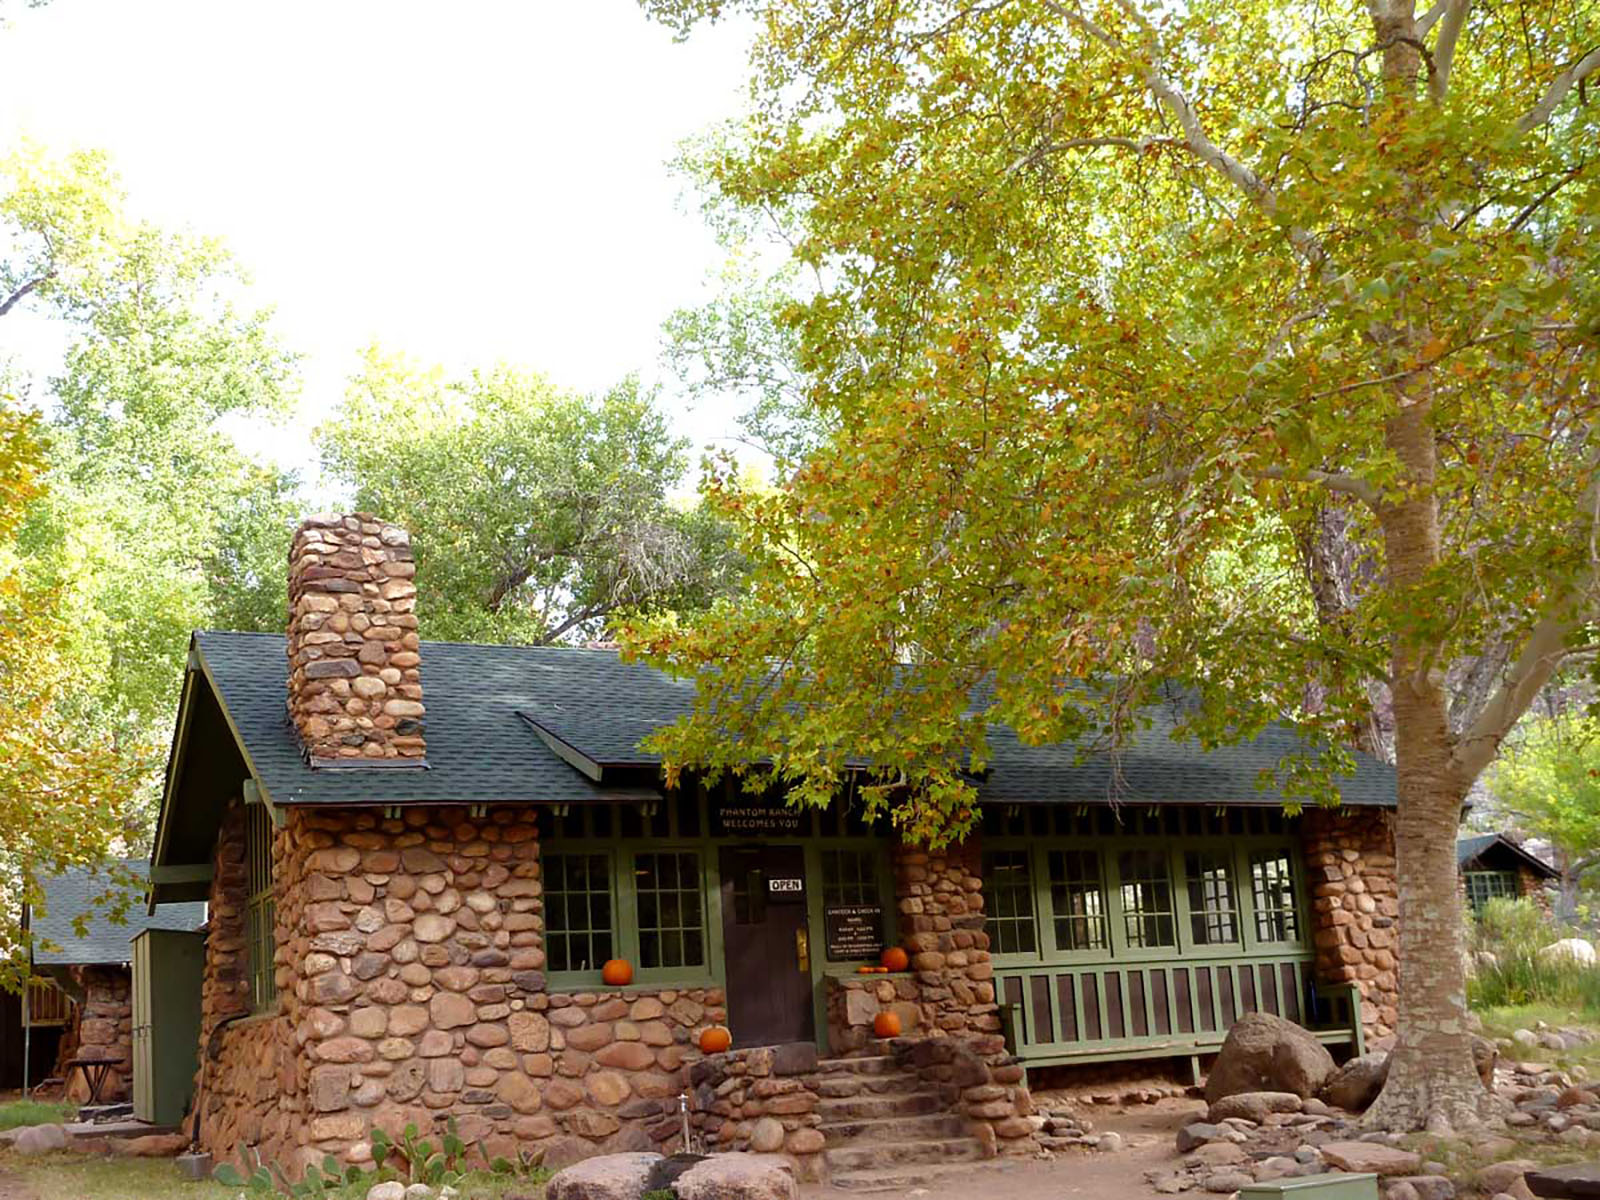
Phantom Ranch Canteen, Grand Canyon National Park. Designed by Mary Elizabeth Jane Colter.

Part 2: Geyser Gulch Trestle

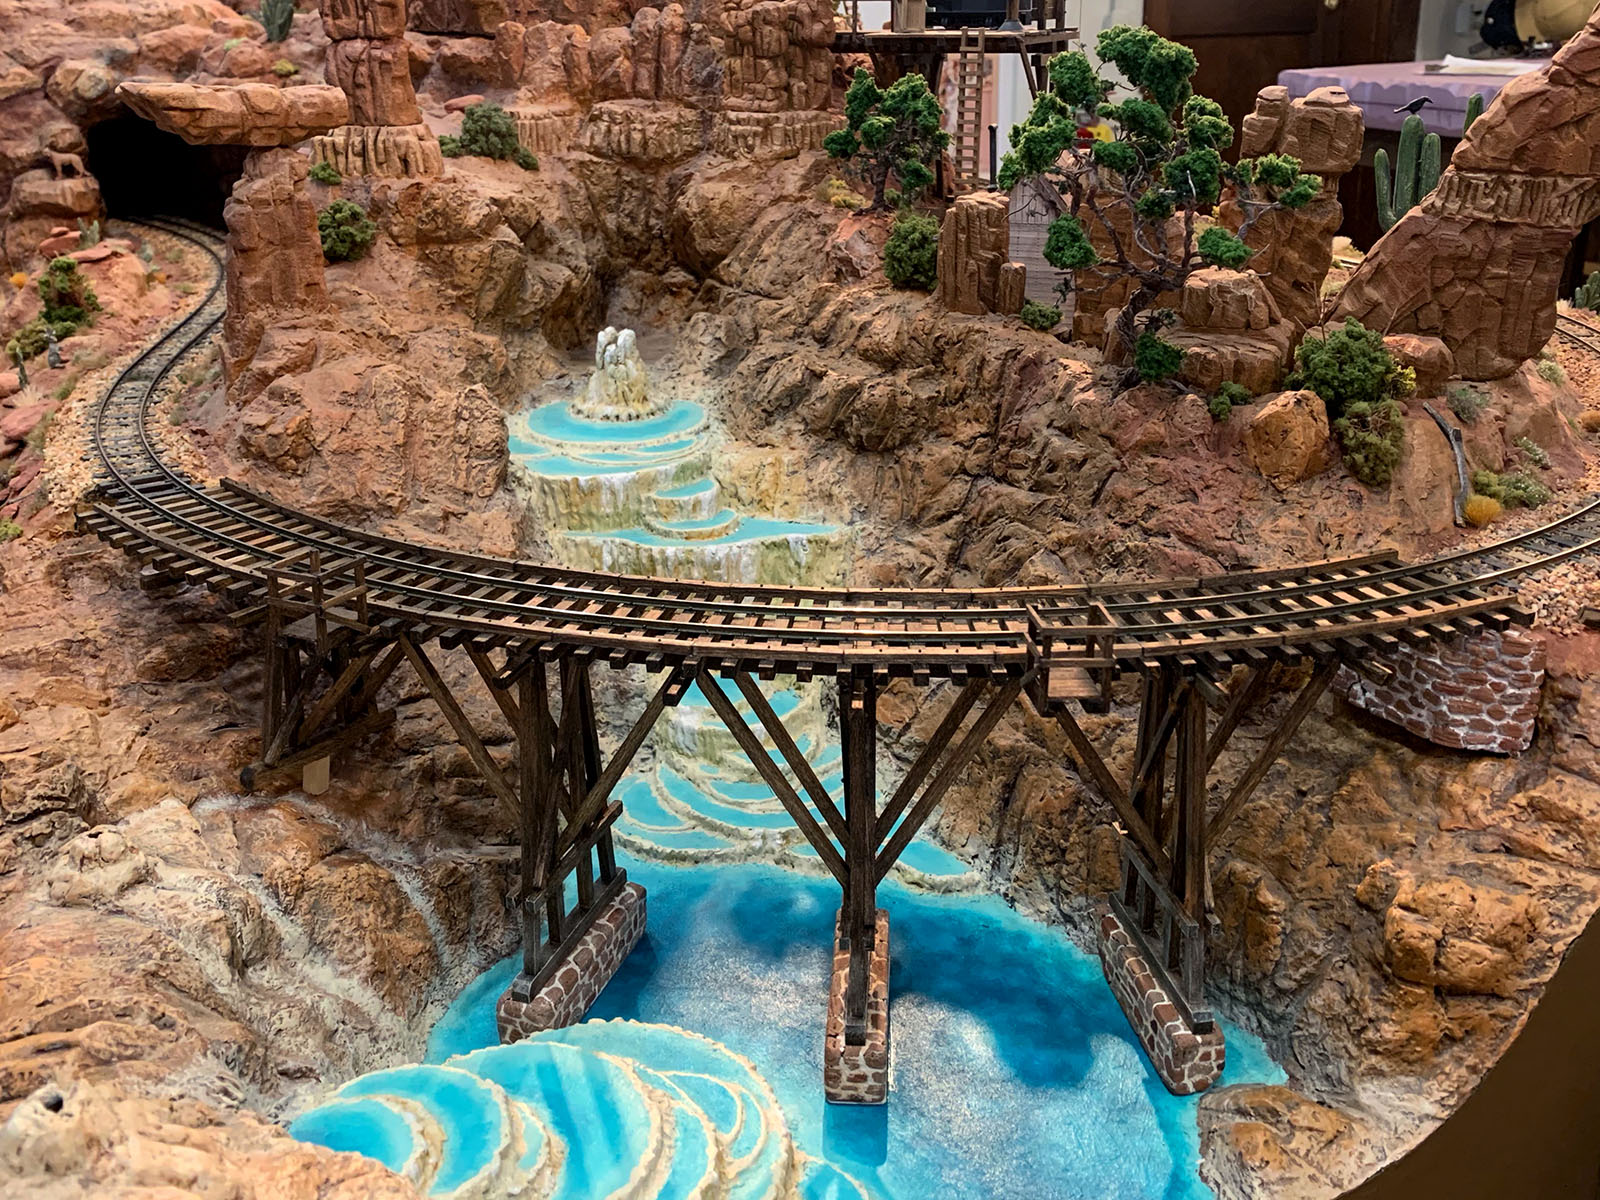
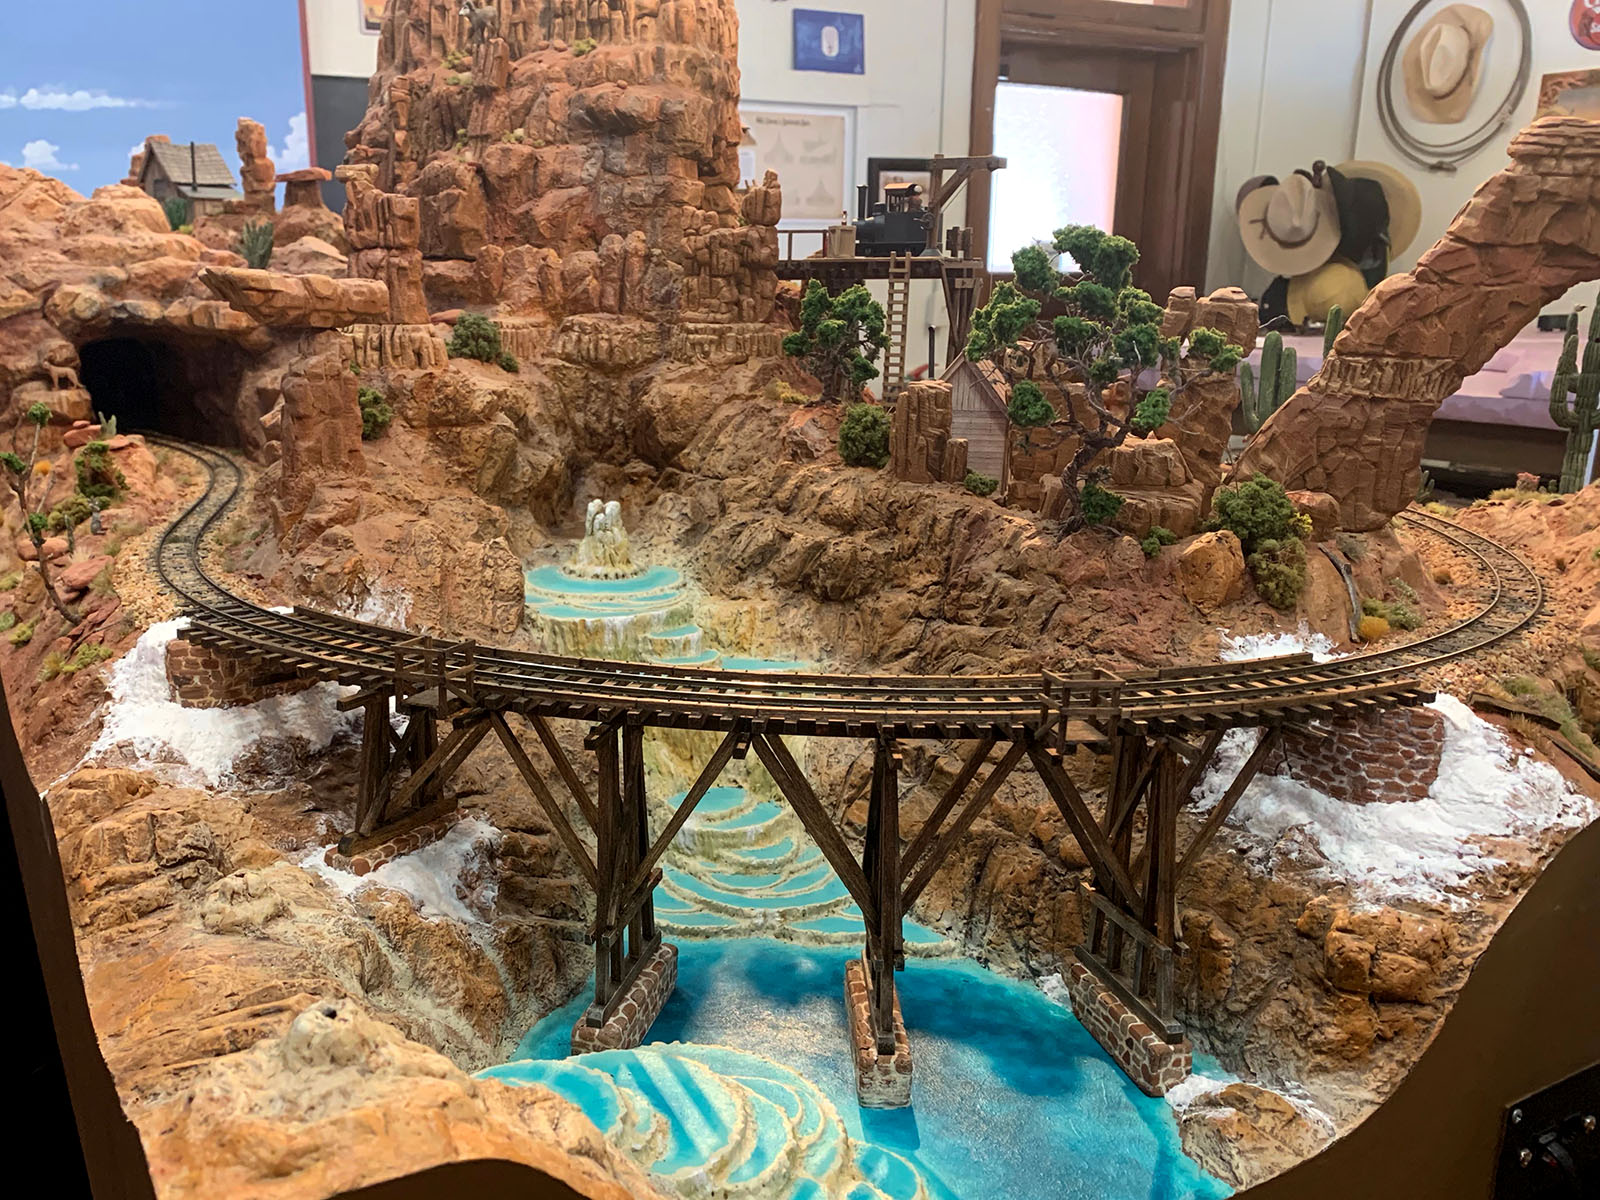
It's always exciting when trains cross over water and as Geyser Gulch is such a focal point on the layout it required a very special bridge. Coming up with a pleasing design was a bit of a challenge since I wanted a wooden bridge, but at the same time didn't want it to obscure or distract from the scenery in the Gulch. Then there were the purely logistical problems of engineering a trestle for a tight 15" radius curve while trying to make something that might be believable in the real world. I wanted something light and airy looking, but also sturdy.

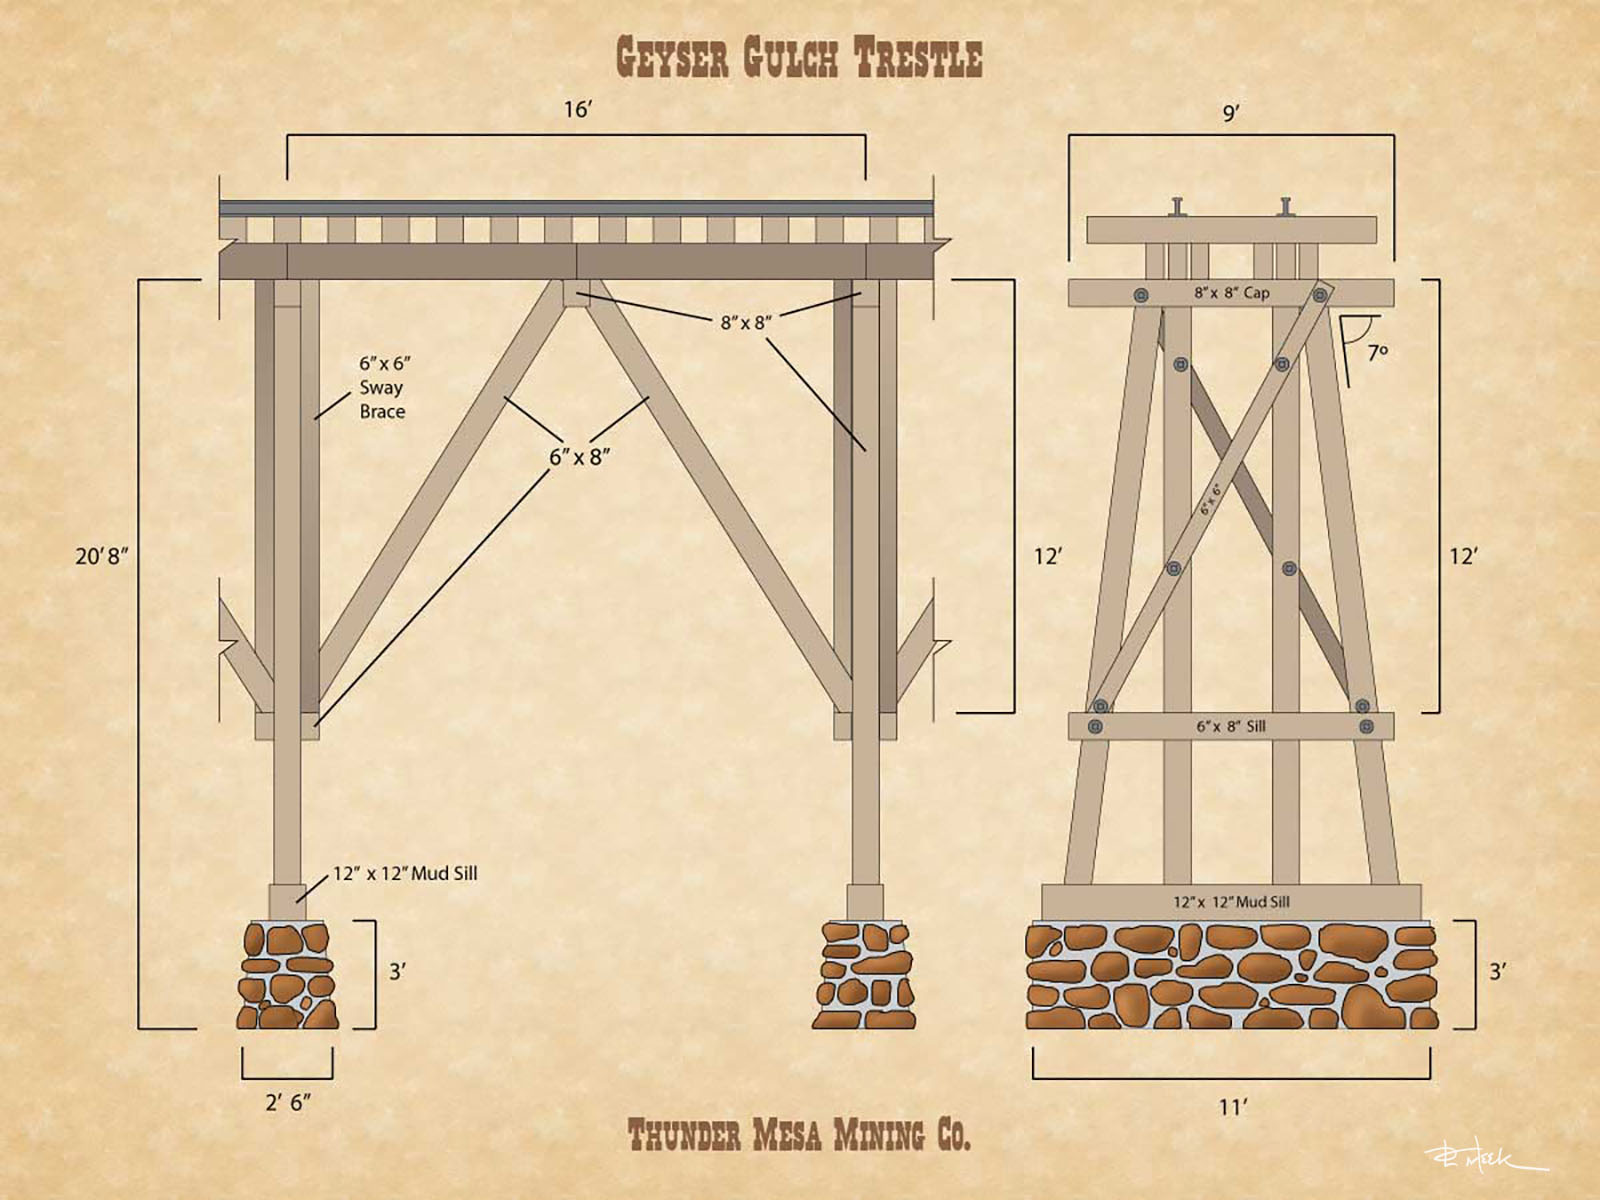
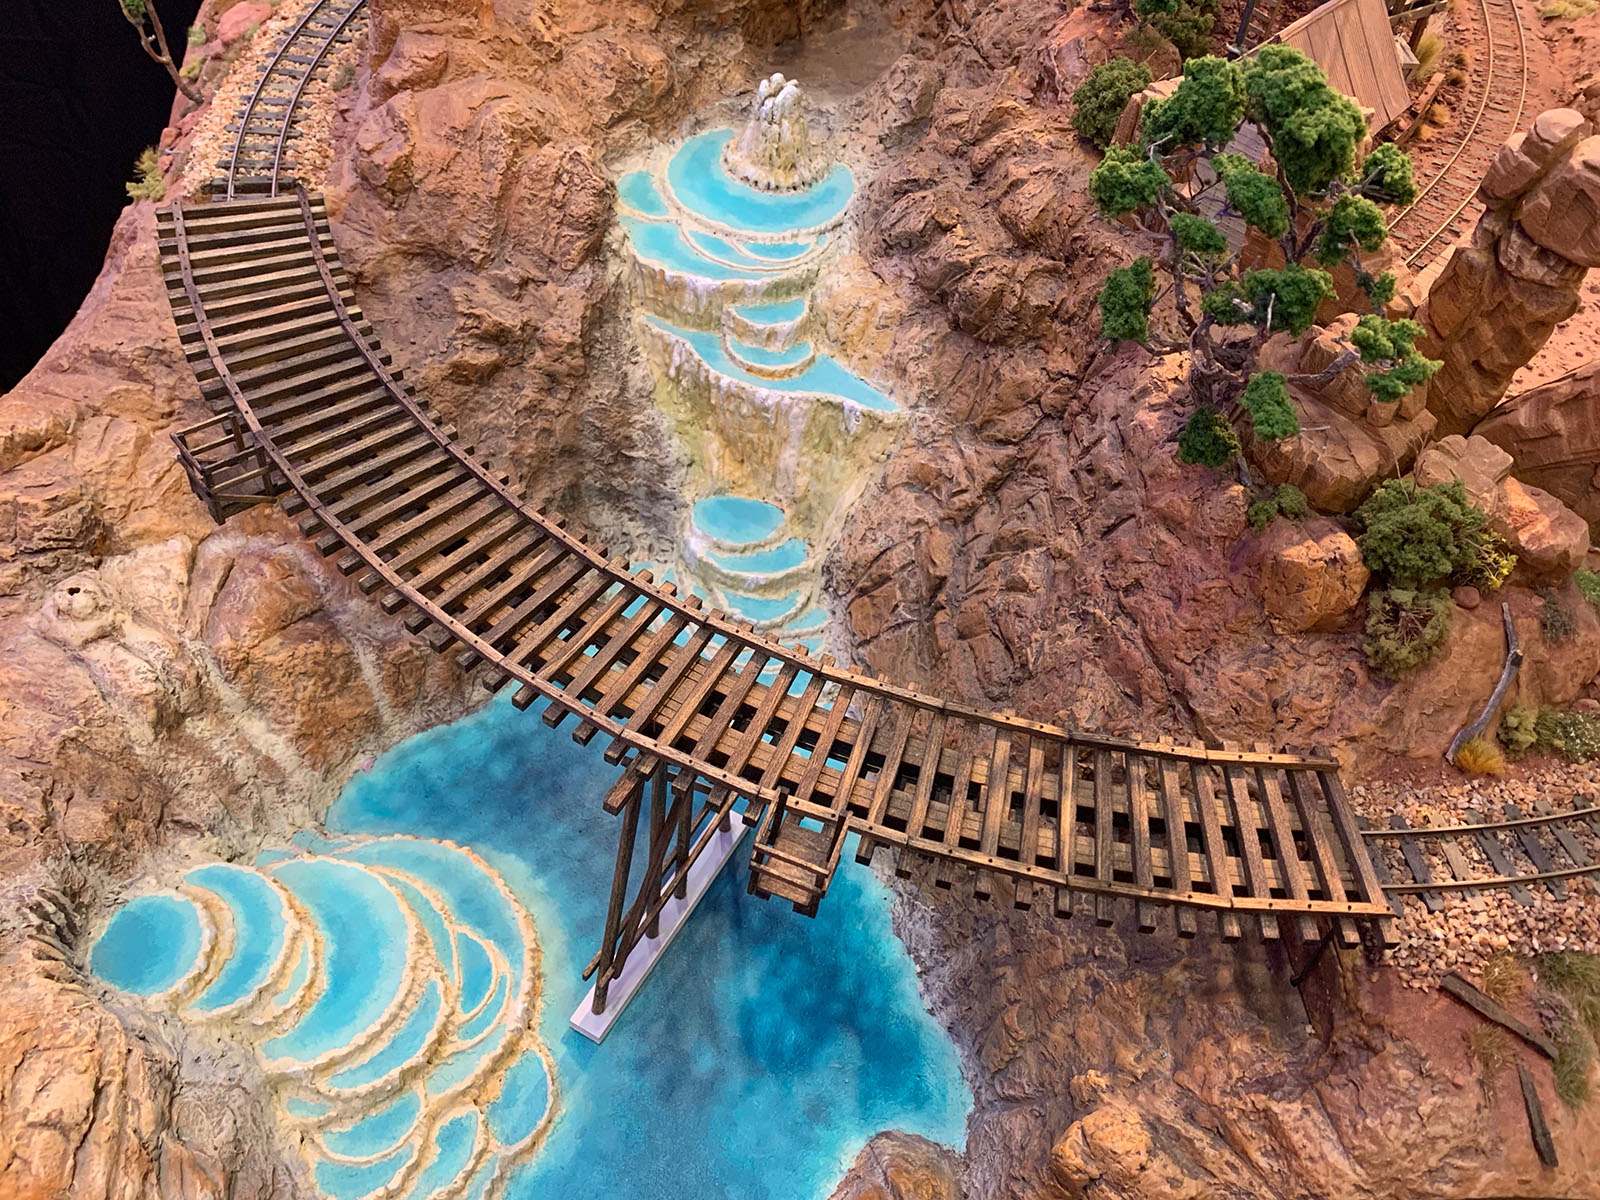
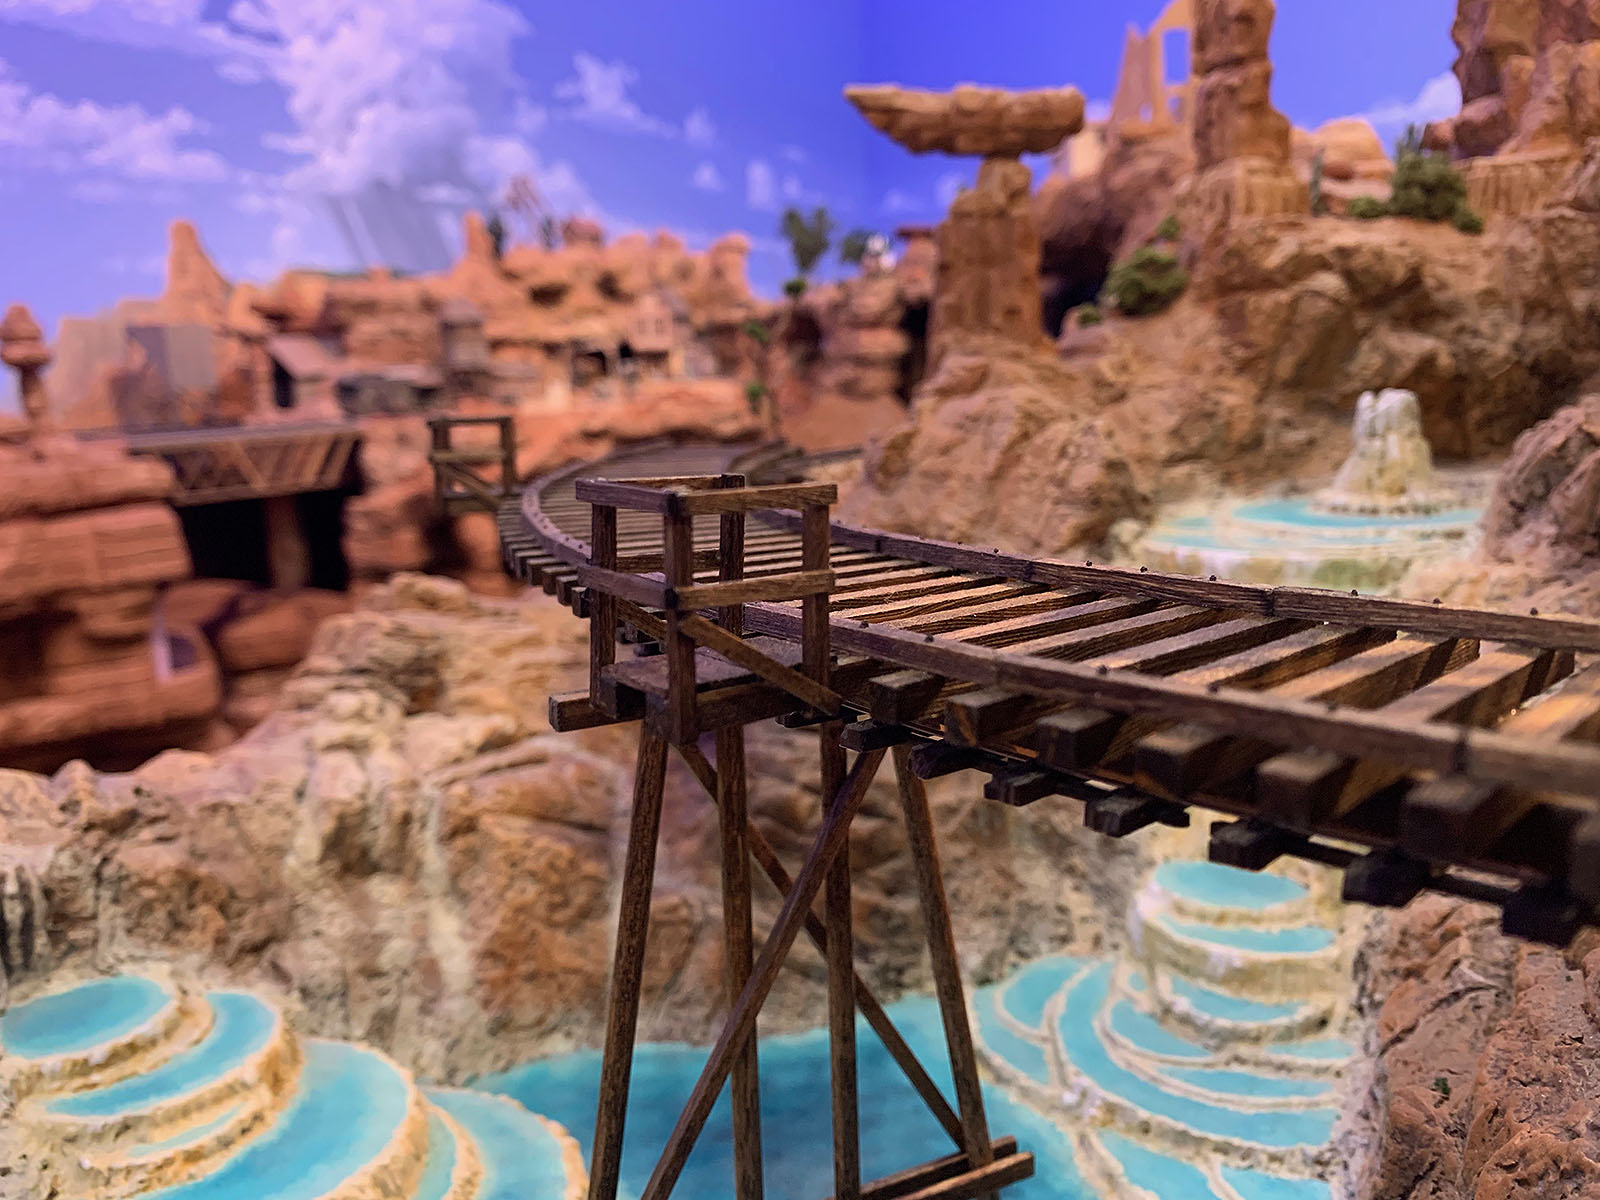
My first design decision was to use scale 8" x 8" timbers for the posts and sills instead of the more prototypical 12" x 12"s. This reduces the "visual mass" of the bridge right away and gives a nice spindly look to the bents. The next decision was to reduce the angle of the outside posts, adding to the tall, narrow look. Next I opted for a rather unusual butterfly truss arrangement between the bents instead of the usual straight stringers which allowed for a wider spacing of the bents than would otherwise be possible on such a tight curve. This arrangement is modeled after a bridge in Franklin New Hampshire and makes for a beautiful and graceful looking trestle in my opinion.

Placing wooden timbers directly into water is never a good option and most railroads avoided it whenever possible. It might be cheeper in the short run to use a pile driver and smash the posts into the stream bed, but it's a temporary solution at best. Corrosive minerals, flash floods, and wood rot would greatly shorten the life span of such a bridge. We try to build things to last on the TMMC, so the decision was made to use footing made of local stone to support the wooden bents above the water.

Using stone rather than concrete footings was a purely aesthetic decision. I have always been a great admirer of National Park architecture, particularly the native wood and stone buildings of Mary Elizabeth Colter at Grand Canyon and other Southwestern parks. Since Nature's Wonderland shares so much in common with our National Parks, it was obvious that what I wanted was a bridge that looked like it might have been designed by Mary Colter.

With that in mind, I tried to design a bridge that would compliment and reflect its surrounding, rather than detract from them, using local Ponderosa Pine timbers from the top of Thunder Mesa and local sandstone and limestone for the footings and abutments.

Mixing light and airy construction with sturdy stone piers, this butterfly truss design requires only four bents to cross the water at Geyser Gulch. During construction, I added about a scale foot of width to the bents and widened the angles slightly, but the overall look and feel is roughly the same.

Constructing the Bridge

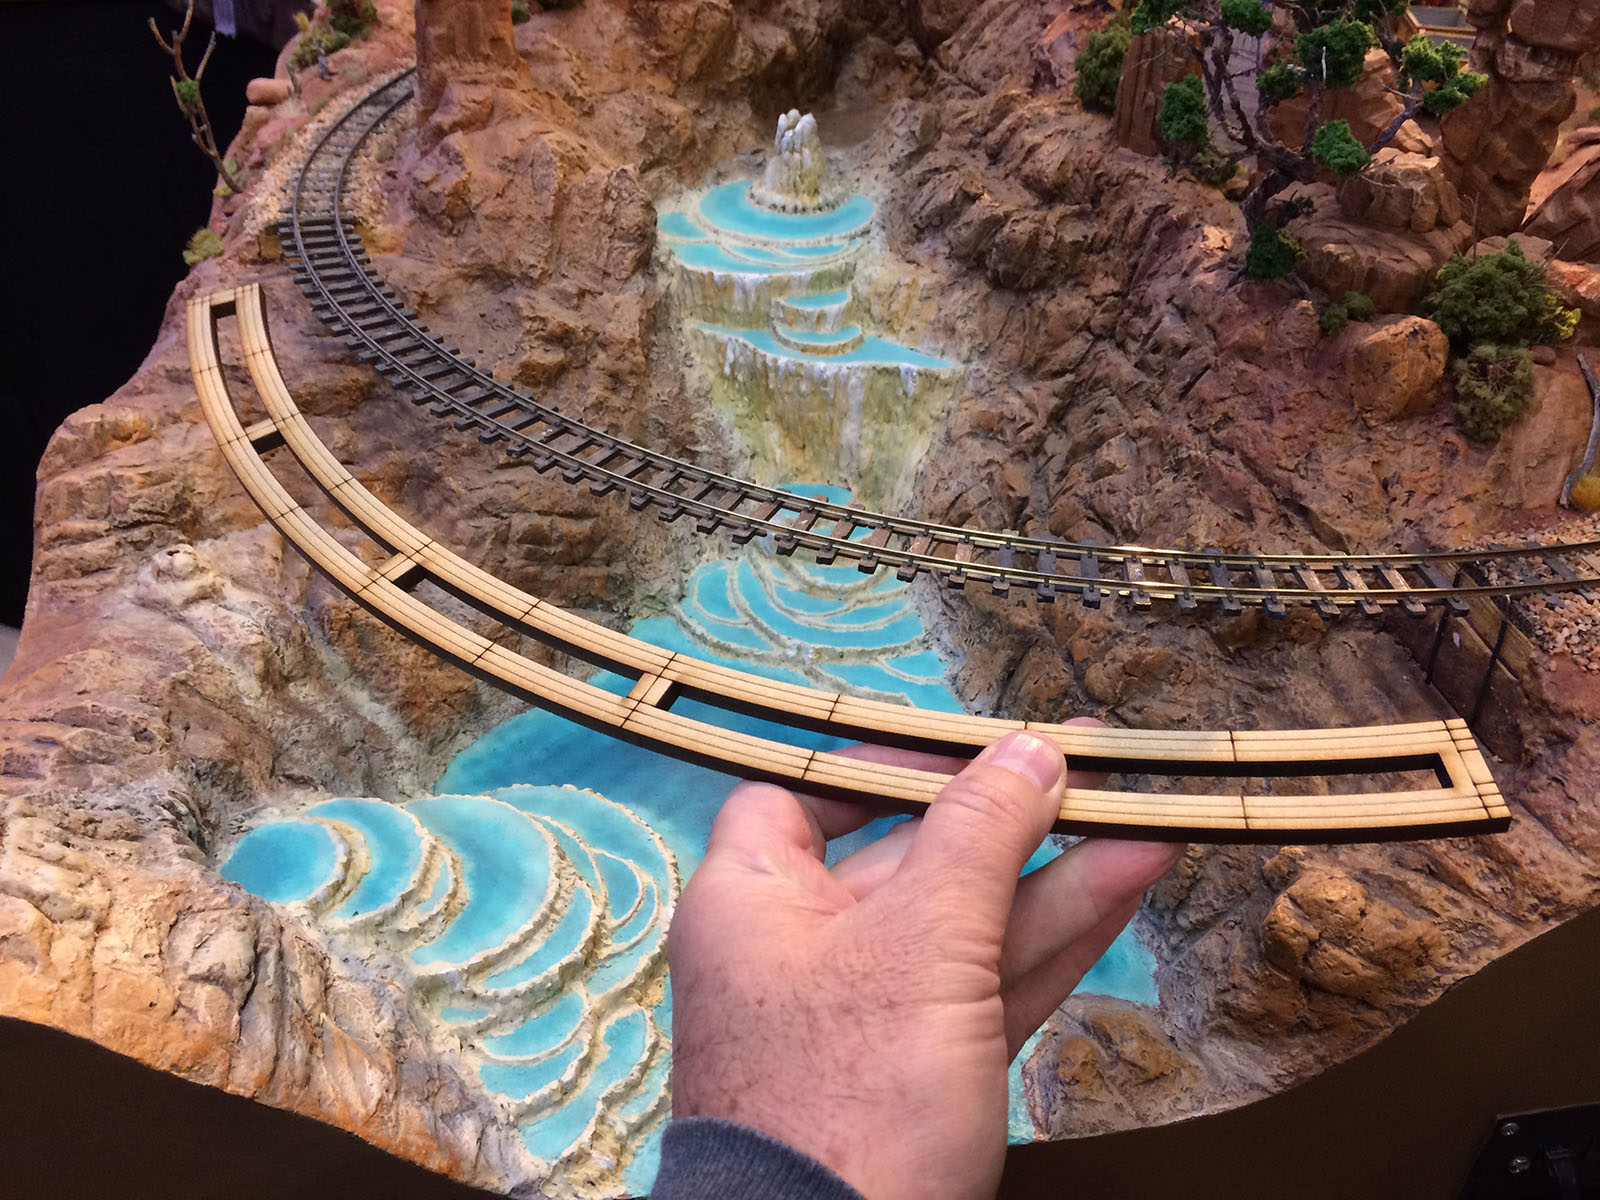
Planning a bridge is one thing, building it in place is another story entirely. Since I had no desire to re-lay the 15" radius curve through existing scenery on either side of the Gulch, my idea was to create the bridge deck first, then install it beneath the existing rails. Then the bents and trusses could be built and installed beneath the deck. This is a little unorthodox, but I was able to pull it off with a little help from my friends.

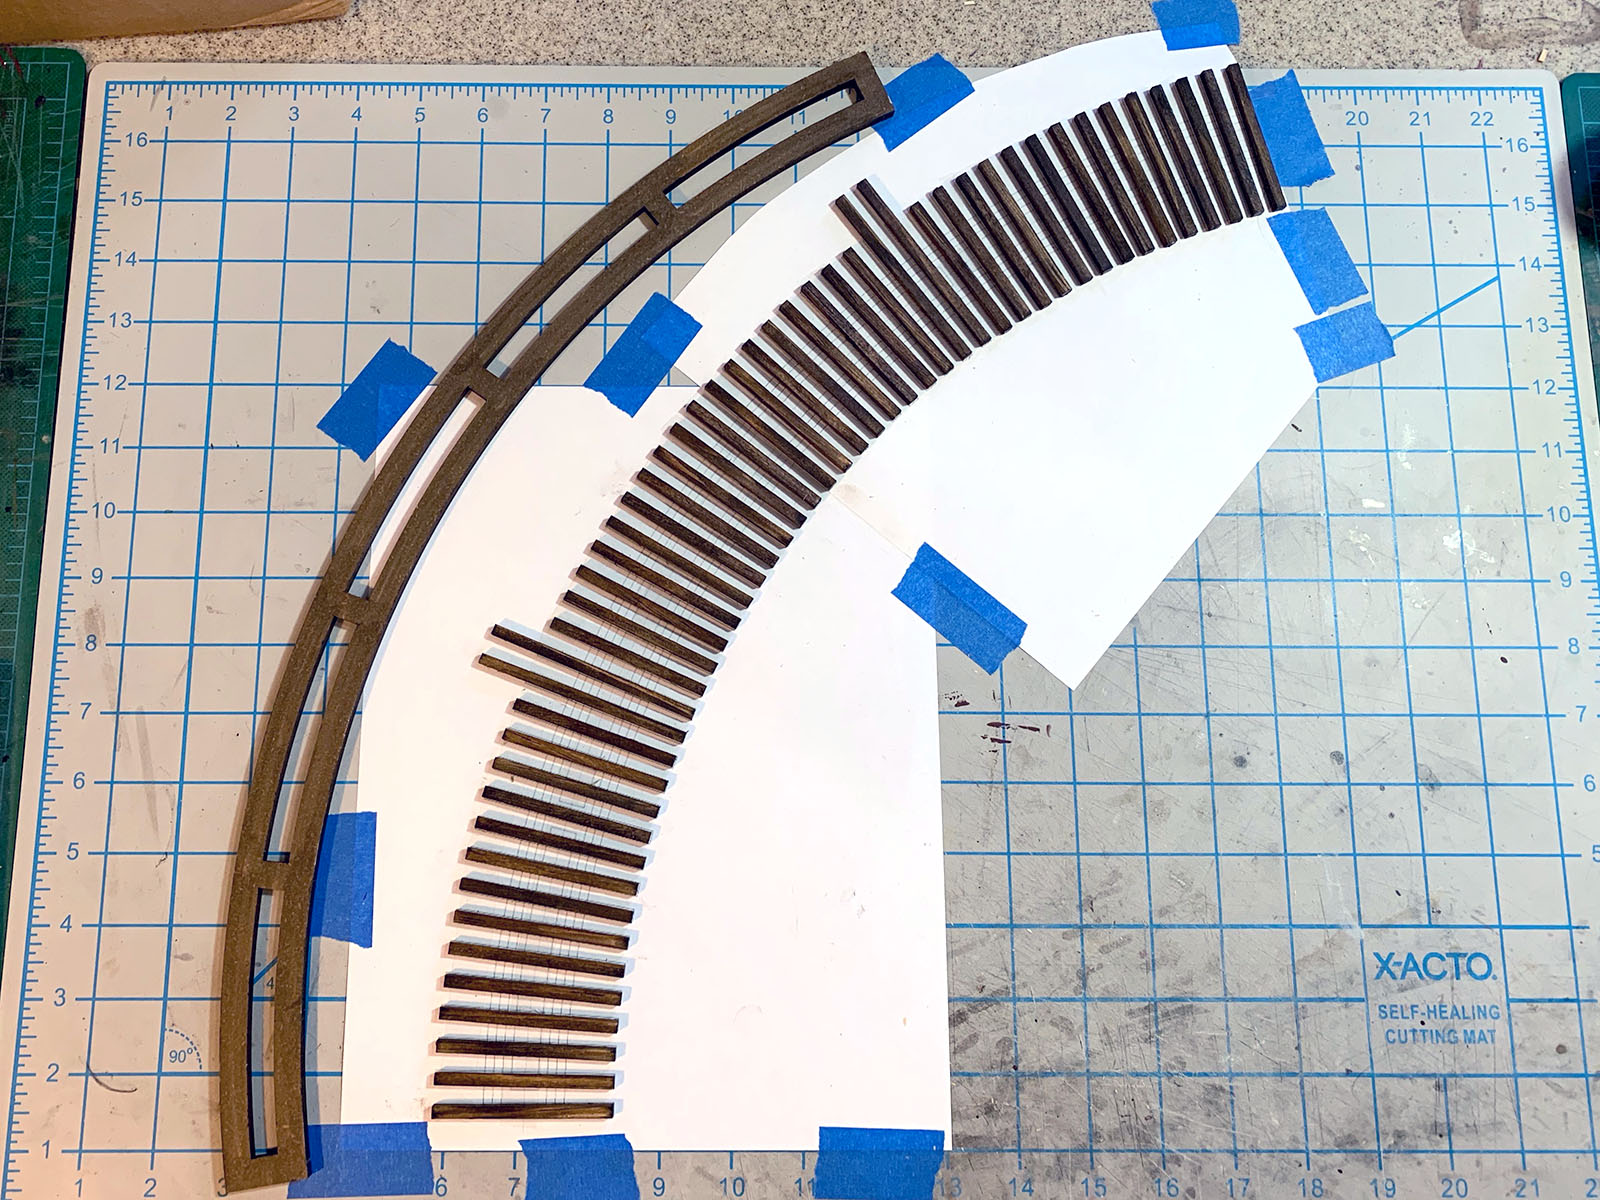
On real curved trestles, only the rails are actually curved, while the stringers are made up of short straight sections bolted together. Since the curve was so sharp here on Geyser Gulch, I decided to cheat a little and create a trestle that really was curved. I contacted my friend and Crescent Creek Models business partner, Jake Johnson, to find out if it would be possible to laser cut some 1/4" MDF into the shape I had in mind. We put our heads together and came up with a curved, one piece, laser cut stringer that would run the entire length of the bridge and greatly simplify construction.

I designed the one piece curved stringer with a vector drawing program (Adobe Illustrator) to perfectly match the 15″ radius of the existing curve. This was sent off to my friend Jake Johnson who had the part laser cut for me out of 1/4″ thick MDF. Once stained and detailed, the piece does a great job of simulating 12″ thick bridge stringers.

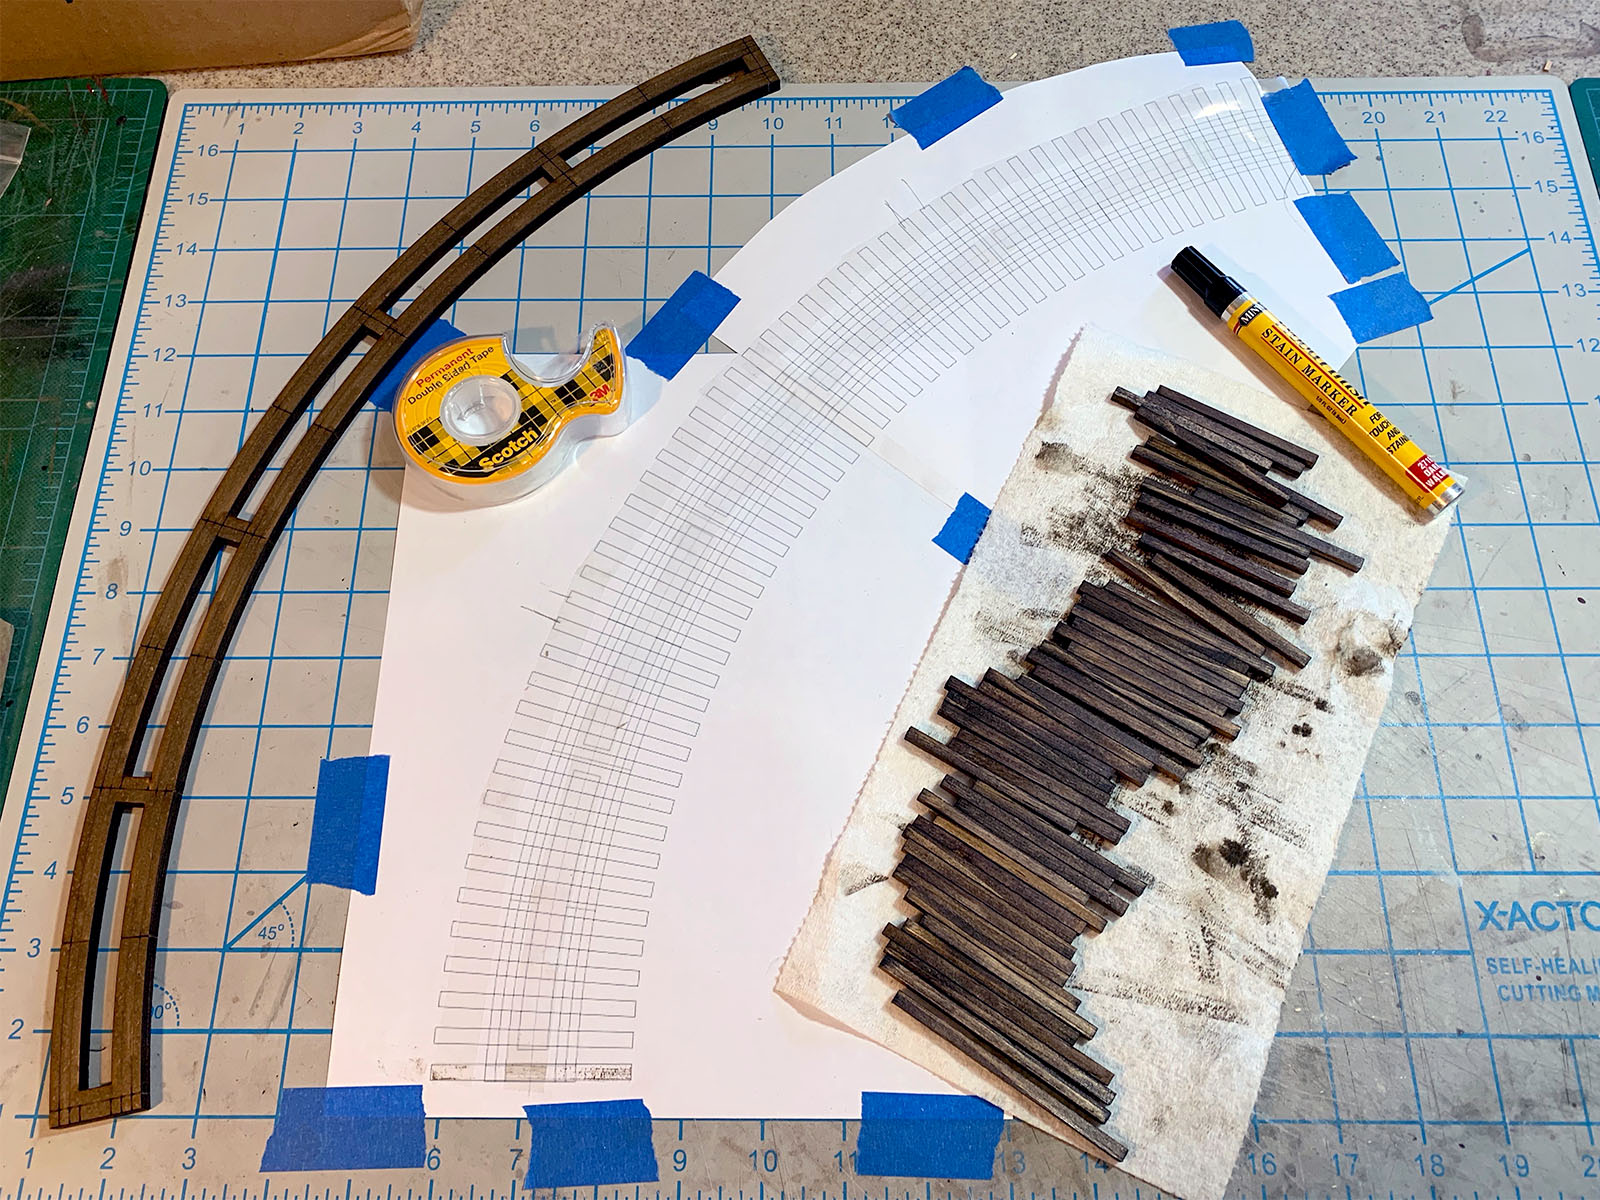
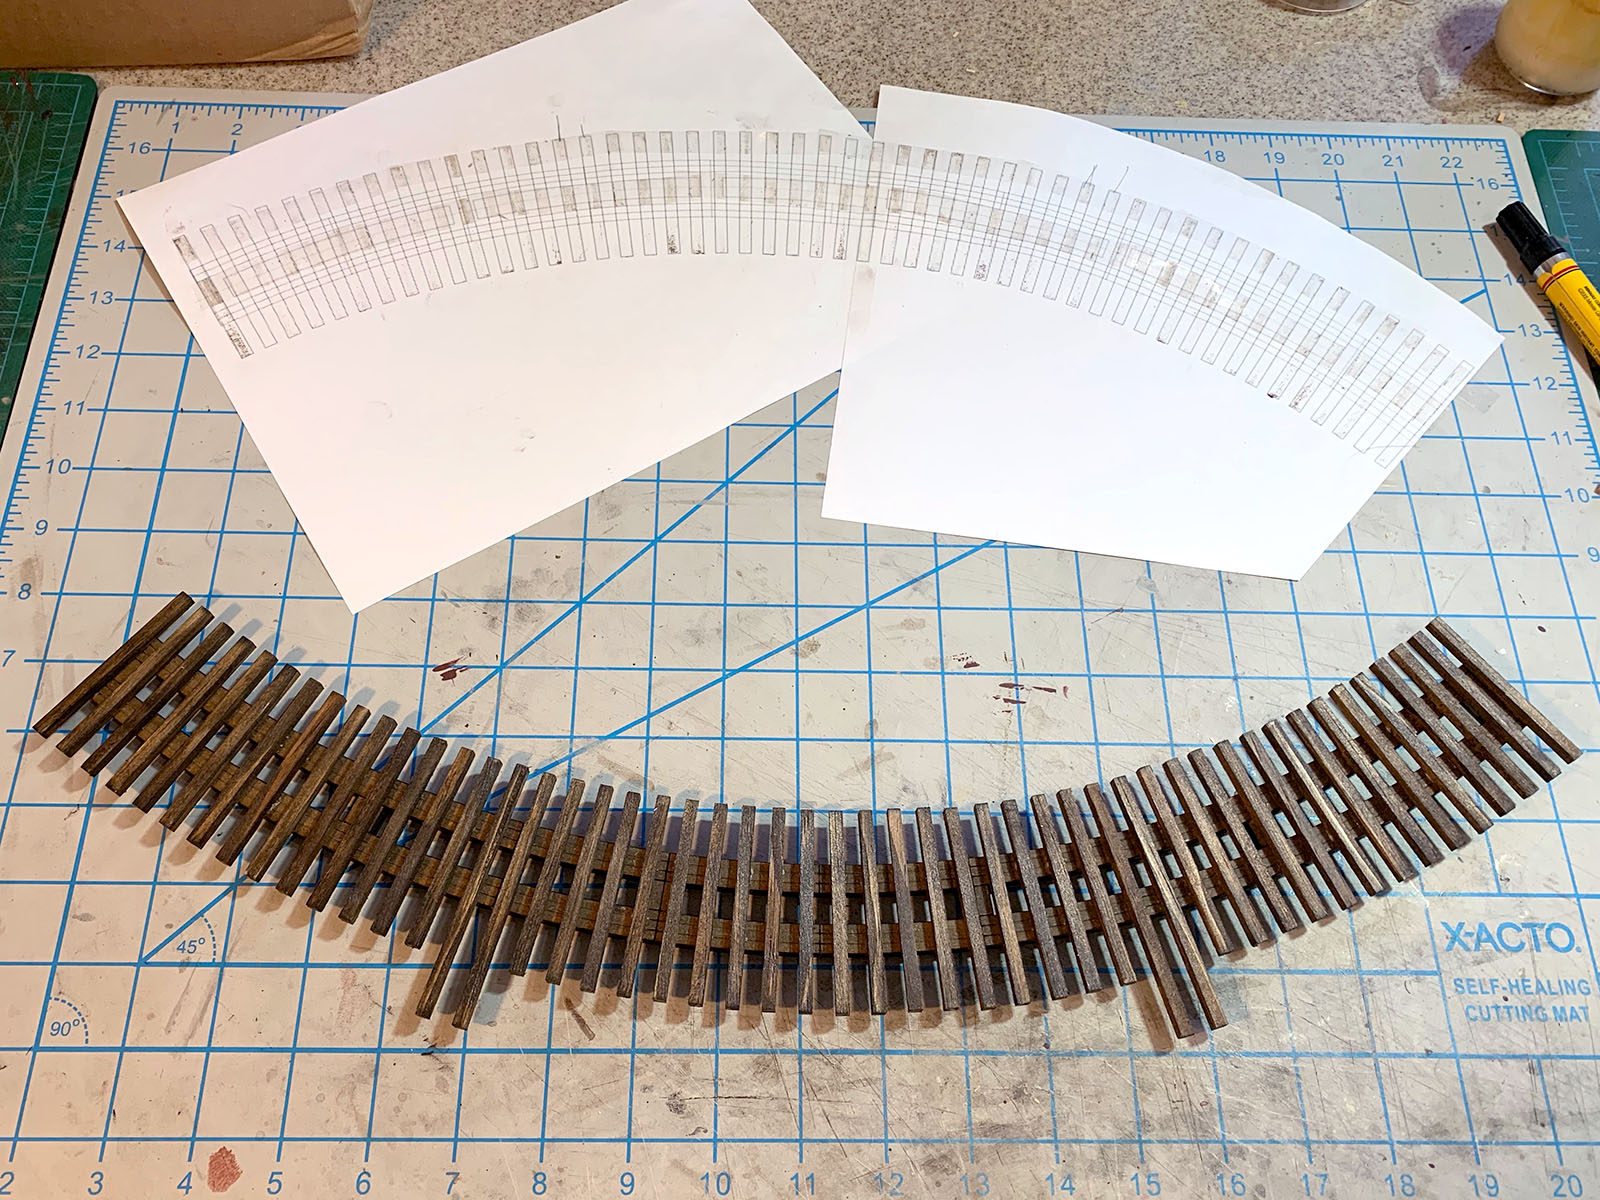
The MDF stringer and Kappler bridge ties were both stained with Minwax Dark Walnut touch-up markers. This color does a nice job of simulating creosoted timbers. I created a full size template in Adobe Illustrator for the proper placement and alignment of the ties.

Double stick tape was applied to the template to hold the ties in place. Note the longer 8×8 ties for the two refuge platforms.

Yellow carpenter’s glue was applied to the ties and then the one piece bridge stringer was clamped in place on top. This was allowed to dry overnight.

Scale 6×6 guard timbers were cut to length, stained, and then cemented in place atop the bridge ties. Grandt Line nut-bolt-washer castings were glued into predrilled holes in the tops of the guard timbers.

The trestle refuges were constructed of scale 4×4 and 2×4 stock over a quickly drawn template. The platforms are floored with scale 1×12 boards.

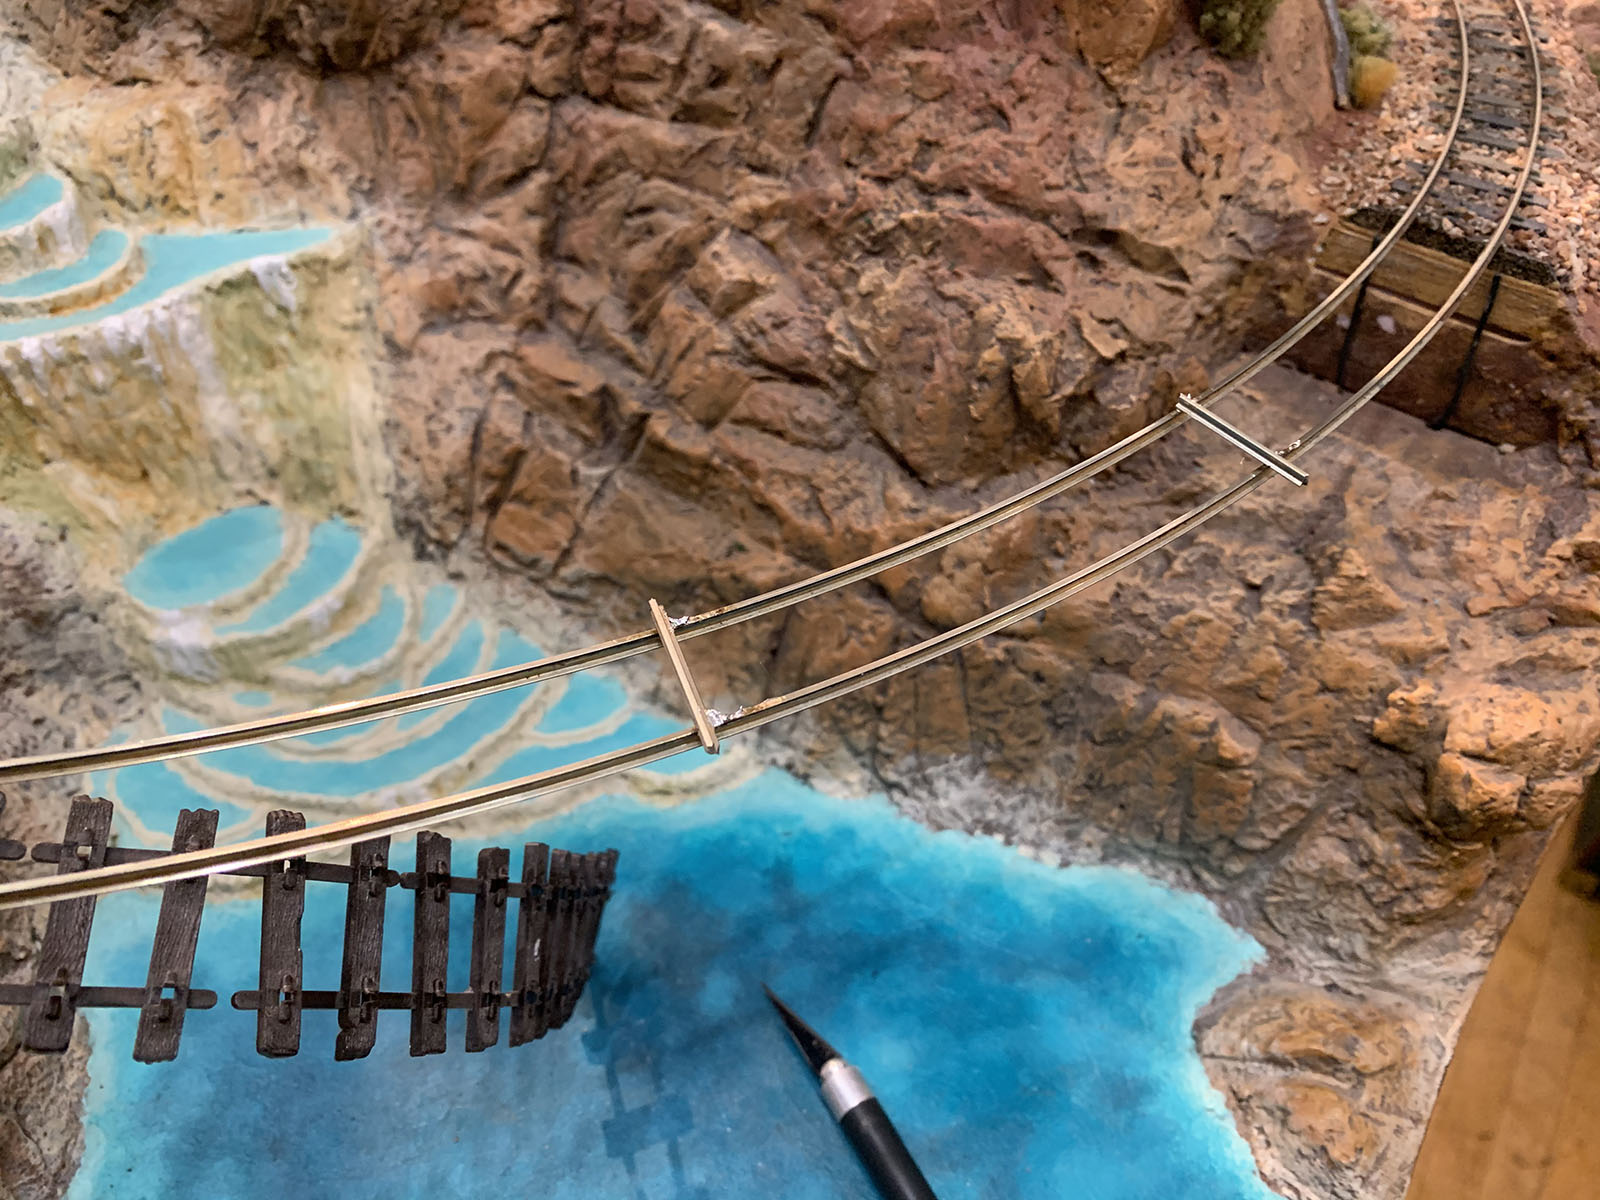
Before the new bridge deck could be installed, the old plastic ties had to be cut away from the Peco flextrack. Short pieces of rail were soldered to the top of the track at intervals to help keep everything in gauge.

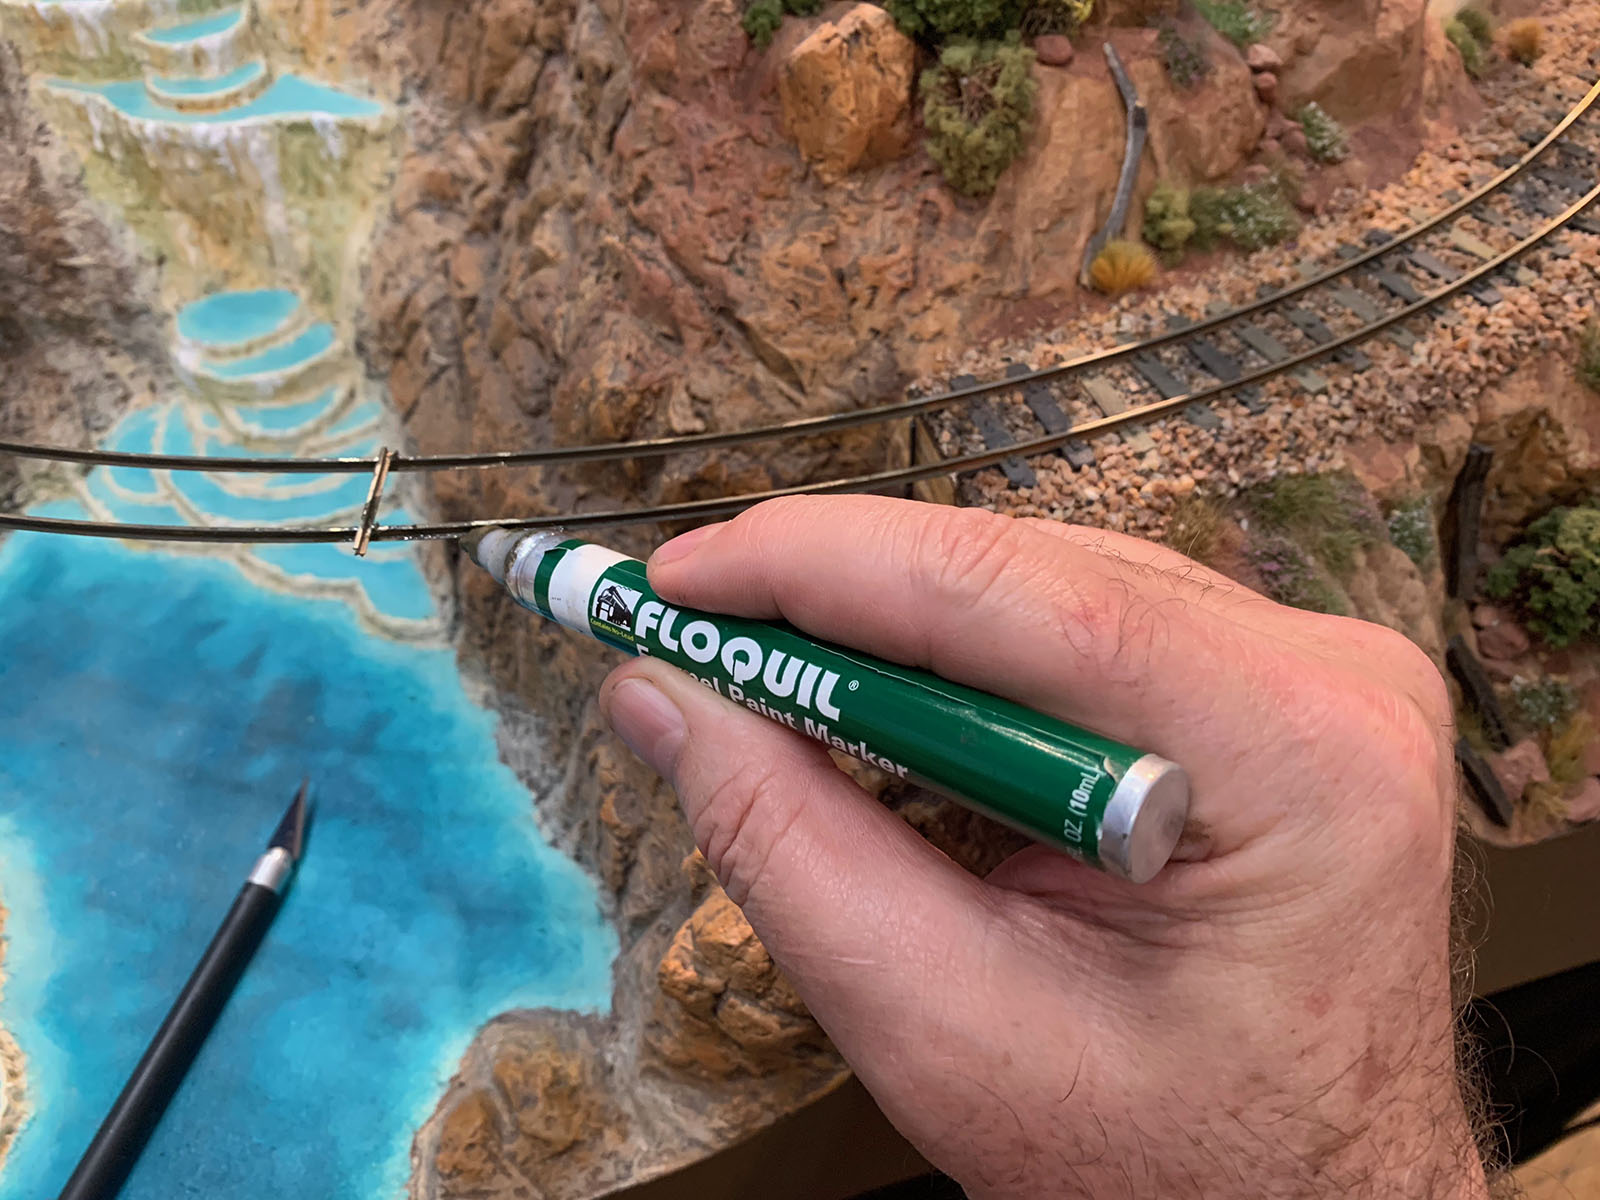
With the plastic ties removed, the rails were painted with a Rail Brown Floquil paint marker. It’s much easier to color the rails now – before the new bridge deck is in place!

At this point I was ready to install the new bridge deck, but there was a small problem. I wanted to use Micro Engineering small spikes for a prototypical look on the bridge but I was completely out of them. To make matters worse, they were also out of stock at all of my usual suppliers. Once again, a friend came to the rescue. Tom Gazsi said he had some small spikes that he'd been holding onto since the early 70's and offered to put them in the mail for me right away. They arrived in a couple days and the TMMC bridge crews were back in business. Many thanks Tom!

Before spiking, contact cement was applied to the bottom of the rails and allowed to dry. Then the deck was held snugly in place with foam blocks while the glue was reactivated with a hot soldering iron. This makes for a tidy job.

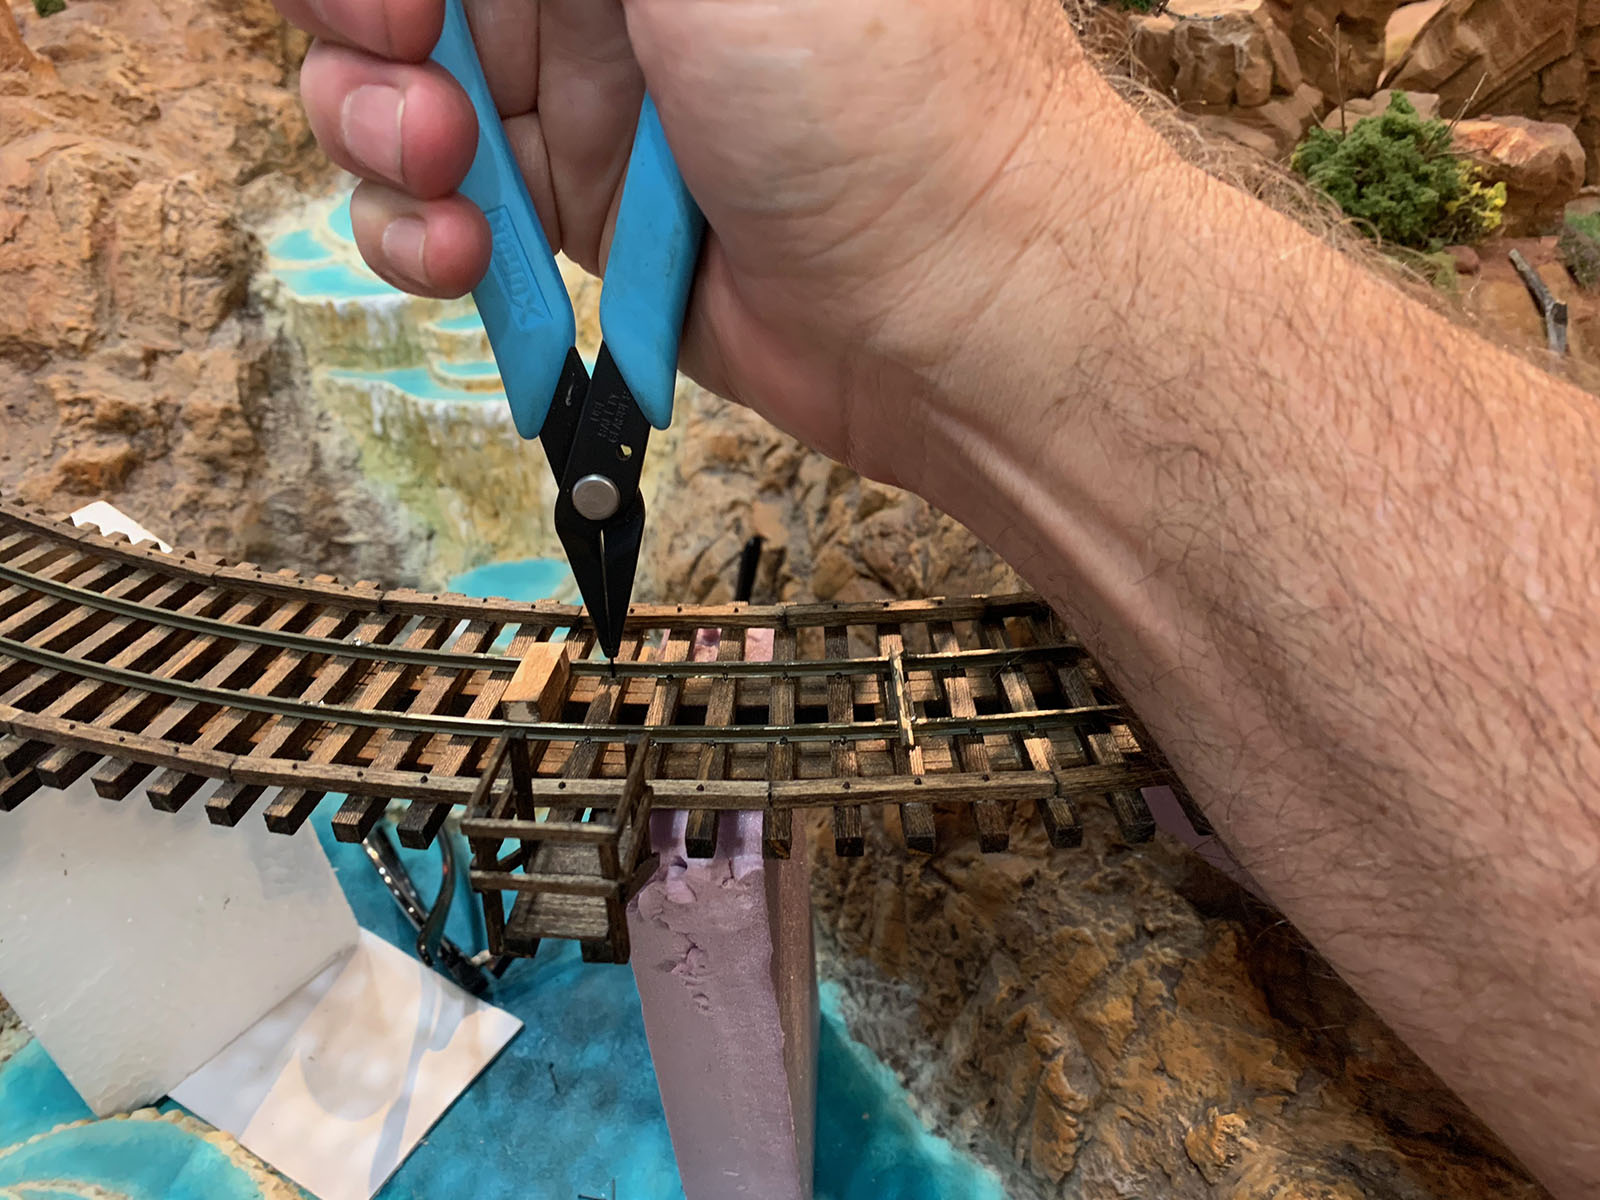
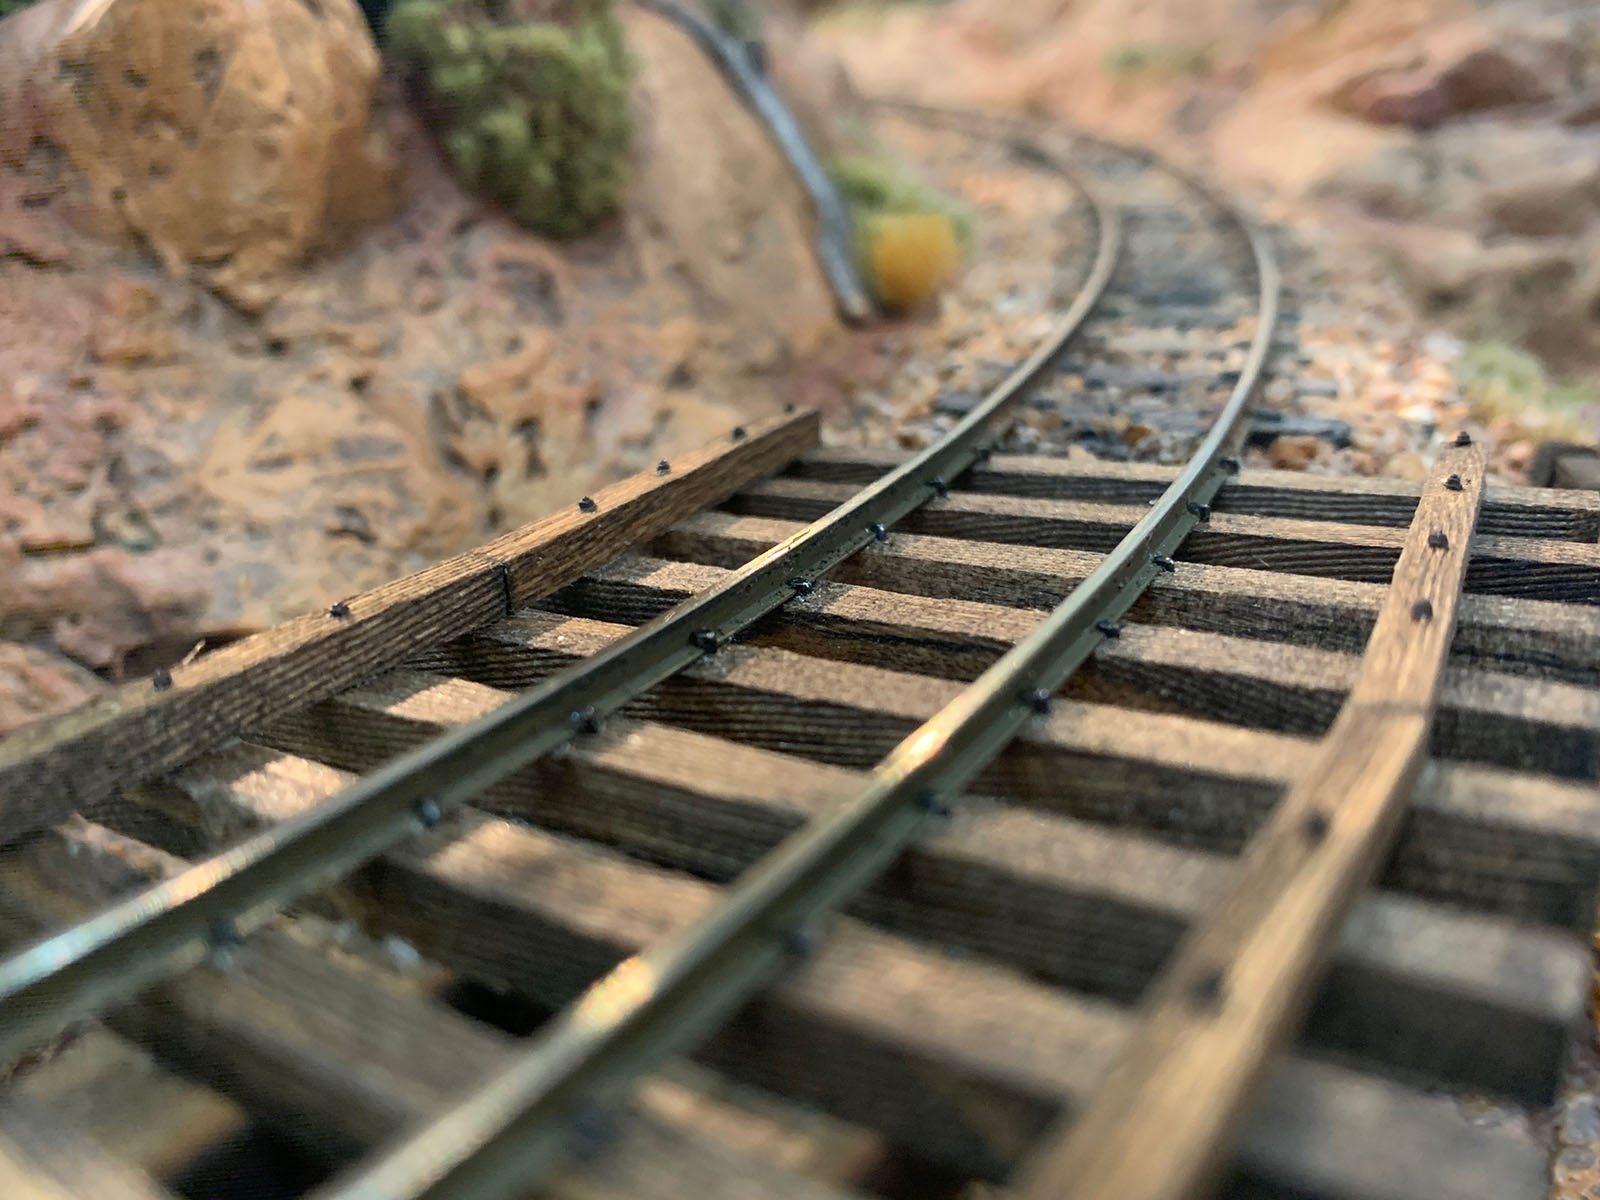
Pilot holes were drilled with a #75 bit in a pin vice and the spikes were pushed into place with a Xuron rail spiking tool. The small wooden block also helps keep the rails in gauge during spiking.

Each tie on the trestle gets 4 spikes. It’s time consuming, but the final look is well worth the effort.

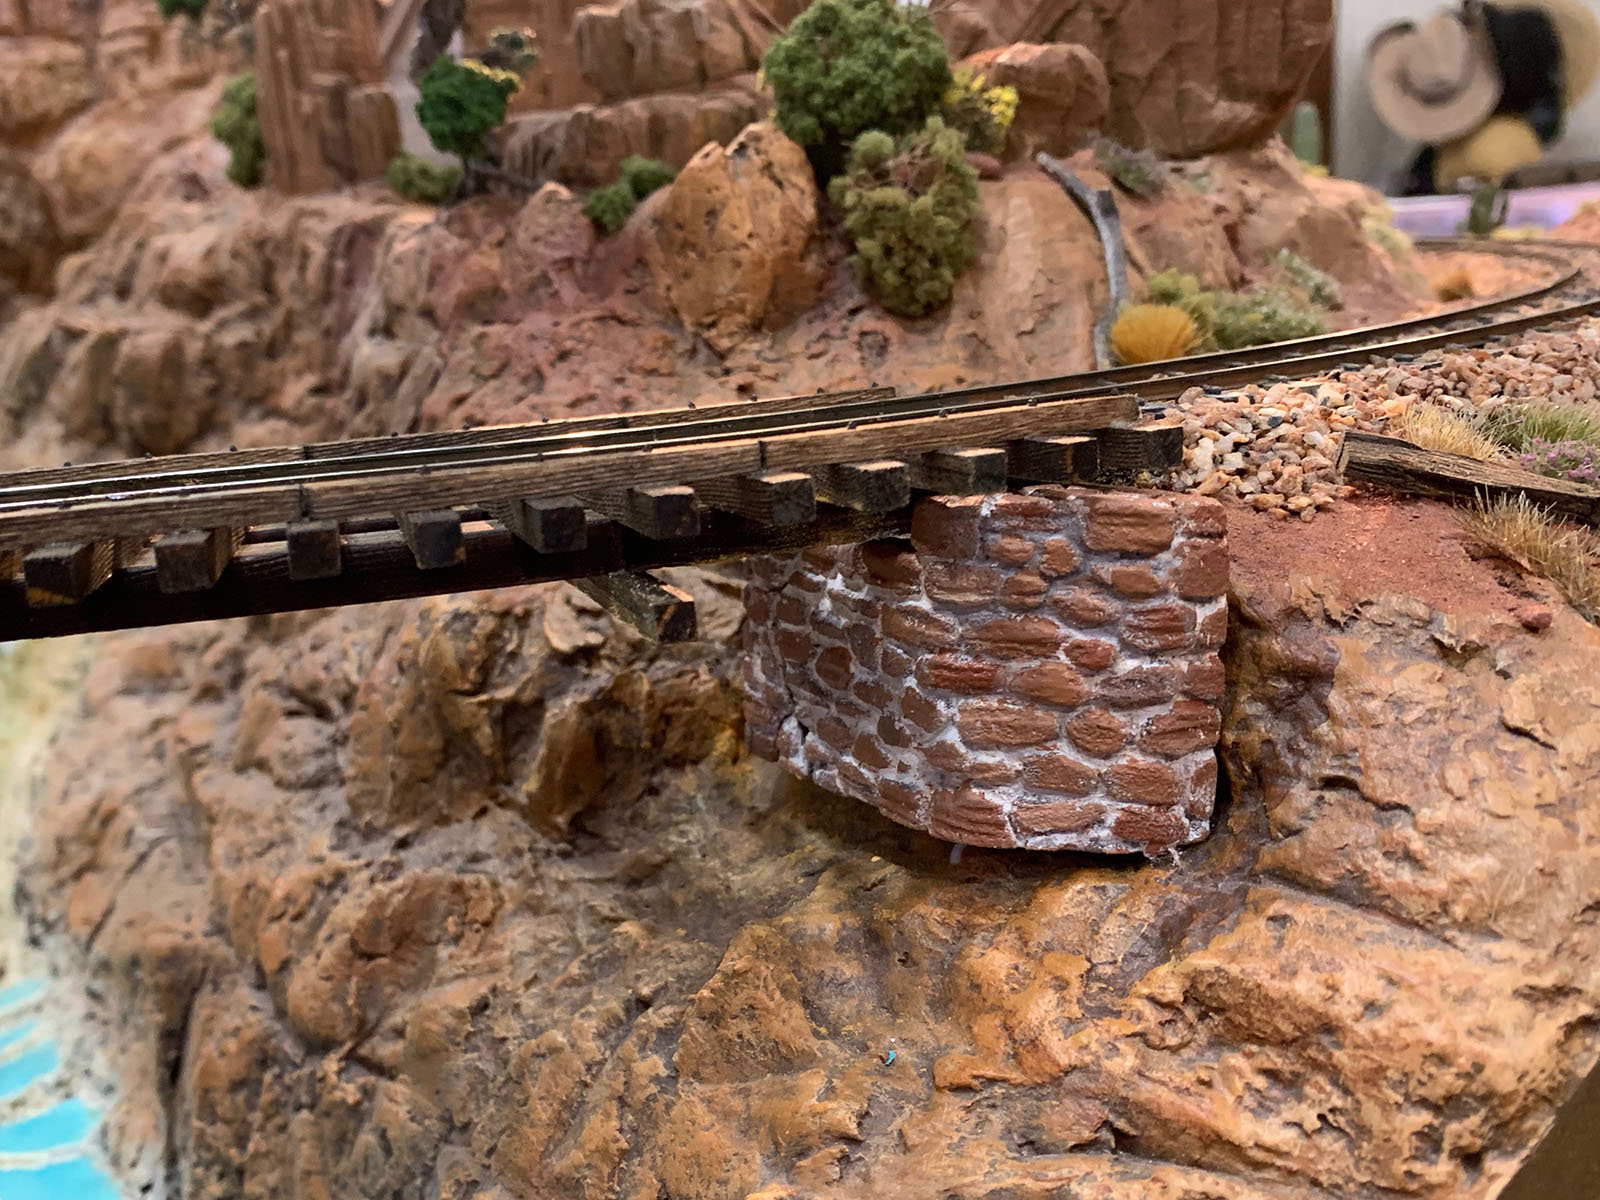
The bridge abutments and footings were carved from Balsa Foam and painted with artists’ acrylics. Grout between the rocks is spackling compound pressed into the nooks and crannies.

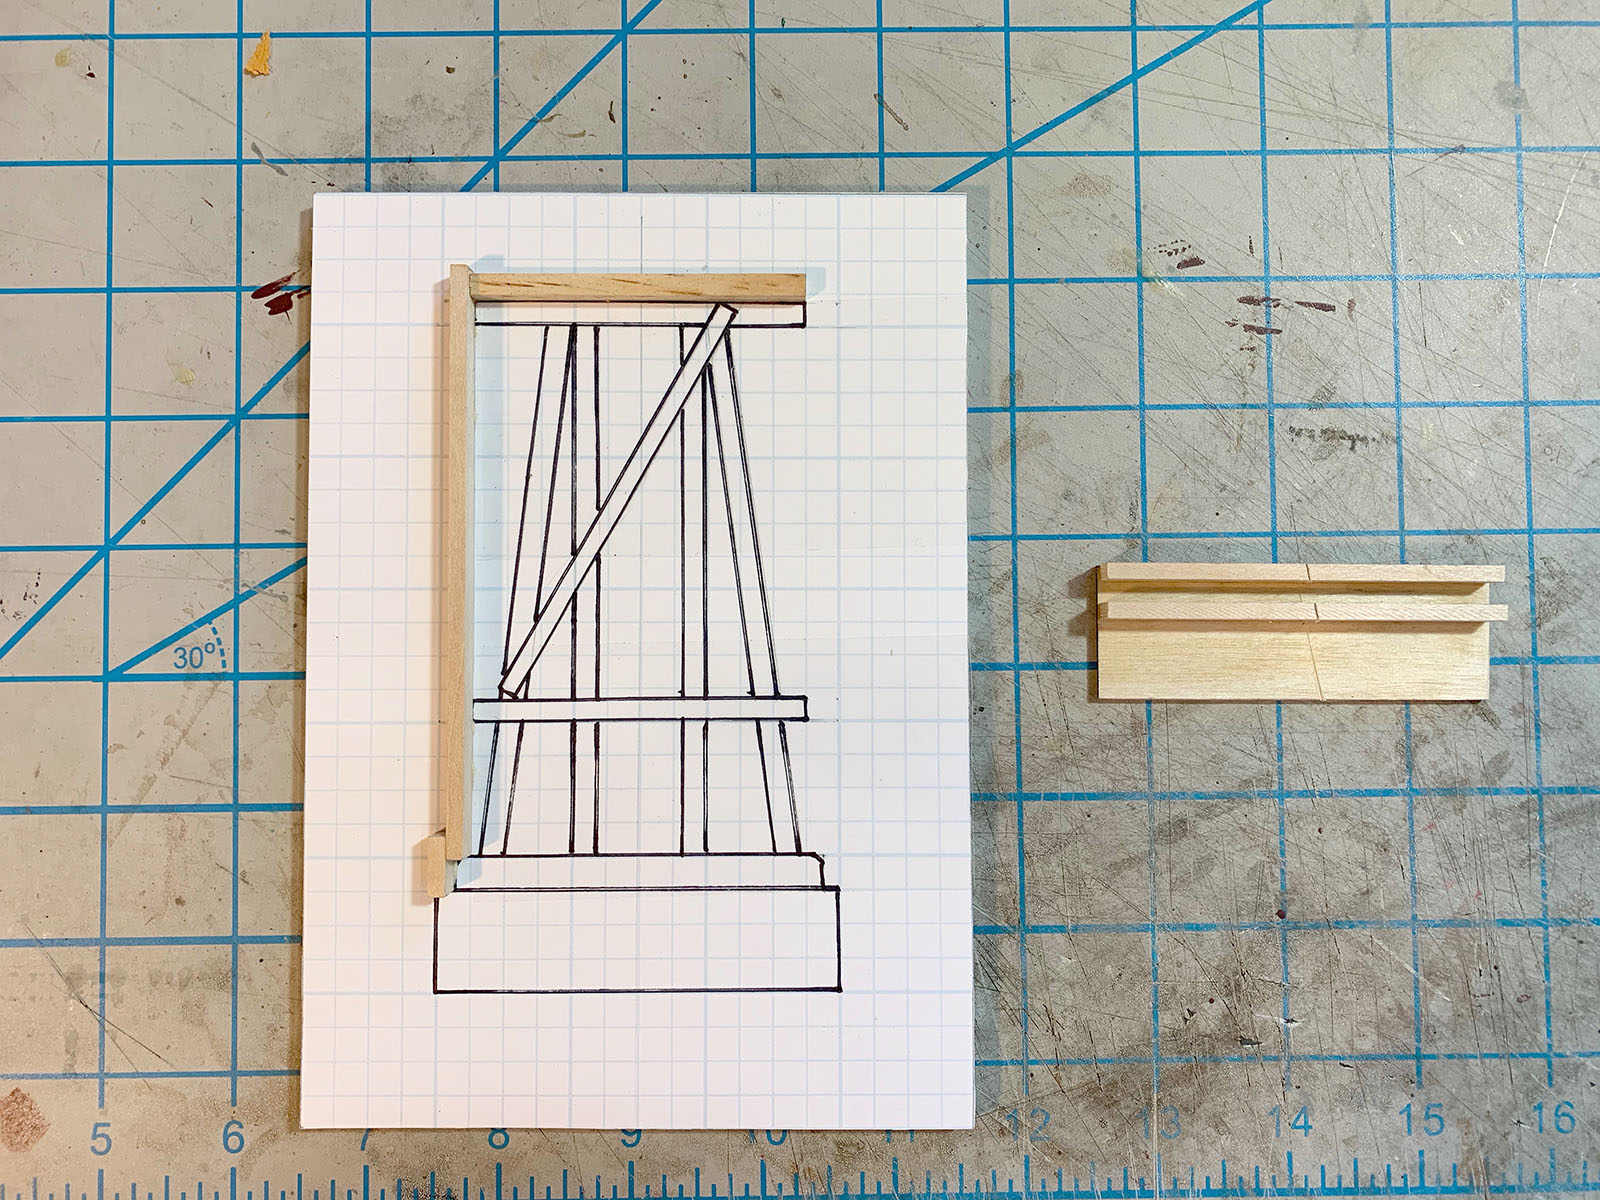
I created a jig to make construction of the bents easier. A scale drawing was laminated to foamcore then covered with clear packaging tape. The foamcore allows you to hold things in place with pins while the glue dries, and the tape ensures parts wont get glued to the template.

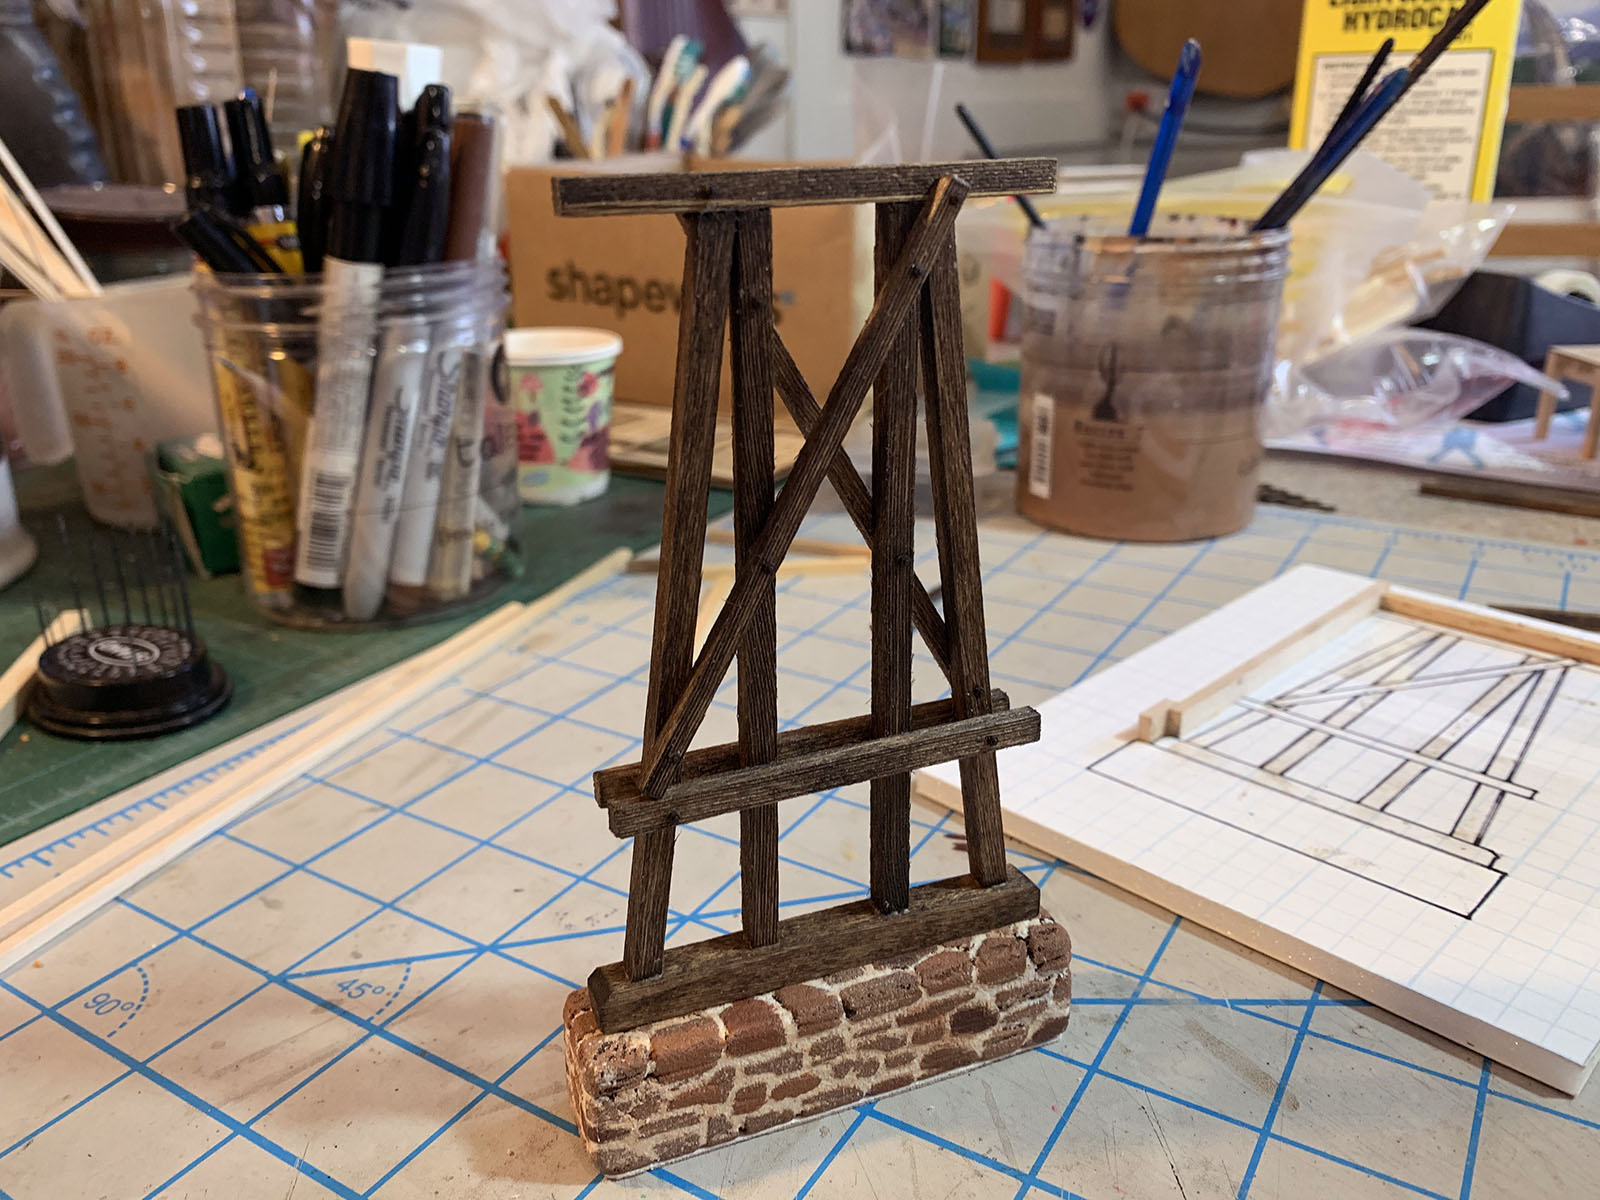
One of the completed bents. Careful measurements were required to maintain a correct height for the carved Balsa Foam footings. Grandt Line NBW’s were painted dark brown and applied in logical places.

Each bent was carefully cemented in its proper location beneath the trestle deck. Then the butterfly truss braces were custom cut and fitted for each bent. An abbreviated version of the jig above was used to build the short bent near the left end of the trestle.

With all of the bents and truss supports in place, the final footings and abutments could be added and blended into the existing scenery with Sculptamold.

With the bridge now complete, the next steps were to blend it into the existing scenery and finish the Gulch itself. I'll cover all of that and more in part 3 of this series. We'll look at ground cover, plants, and details; and do some final water modeling with clear epoxy resin to make those travertine pools come alive. I'll also show how I created the effect of an erupting geyser in model form. Stay tuned, amigos! Adios for now.

Click here to read Part 3.
Calico Canyon Unit of the Horse Thief & Never Mine Ry.

A Simple On18 Loop

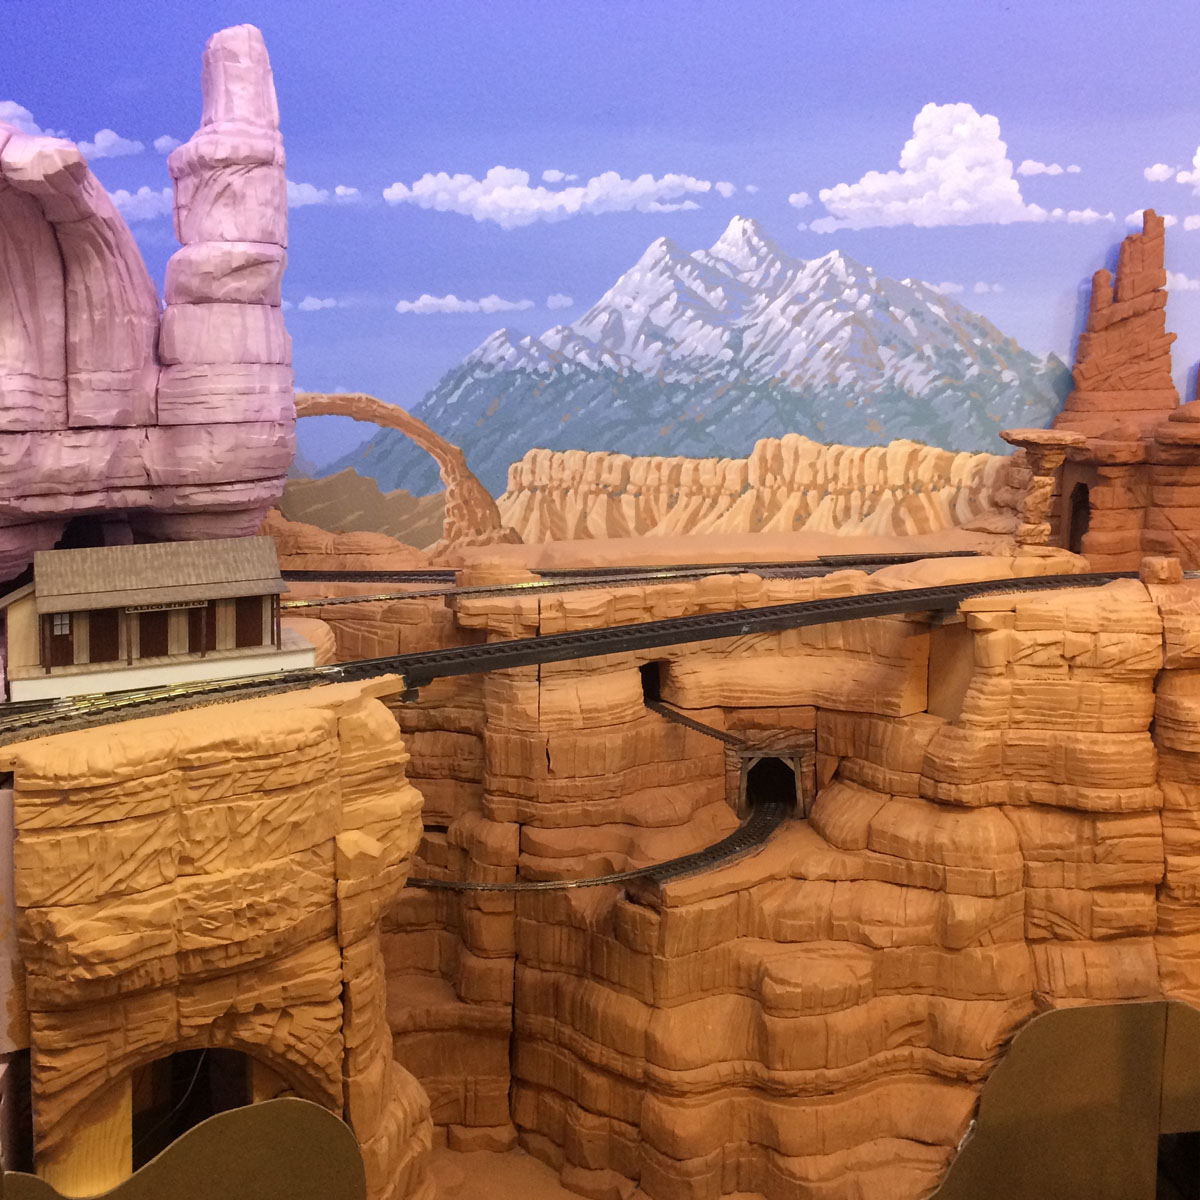
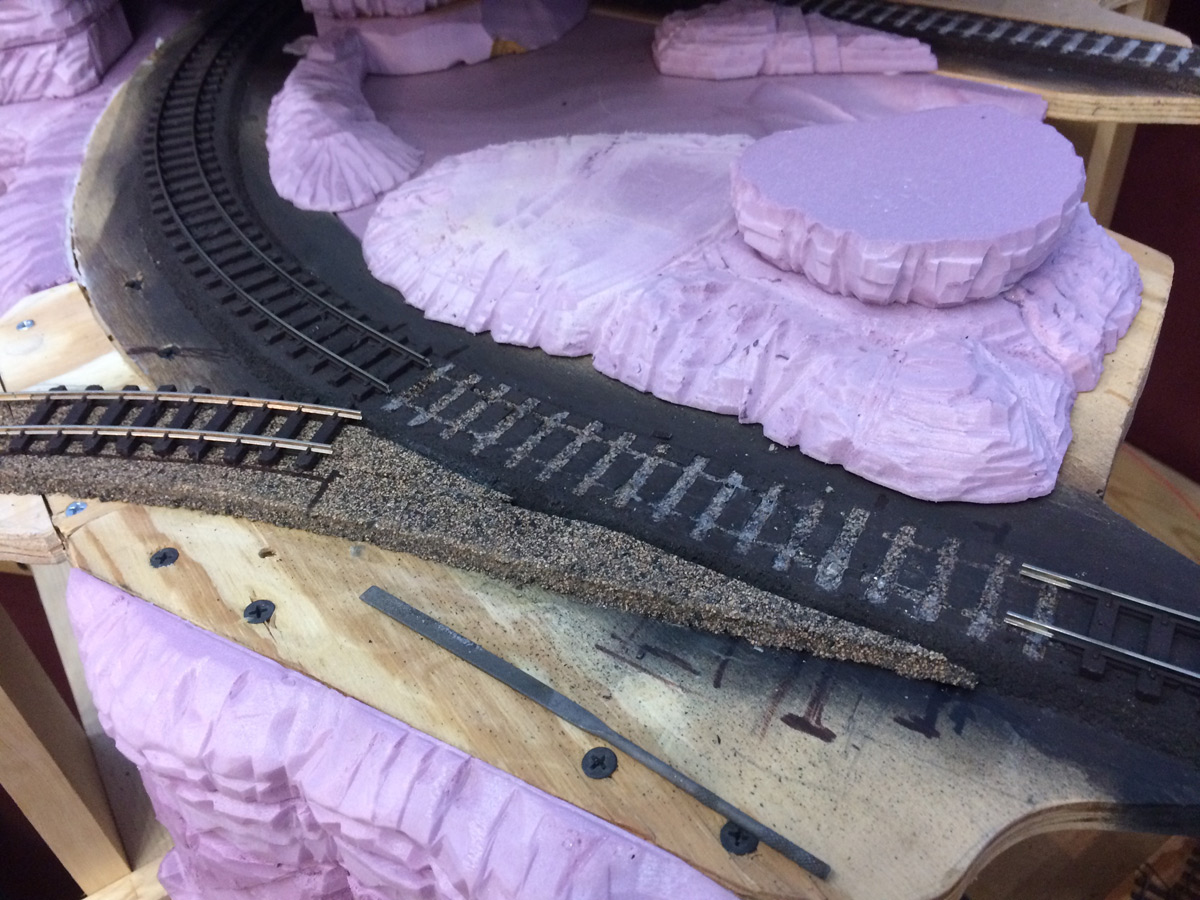
This may be a case of the name of a model railroad being longer than the line itself, but I had to call it something, right? The Calico Canyon Unit of the HT&NMRy is a simple loop of 9mm gauge track about a foot below the Thunder Mesa mainline in Calico Canyon. It emerges from a mine tunnel, crosses Calico Creek on a high trestle, then passes behind a waterfall before ducking back into another tunnel. Round and round it goes, bringing a little more kinetic energy to the canyon scene. The circle is 11" radius and uses Peco HOn3o track for the visible areas, and Atlas N scale snap track for the hidden parts of the loop. Power comes from a well used Kato DC power pack under the layout.

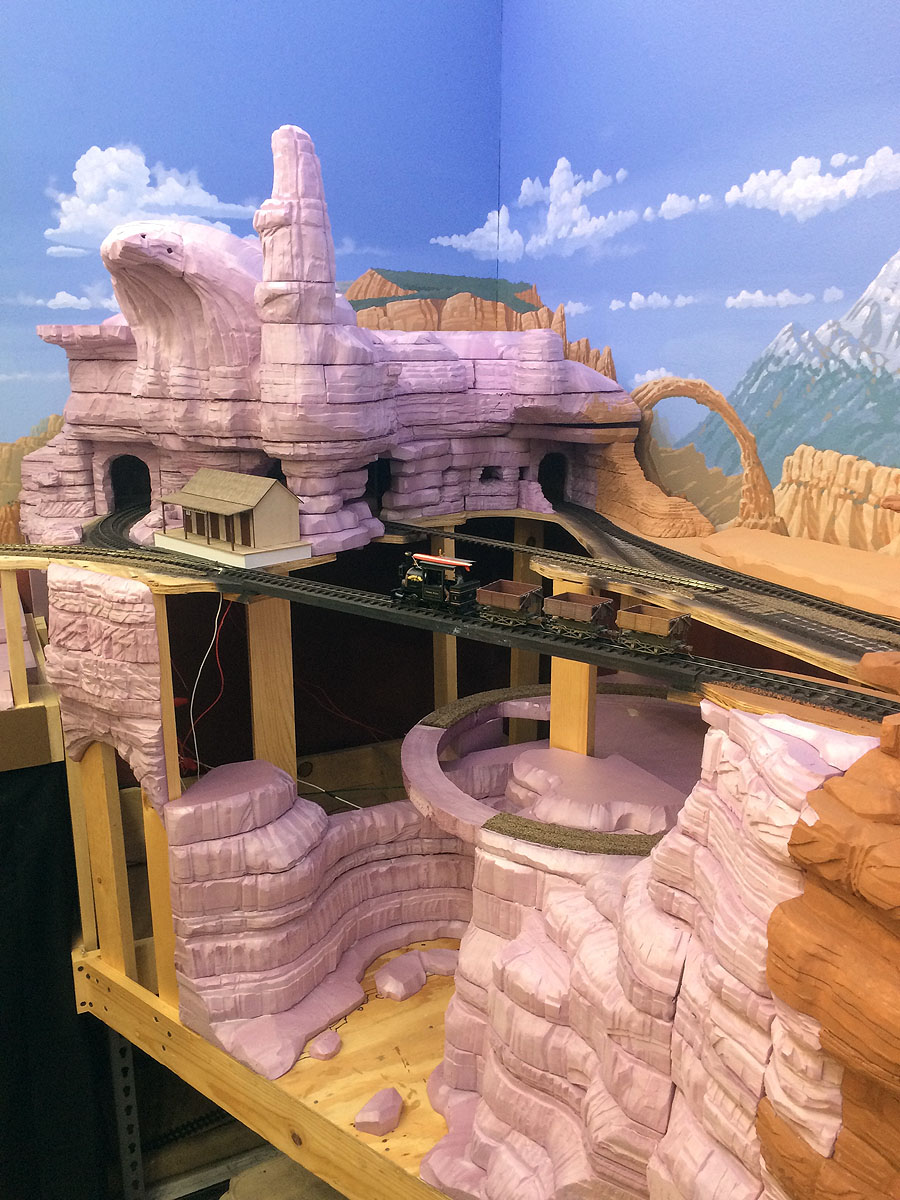
The idea began with earlier plans for Calico Mountain and evolved into a loop inside the canyon when I started roughing in the scenery there. I started by creating a circular sub-roadbed from pink extruded polystyrene foam, and then building the canyon walls up with more foam around it. Midwest HO cork roadbed was glued to the foam with yellow carpenter's glue and allowed to dry overnight before track laying began. Using sectional track in the hidden areas allowed me to leave some rail joints un-soldiered, always a good idea since nickle-silver rail shrinks and expands with changes in temperature.

Calico Creek will cascade down the canyon in a series of dramatic falls, over and under the On18 and On30 tracks. Up top on the TMMC mainline, a new mine headframe and hoist house will be built near the backdrop, giving the illusion that the On18 tracks below are part of a large mine complex.

Progress on this little loop is tied in with progress on the larger scenes of Calico Canyon and Calico Mountain. The next big jobs will be building a mine complex trackside and all of those bridges across the canyon. Then there's the canyon scenery itself to finish and the cascades and falls of Calico Creek. In the meantime, here's a quick video of the On18 loop in action. Stay tuned, Amigos!


Laying Track in Calico and This Week’s Video Log

Studio Update - Sep 1, 2017

This week I was able to spend a few enjoyable hours completing the track work through the new Calico town section. As usual, Peco On30 flextrack and turnouts were used, just as they have been on the entire Thunder Mesa layout.  This track is tough, easy to work with and operates very well. As a bonus, it's chunky, caricatured appearance fits in perfectly with the TMMC as it resembles track on Disney's Big Thunder Mountain Railroad. Click on this week's video log above for a few track laying tips and tricks, as well as a little ghost railroad hunting along the old right-of-way of the United Verde & Pacific, Jerome's fabled narrow gauge line from 1895. Below, I'll go into a bit more detail on some of the track laying particulars for this project.

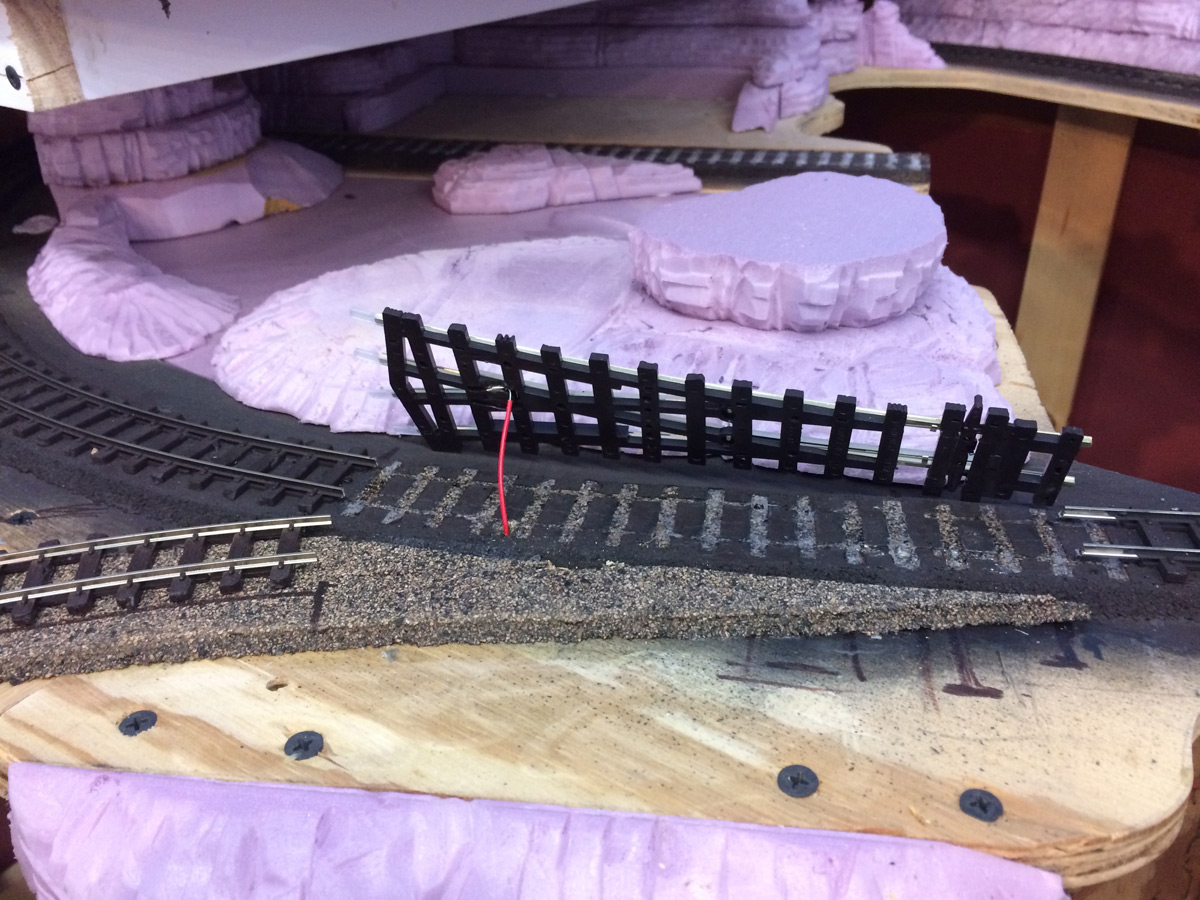
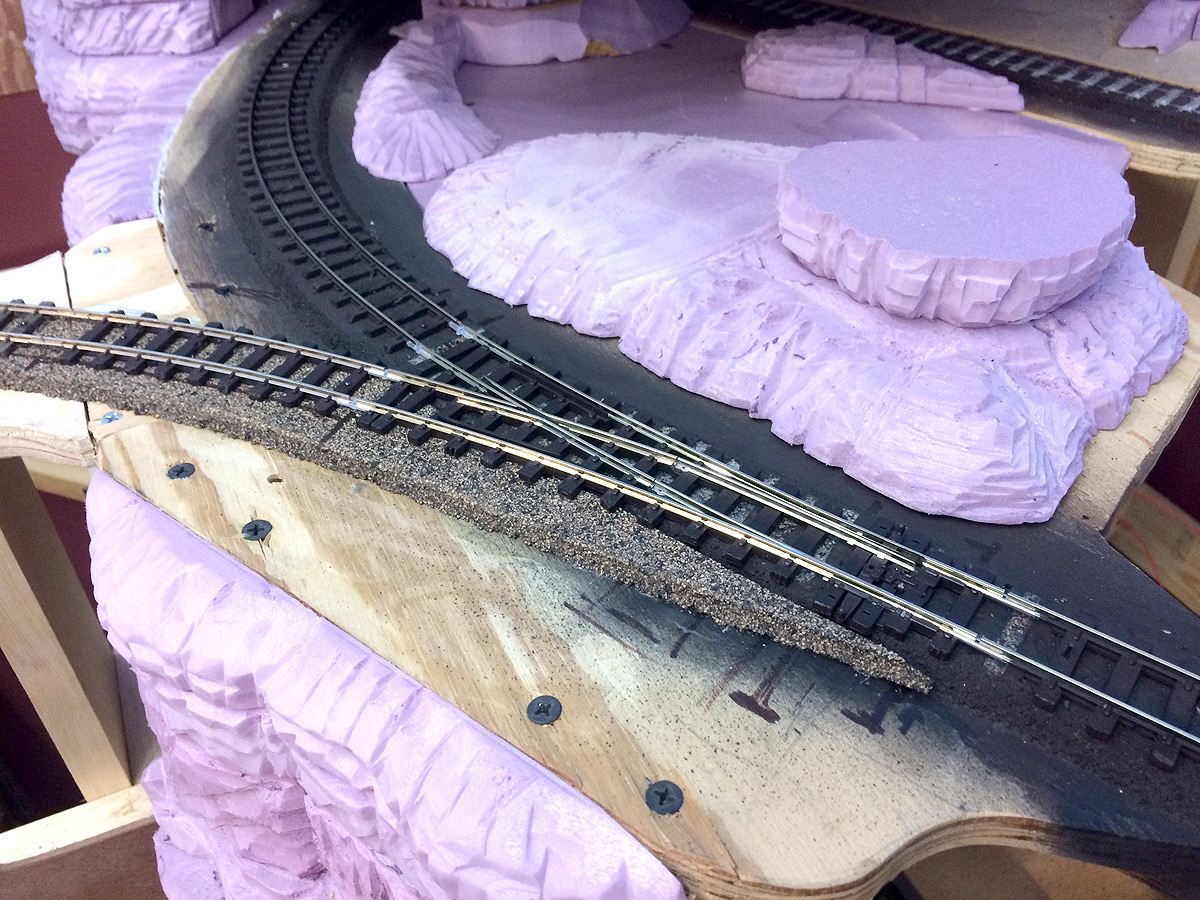
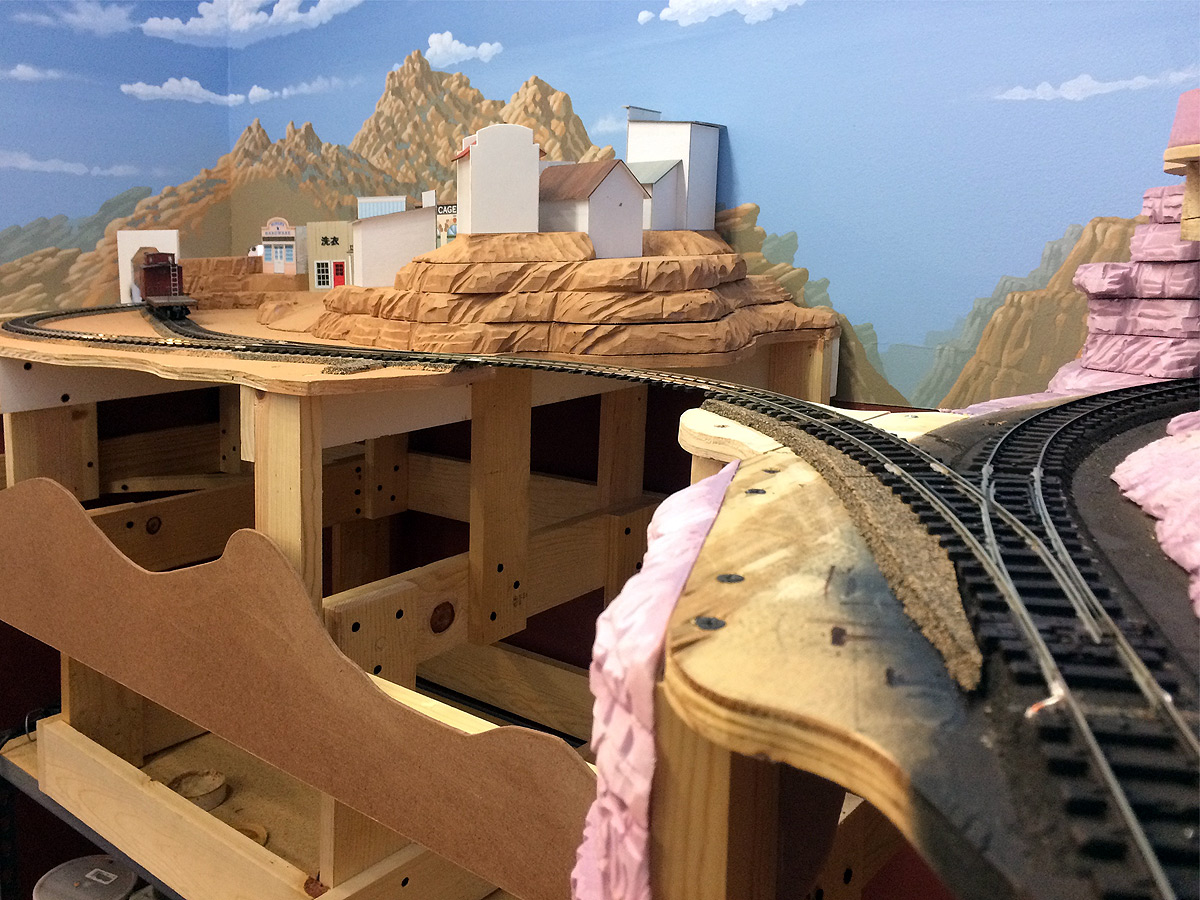
One thing I didn't really cover in this week's video log was the installation of the wye turnout that connects the rest of the layout to the new Calico town section. This was a little tricky since the turnout needed to be located on a curved section of the existing mainline. After a bit of trial and error, I found the sweet spot where the curvature of the proposed wye best matched the existing curve on the mainline and then planned the rest of the track into Calico from there. I marked where the ends of the turnout would fall and then cut out and removed the matching section of mainline.

I've recently begun adding Tam Valley Depot Frog Juicers to the turnouts to improve DCC performance. In the photo above you can see a simple modification made to the wye turnout where a length of wire has been soldered to the thin wire that brings power from the points to the frog. This wire will be connected to a Frog Juicer to provide constant current to the frog while automatically changing polarity when the points are thrown. The Frog Juicer itself will be installed below decks at a later date.

A small hole for the wire was drilled below the frog's position and then the turnout was installed, making sure to add insulated rail joiners to prevent shorting when current is fed from the open, non-point end of the turnout. A couple of Atlas track nails on the connecting tracks hold everything firmly in place.

The rest of the track installation is covered pretty thoroughly in this week's video log, but there are a few points I should emphasize.

  • I always solder rail connections on curves, but almost never on turnouts or straight sections of track. This allows for expansion and contraction of the rail during changes in humidity and also makes it much easier to remove a turnout and replace it should that become necessary.
  • I use either glue or track nails to hold the track in place (though rarely both), and always use nails on sharp curves or anywhere I need the flextrack to firmly hold its shape.
  • I do not glue or nail turnouts to the roadbed. Connections on adjoining tracks make this unnecessary and, again, not nailing them down makes them easy to remove should the need arise.
  • Always pay attention to how power flows through the rails and follow the manufacturer's instructions on where to place gaps or insulated rail joints on turnouts to prevent short circuits.

And lastly: have fun! Model railroading really is fun if you take your time, enjoy what you're doing and don't take it all too seriously. Remember, when all is said and done, we're just grown-ups playing with trains. Make the most of it.

Here's a bonus video showing the first train into Calico after I dropped some feeder wires and hooked the new track up to the DCC bus. Enjoy!

Thanks for checking in, amigos. Adios for now!

Thunder Mesa Video Log: April 8, 2016

April 2016 Video Log
Howdy Folks! So much has been happening out here in Thunder Mesa Country that it’s hard to know where to begin. The right of way has been changed, towns have been moved, combined or added, and entire areas have been reimagined. On top of all that, a lot of real progress has been made bringing these changes to life with new scenery work and modeling at Horse Thief Canyon and the town of Thunder Mesa well underway. The best way to get caught up on things is with a new video log!

Thunder Mesa Video Log: Oct 31, 2015

It’s a Happy Haunted Halloween Video Log for the On30 Thunder Mesa Mining Company! Today we delve deep into the most terrifying topic in model railroading: Track Maintenance! See how the trains are kept running on the TMMC with a special focus on the use of NO-OX to improve conductivity. I don’t own the music sampled. Grim Grinning Ghosts © Disney, performed by Chris Calabrese and the Swingtips.

First Train Through Coyote Canyon

Track laying and wiring through new sections of the railroad has been completed and here’s a quick sneak-peek at the first train running through Coyote Canyon. There’s no scenery here yet and the bridges are temporary, but soon this will be home to a dramatic gorge over 100 scale feet deep. Sampled music is from the original Disneyland television show, copyright © Disney.