
Studio Update - Sep 1, 2017
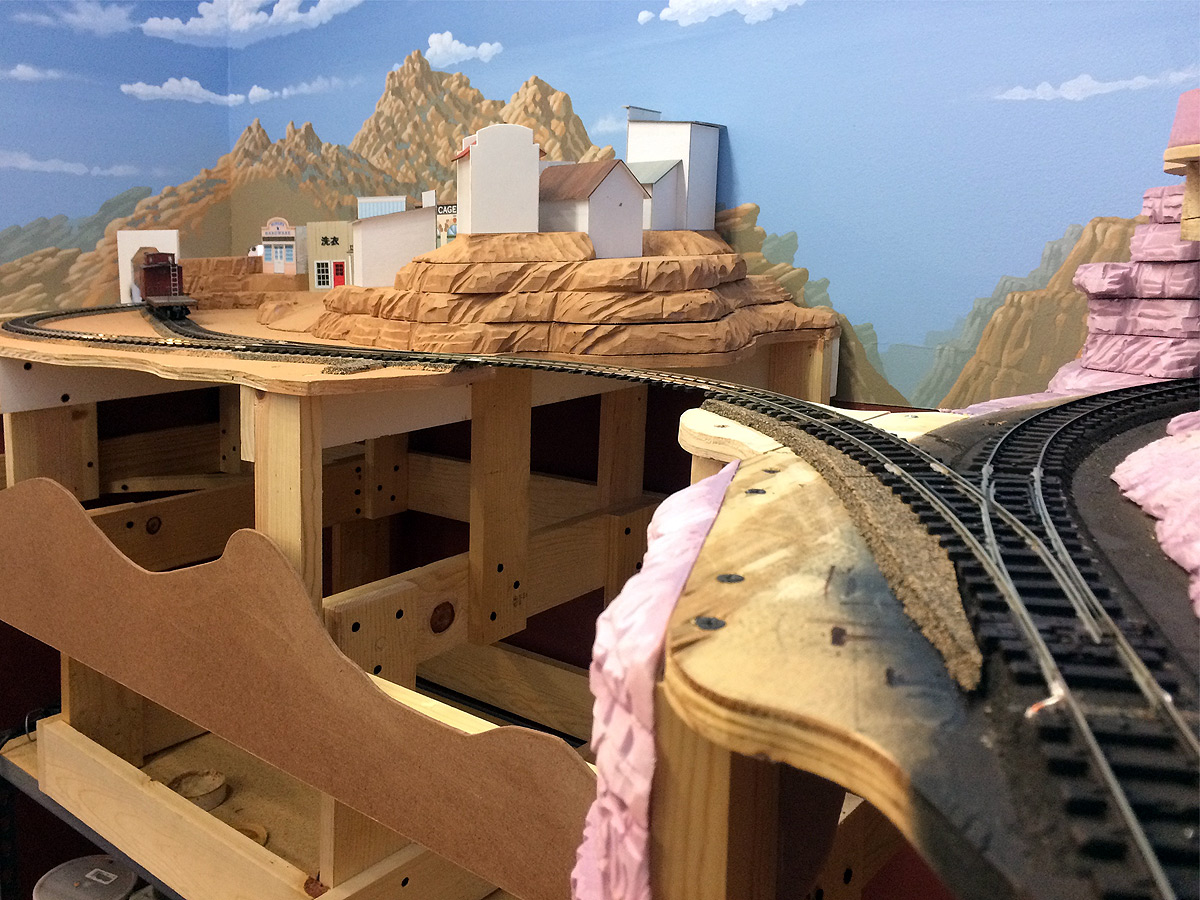
This week I was able to spend a few enjoyable hours completing the track work through the new Calico town section. As usual, Peco On30 flextrack and turnouts were used, just as they have been on the entire Thunder Mesa layout. This track is tough, easy to work with and operates very well. As a bonus, it's chunky, caricatured appearance fits in perfectly with the TMMC as it resembles track on Disney's Big Thunder Mountain Railroad. Click on this week's video log above for a few track laying tips and tricks, as well as a little ghost railroad hunting along the old right-of-way of the United Verde & Pacific, Jerome's fabled narrow gauge line from 1895. Below, I'll go into a bit more detail on some of the track laying particulars for this project.


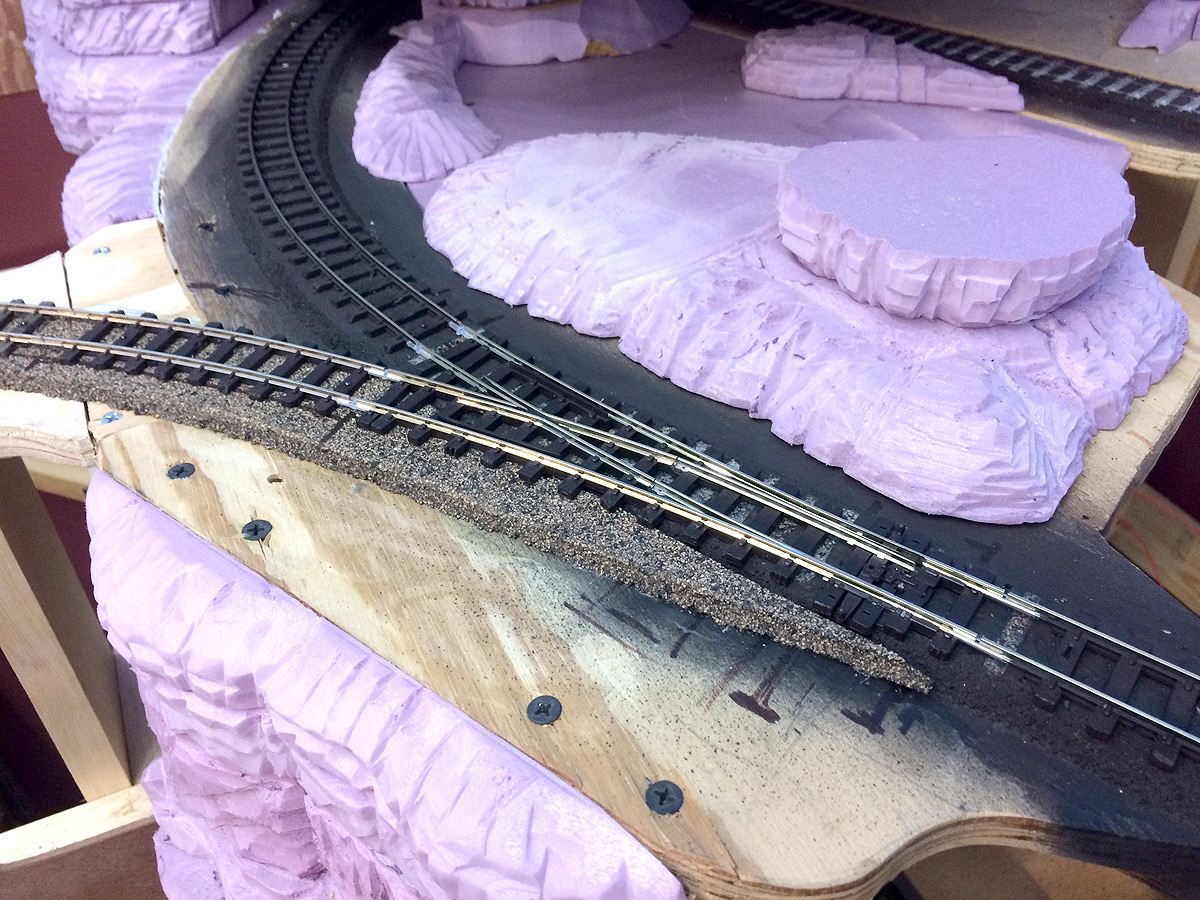
One thing I didn't really cover in this week's video log was the installation of the wye turnout that connects the rest of the layout to the new Calico town section. This was a little tricky since the turnout needed to be located on a curved section of the existing mainline. After a bit of trial and error, I found the sweet spot where the curvature of the proposed wye best matched the existing curve on the mainline and then planned the rest of the track into Calico from there. I marked where the ends of the turnout would fall and then cut out and removed the matching section of mainline.
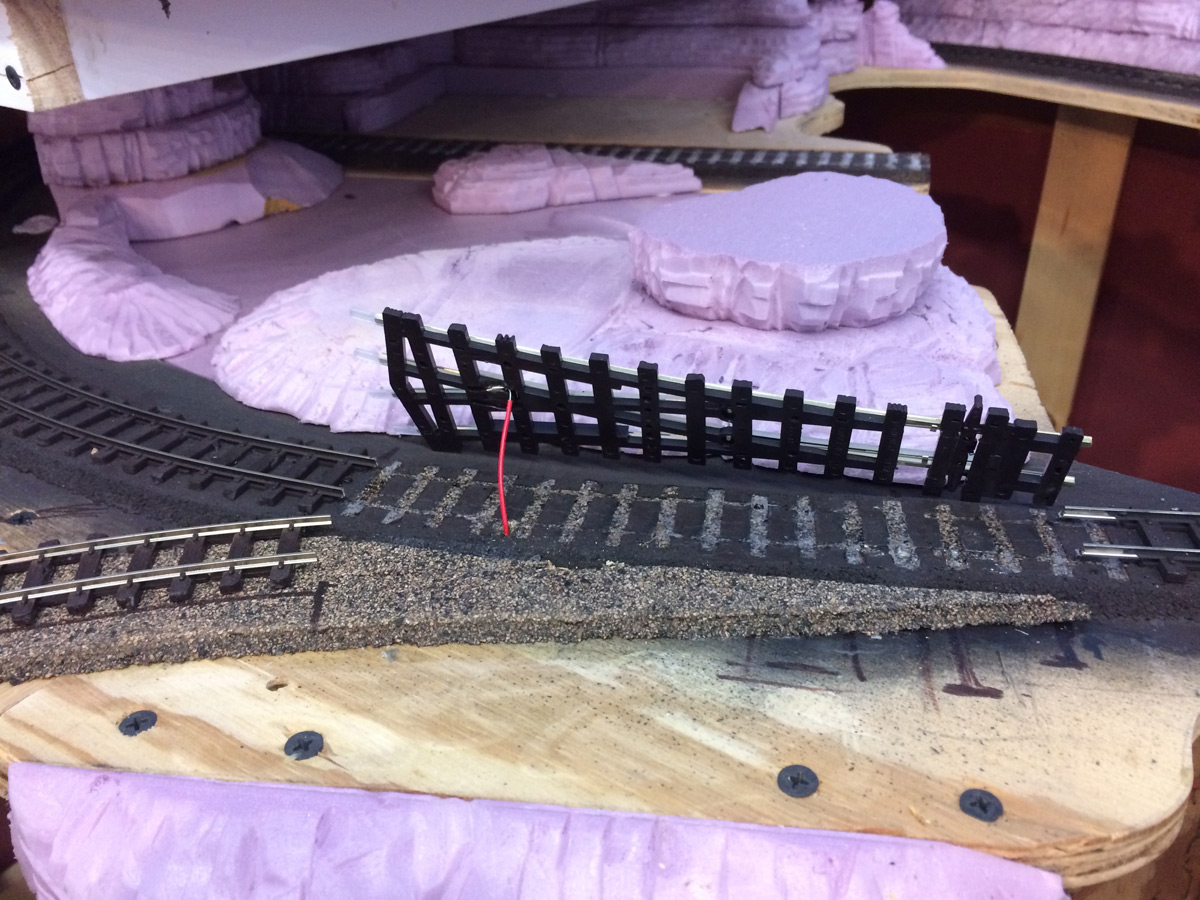
I've recently begun adding Tam Valley Depot Frog Juicers to the turnouts to improve DCC performance. In the photo above you can see a simple modification made to the wye turnout where a length of wire has been soldered to the thin wire that brings power from the points to the frog. This wire will be connected to a Frog Juicer to provide constant current to the frog while automatically changing polarity when the points are thrown. The Frog Juicer itself will be installed below decks at a later date.
A small hole for the wire was drilled below the frog's position and then the turnout was installed, making sure to add insulated rail joiners to prevent shorting when current is fed from the open, non-point end of the turnout. A couple of Atlas track nails on the connecting tracks hold everything firmly in place.

The rest of the track installation is covered pretty thoroughly in this week's video log, but there are a few points I should emphasize.
- I always solder rail connections on curves, but almost never on turnouts or straight sections of track. This allows for expansion and contraction of the rail during changes in humidity and also makes it much easier to remove a turnout and replace it should that become necessary.
- I use either glue or track nails to hold the track in place (though rarely both), and always use nails on sharp curves or anywhere I need the flextrack to firmly hold its shape.
- I do not glue or nail turnouts to the roadbed. Connections on adjoining tracks make this unnecessary and, again, not nailing them down makes them easy to remove should the need arise.
- Always pay attention to how power flows through the rails and follow the manufacturer's instructions on where to place gaps or insulated rail joints on turnouts to prevent short circuits.
And lastly: have fun! Model railroading really is fun if you take your time, enjoy what you're doing and don't take it all too seriously. Remember, when all is said and done, we're just grown-ups playing with trains. Make the most of it.
Here's a bonus video showing the first train into Calico after I dropped some feeder wires and hooked the new track up to the DCC bus. Enjoy!
Thanks for checking in, amigos. Adios for now!
Support the TMMC

T-shirts from Spreadshirt.com


