Month: August 2017

Changes to the Backdrop and This Week’s Video Log

Studio Update - Aug 26, 2017

This past week I did more work on the new Calico section, repainting an area of the backdrop that will be behind the town to look a bit more like the desert hills around the real Calico Ghost Town near Yermo, CA. Many thanks to former Calico resident K.D. Younger for sending me a disc full of photos from her days there. I also found a little time to do some ghost-mine hunting this week and paid a visit to the Audrey Shaft Head-frame at the Little Daisy Mine in Jerome. Click on this week's video log above for a visit to the mine, some backdrop painting, and other assorted antics.

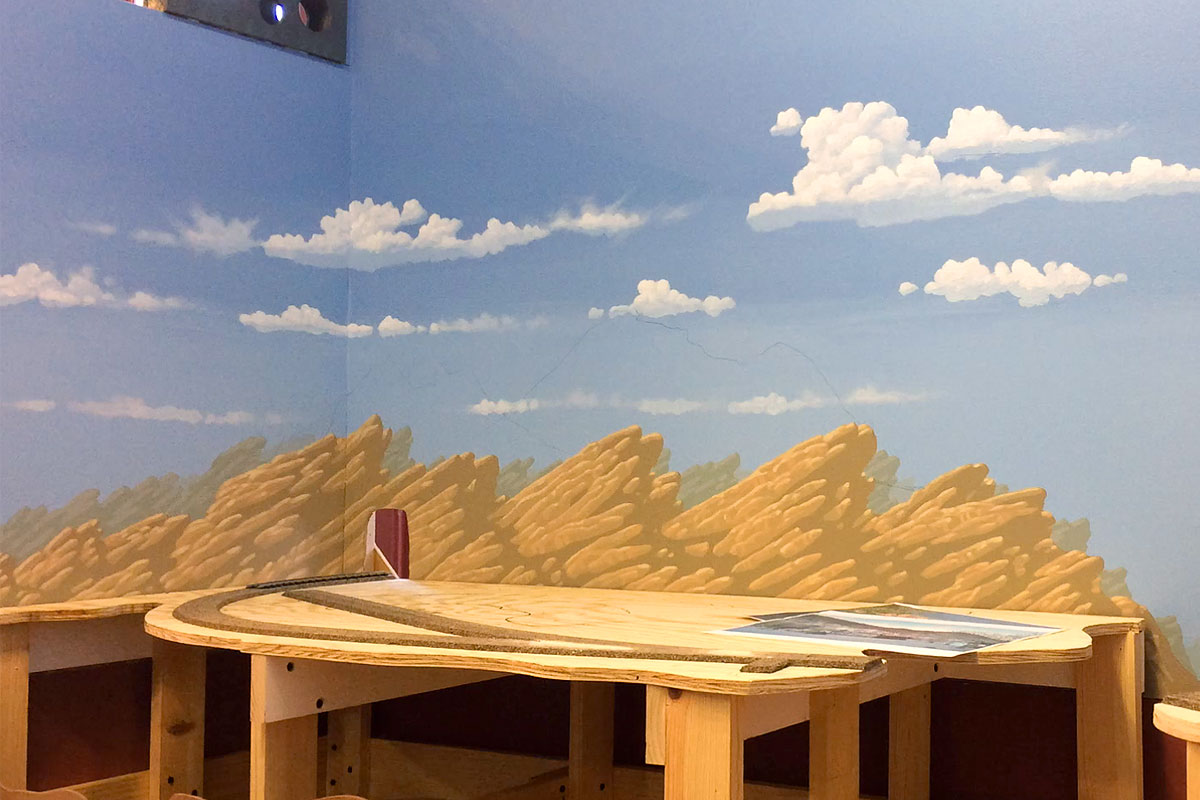
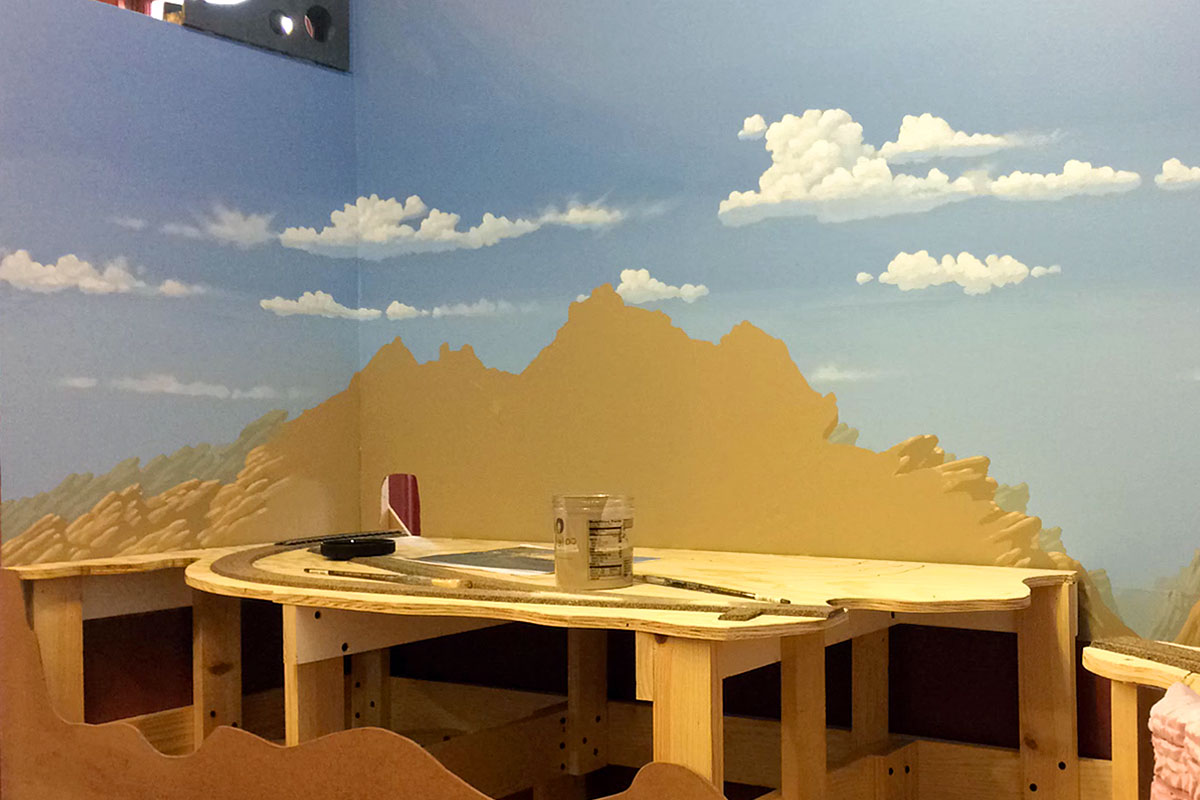
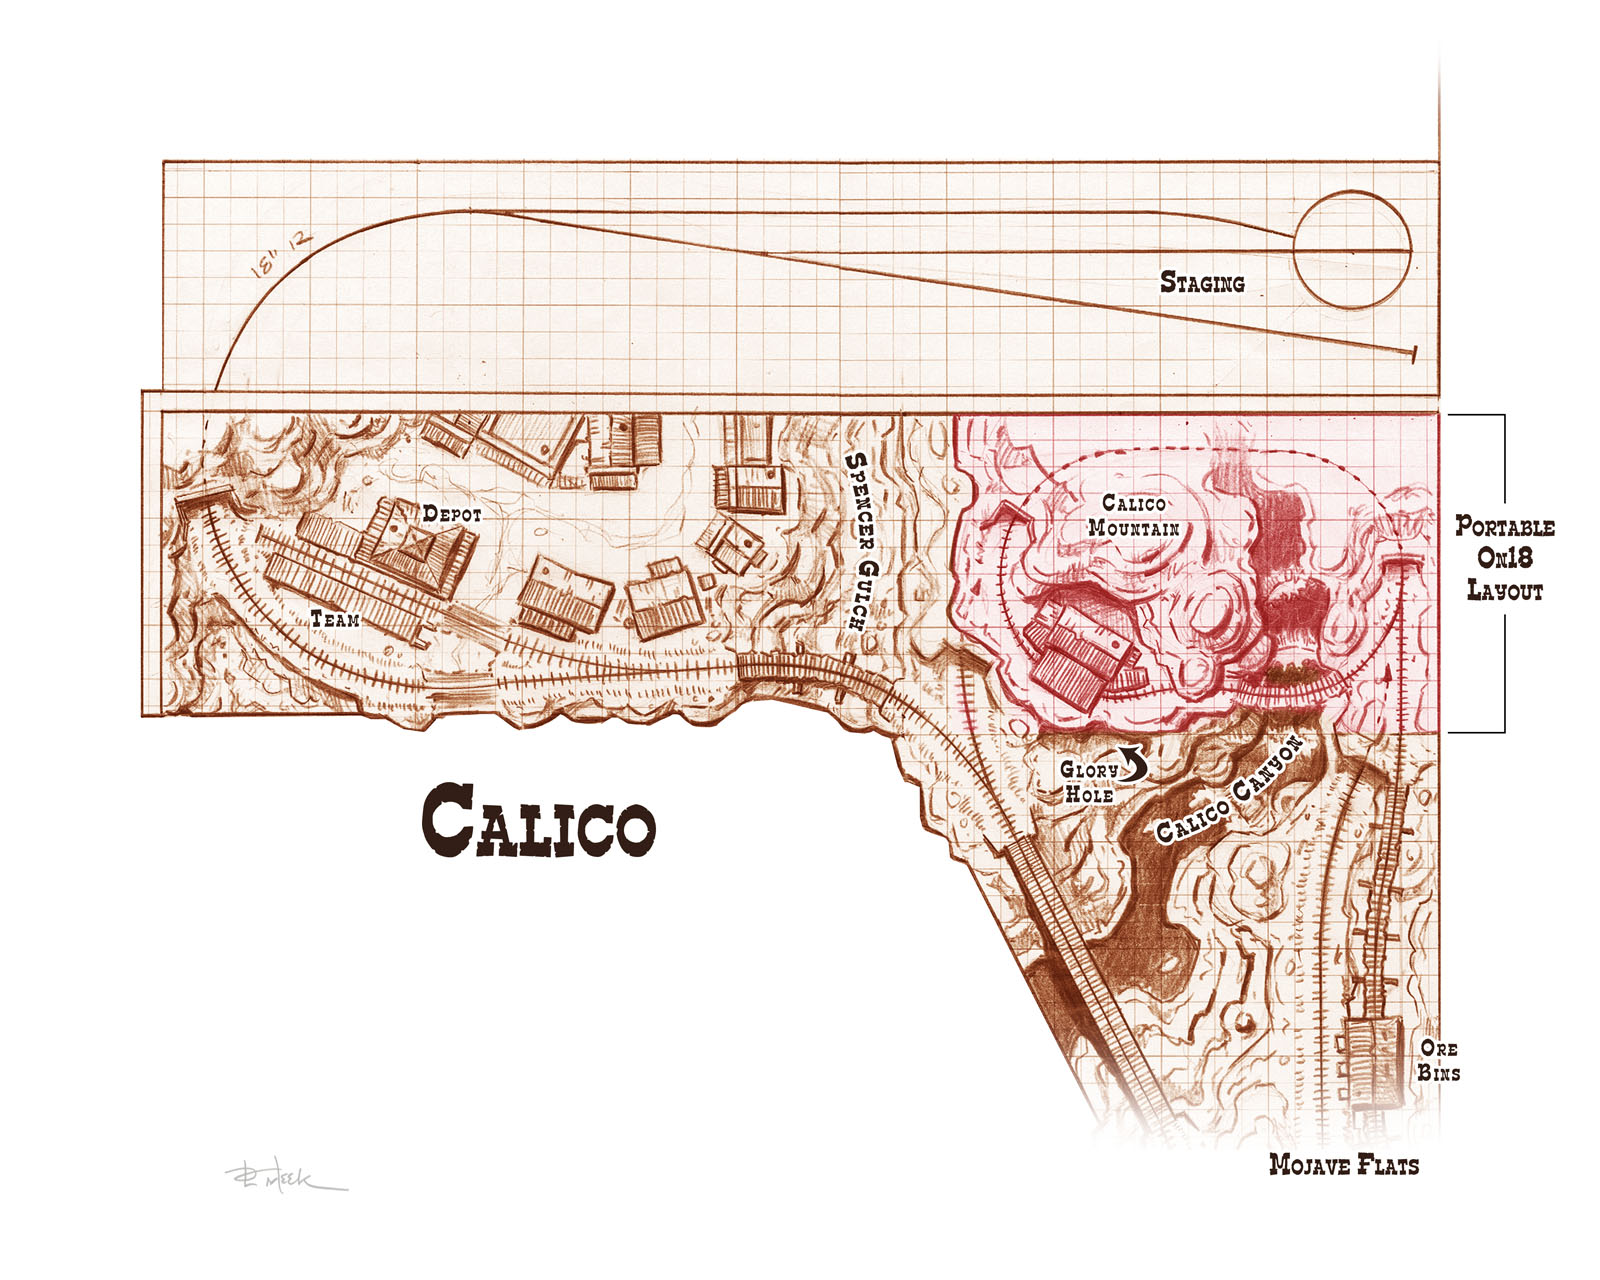
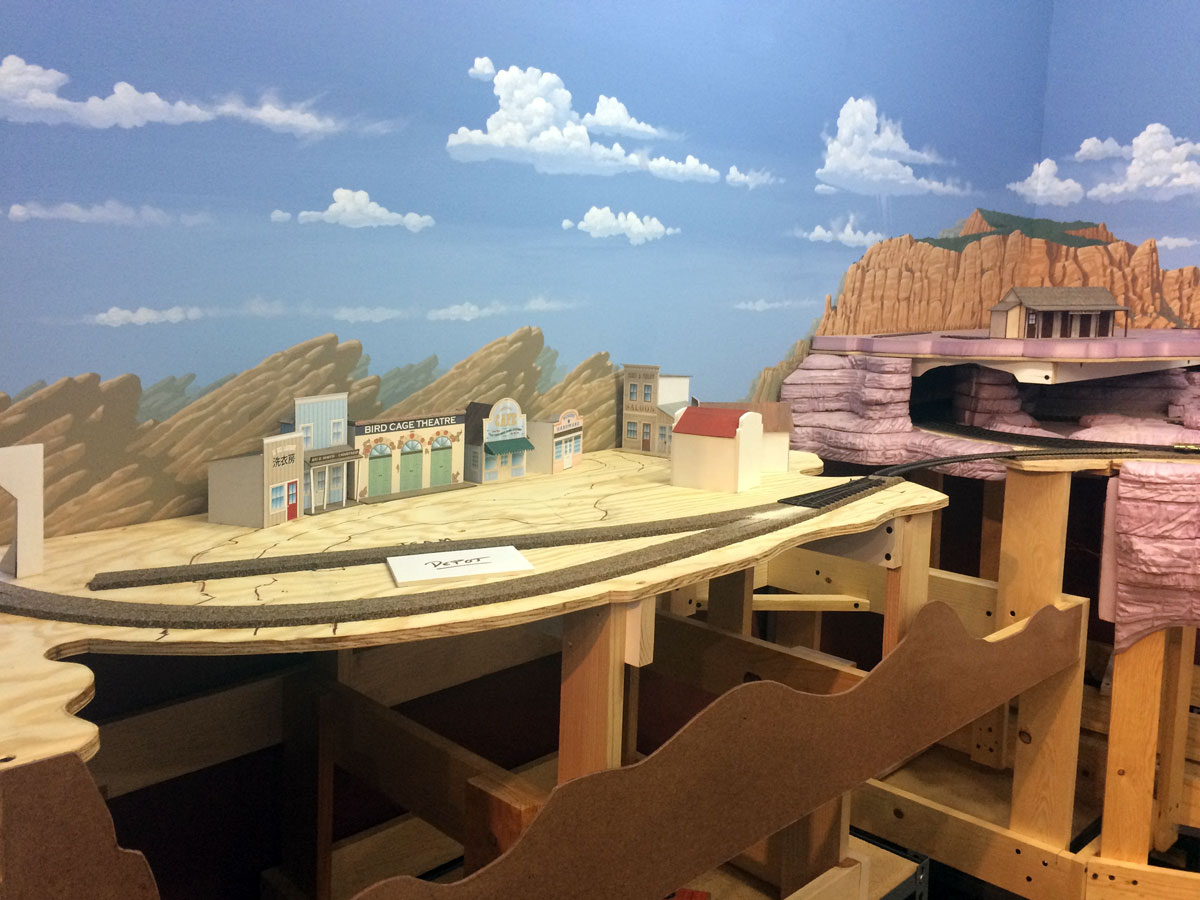
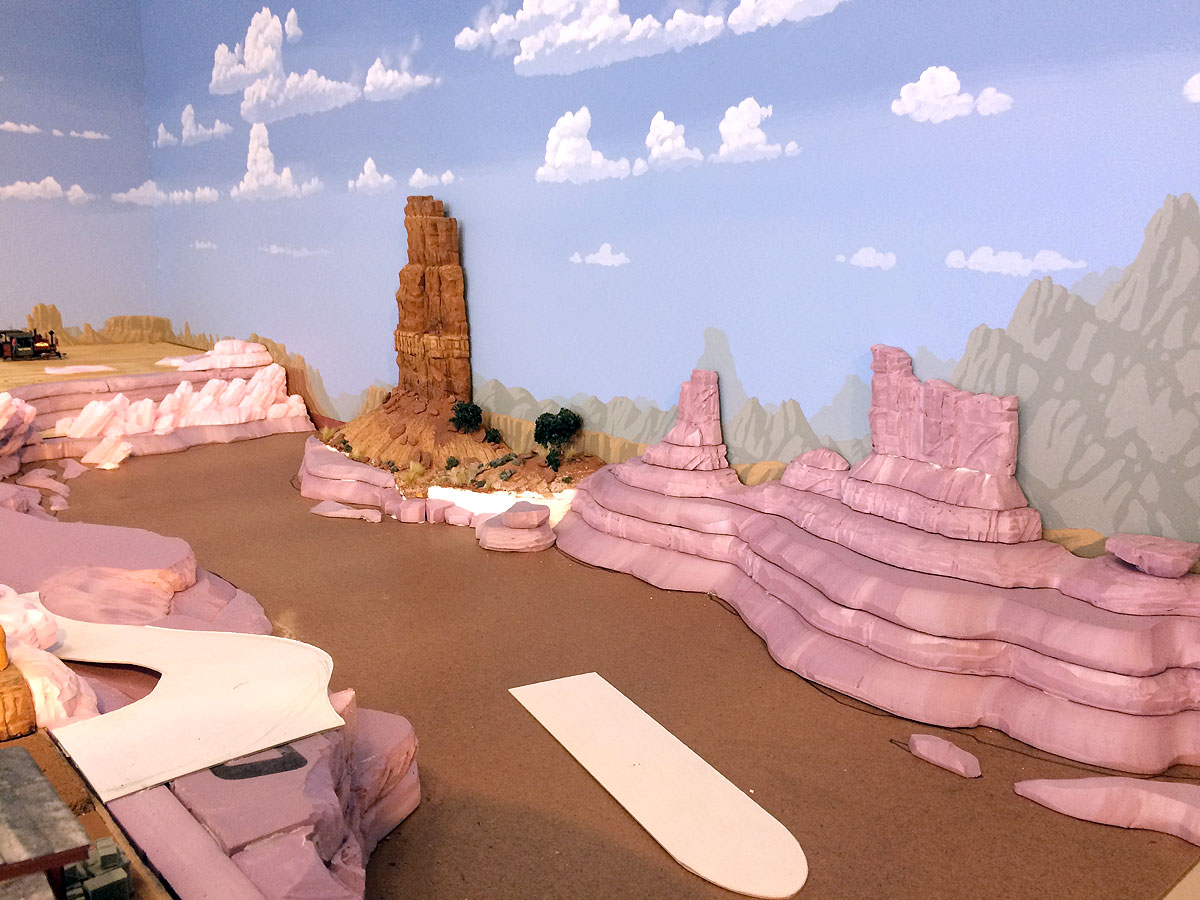
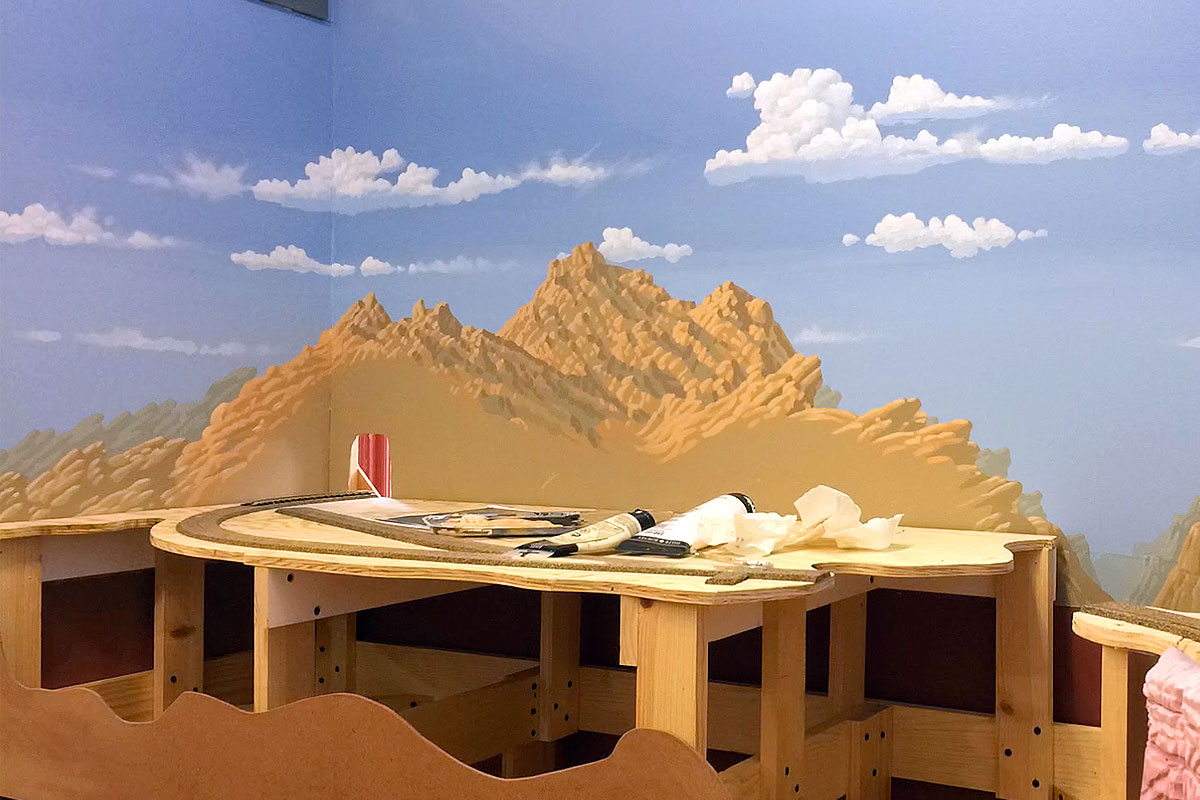
When I originally painted this section of the backdrop a few months ago, I really didn't have a clear idea about what to build in this new section of the layout. Once the decision was reached to relocate Calico town there, I knew that the backdrop would need to be altered to fit the scene. I started by studying photos of the mountains around Calico, and then lightly sketching in a rocky profile with pencil. Fortunately, I still had a lot of paint left over in several shades that were specially mixed for the backdrop and I blocked in the basic shapes with a medium brown tone.

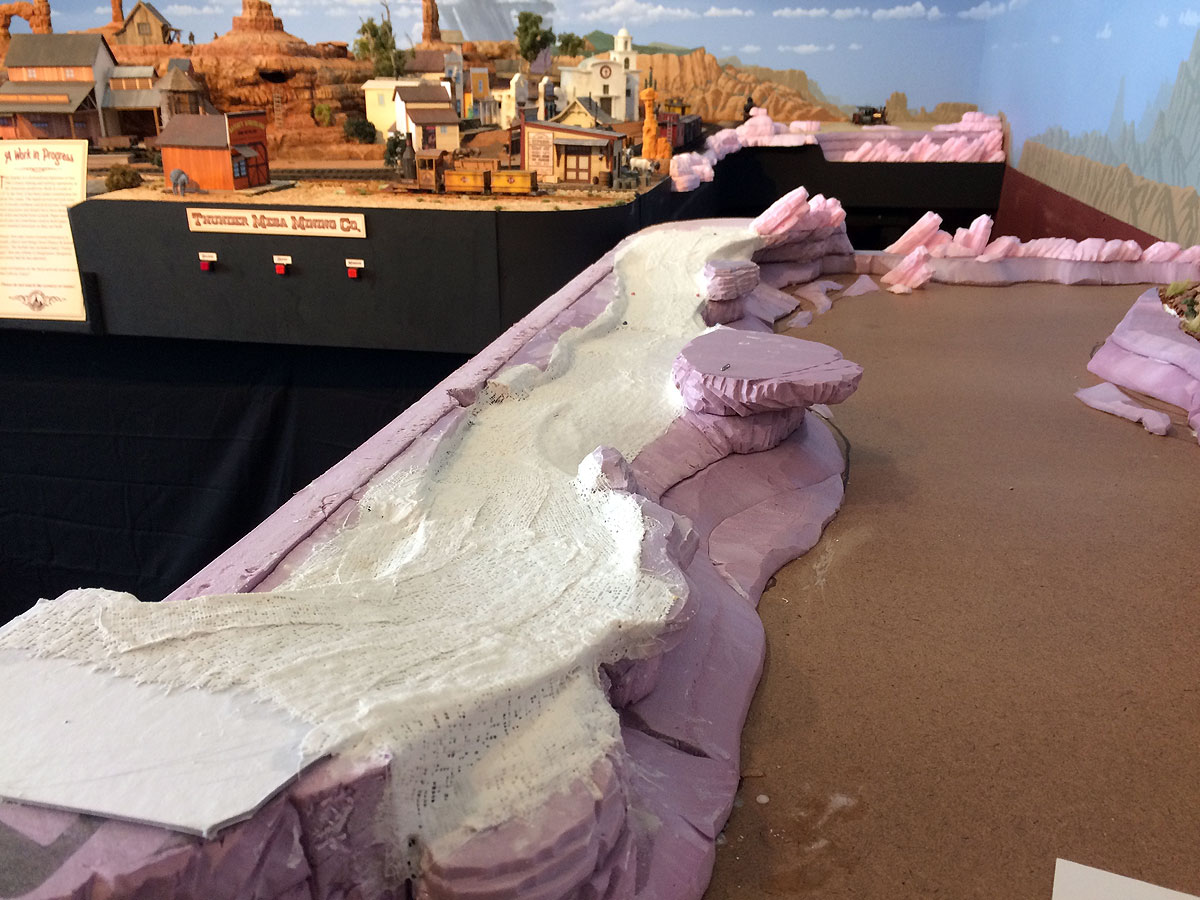
The next step was to start defining the shapes a bit with a slightly darker shadow color. That was then followed by a lighter, more saturated color on the areas where sun would be hitting the rocks. When working with acrylic or, in this case, latex paints, I've found that it's best to start with medium values and then work darker and lighter from there, saving the highlights and darkest shadows for the final steps.

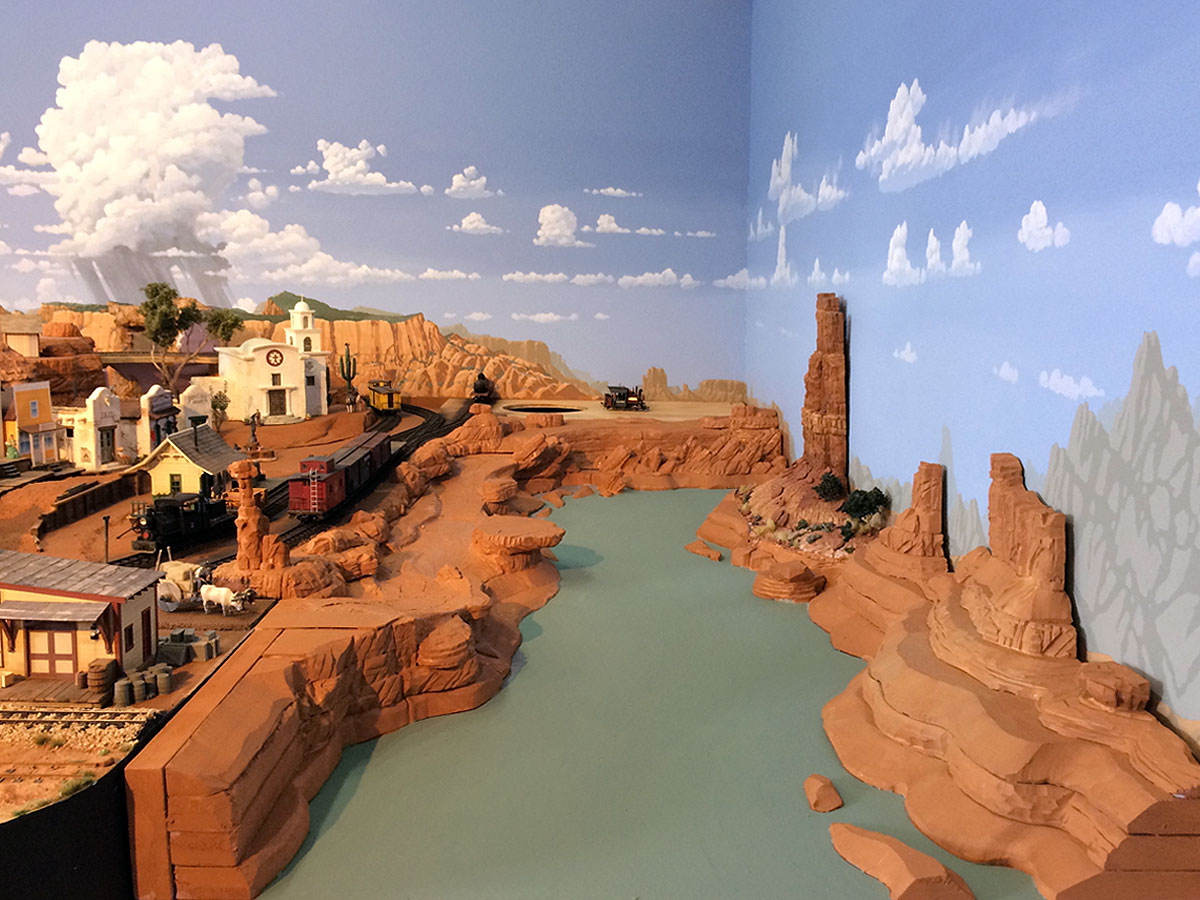
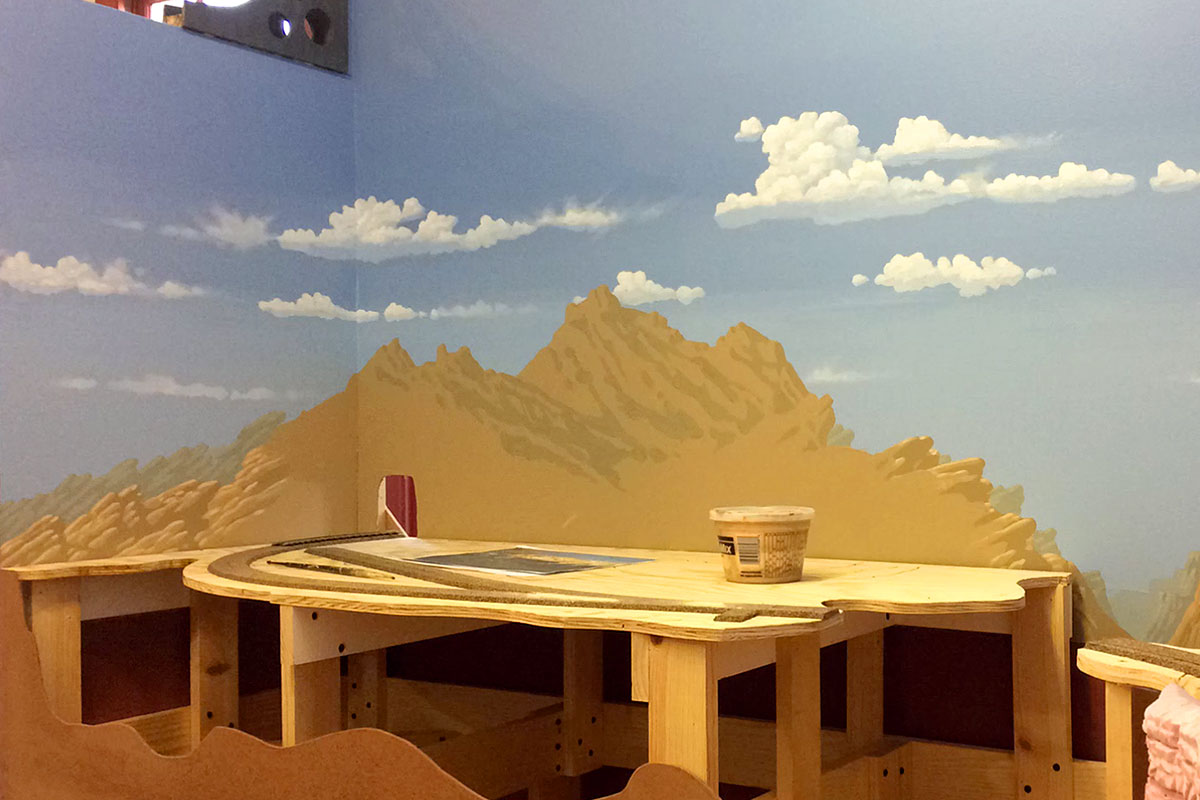
Then it was just a matter of building on these medium tones with lighter and darker shades to give definition to areas of sunlight and shadow. Again, most of the colors used were already pre-mixed from the earlier backdrop painting and I highly recommend this approach. My practice is to experiment and then mix up small amounts of the colors I'll need with artist's acrylics. These colors are then painted on to small, 2x2" pieces of white cardstock, and labeled on the back with names like "medium sandstone," "red sandstone," "dark shadow," etc. Then I take these cards down to my local home center and have the colors matched and mixed up by the quart as interior flat latex. This system ensures that I always have color samples at hand, and that one section of the backdrop will always match (and not clash with) another section, even if they are painted several months apart.

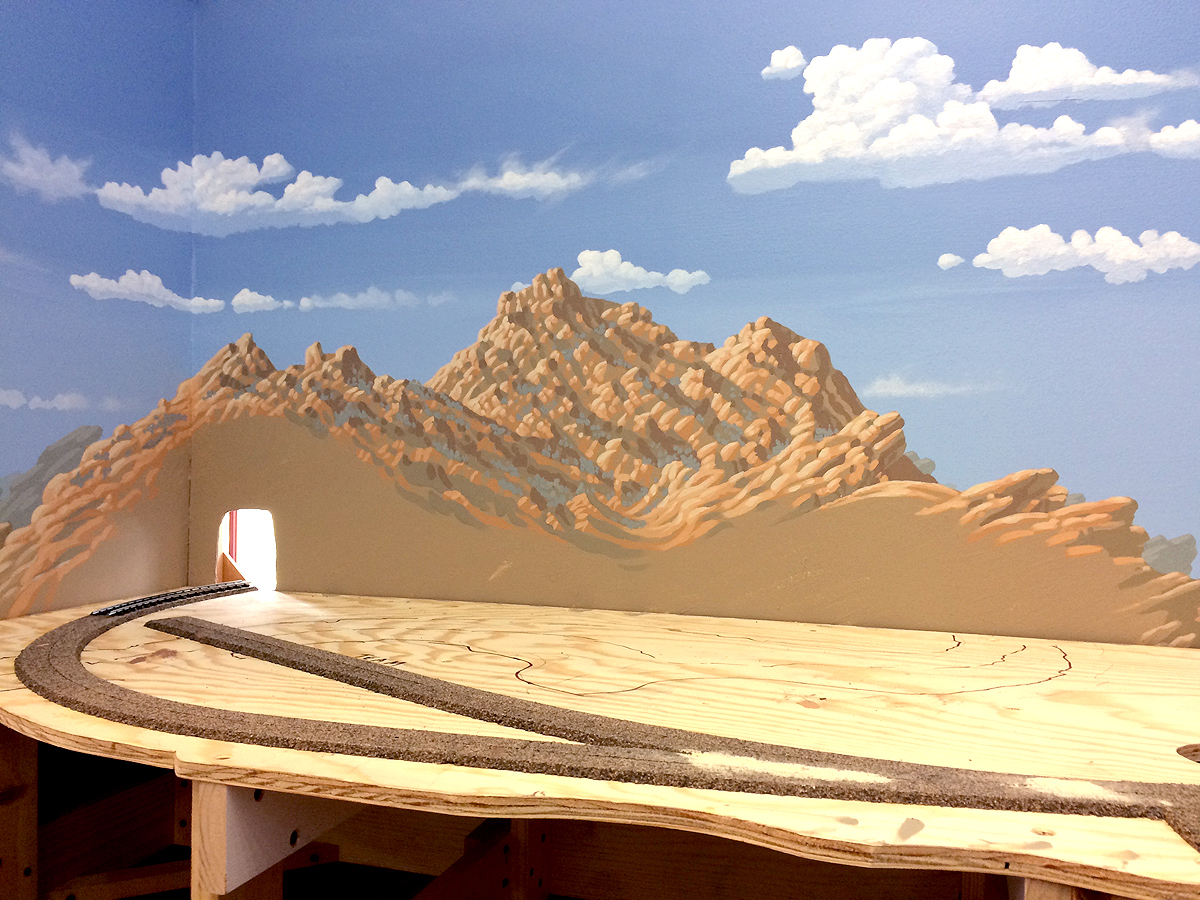
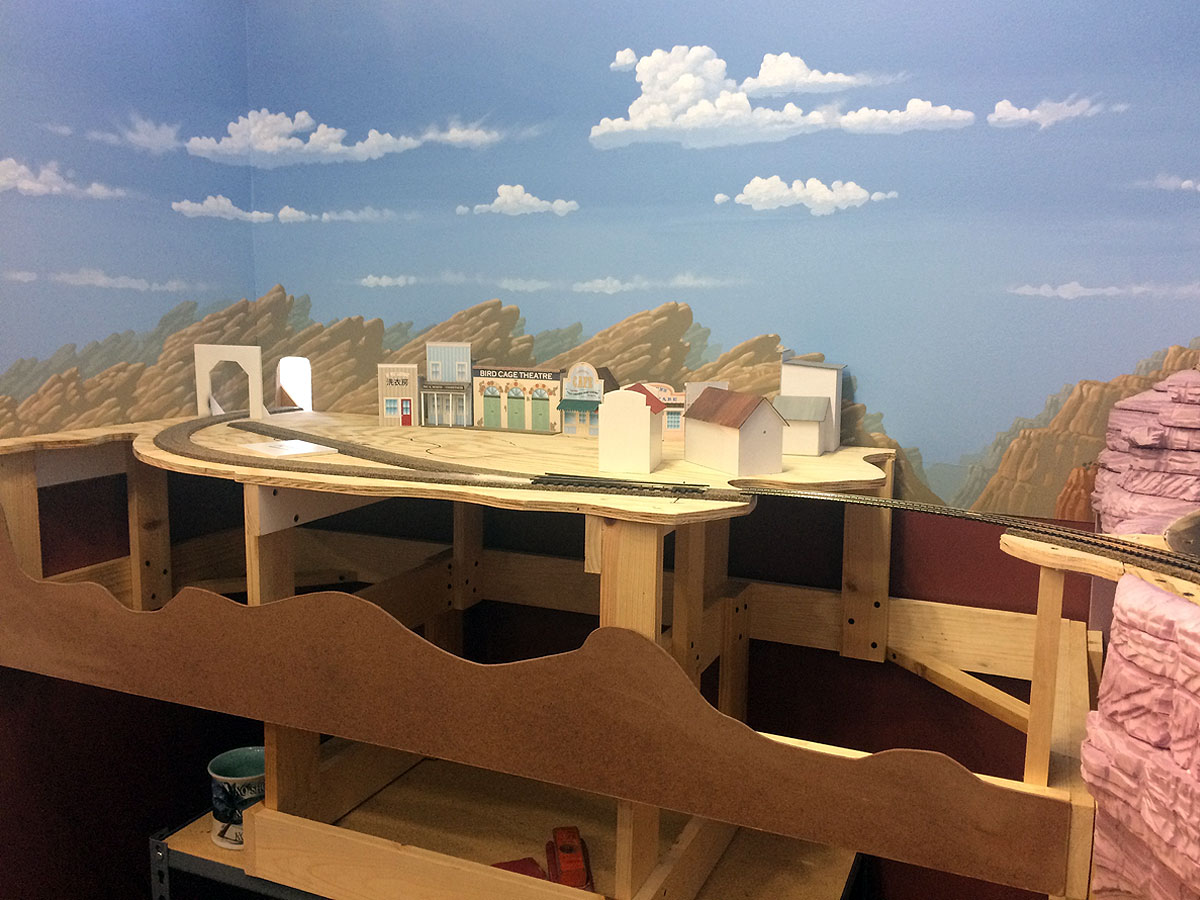
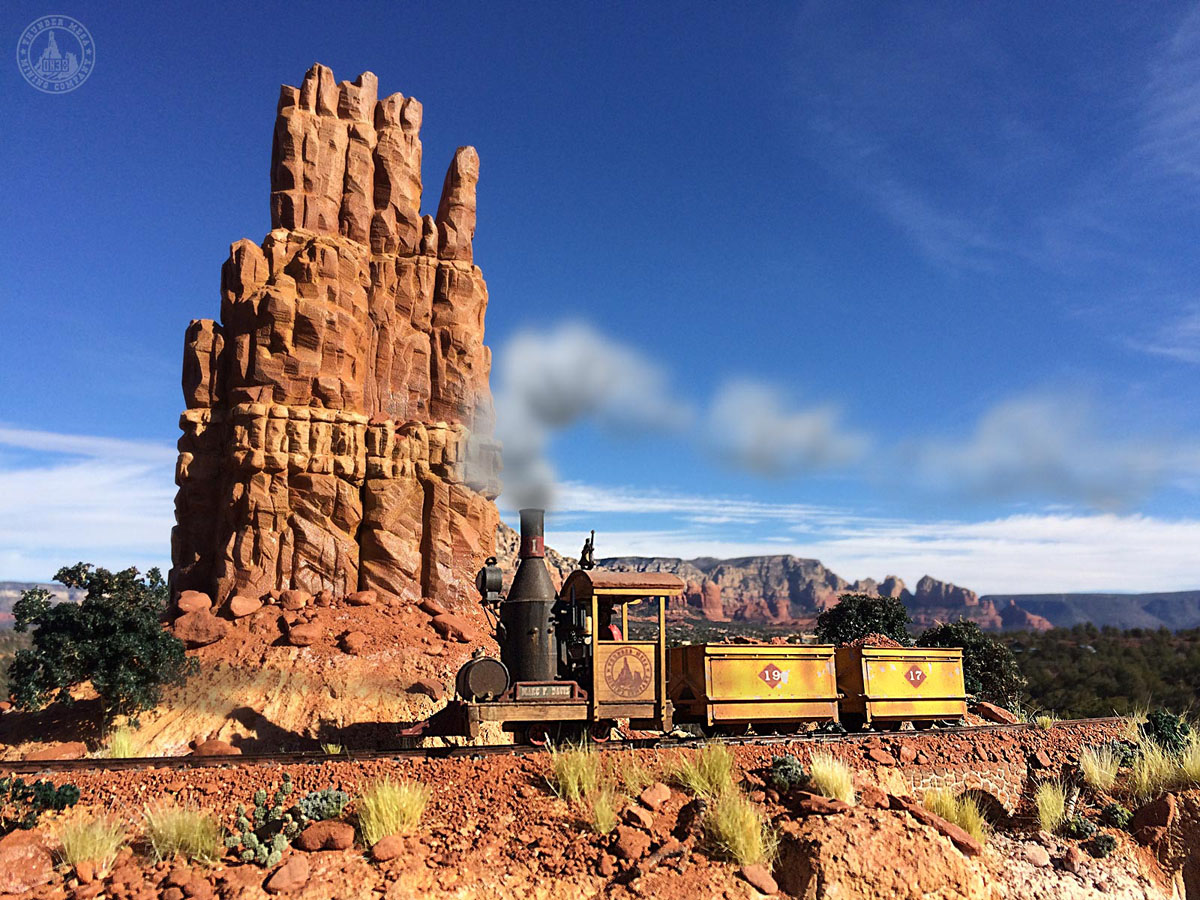
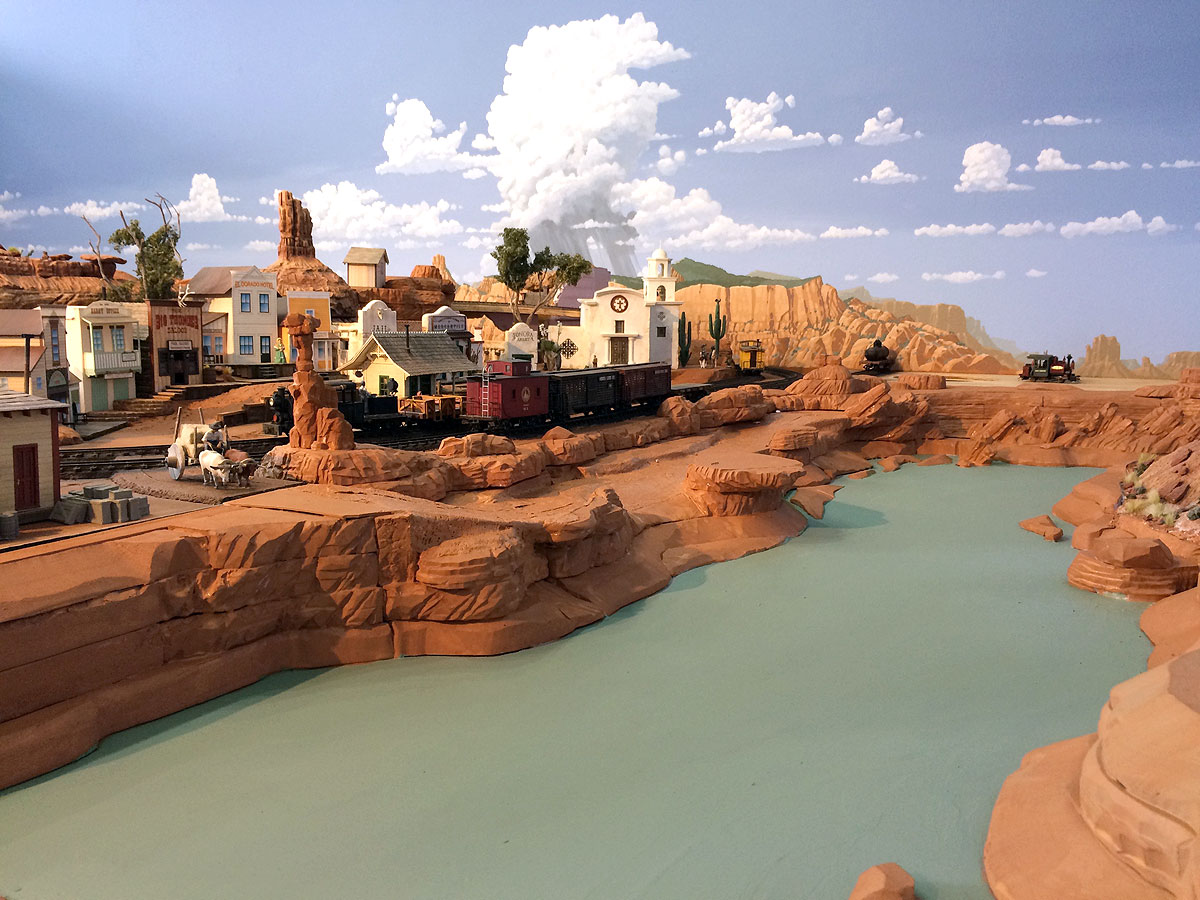
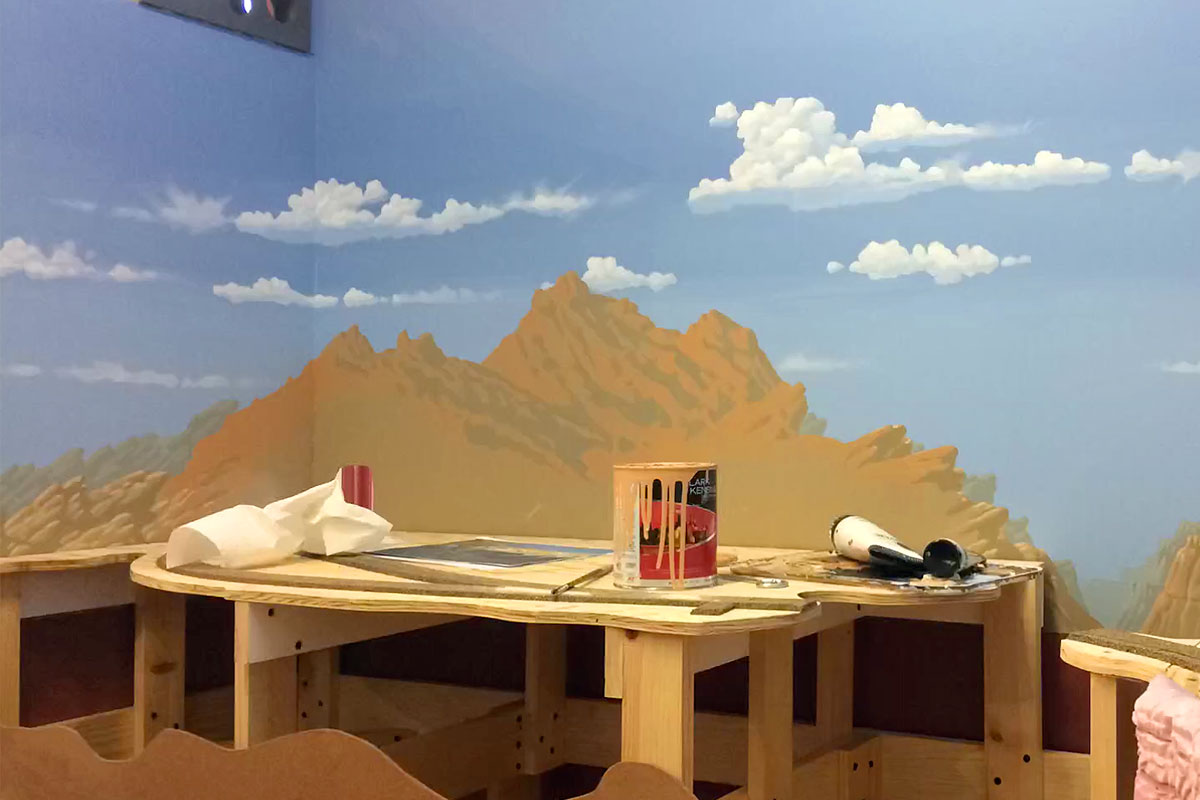
The final step was to bring the entire scene up to the same level of finish as other parts of the backdrop. This is when the final, lightest highlights are added and small details like trees and bushes are painted in. Obviously, I don't go for photo-realism on the backdrop, just a believable scene that will blend with and compliment the 3-d foreground scenery to come. The challenge here at Calico was to convey the rugged, Mojave Desert feel of the mountains there, while still matching the colors and character of earlier sections of the backdrop. I hope I pulled it off.

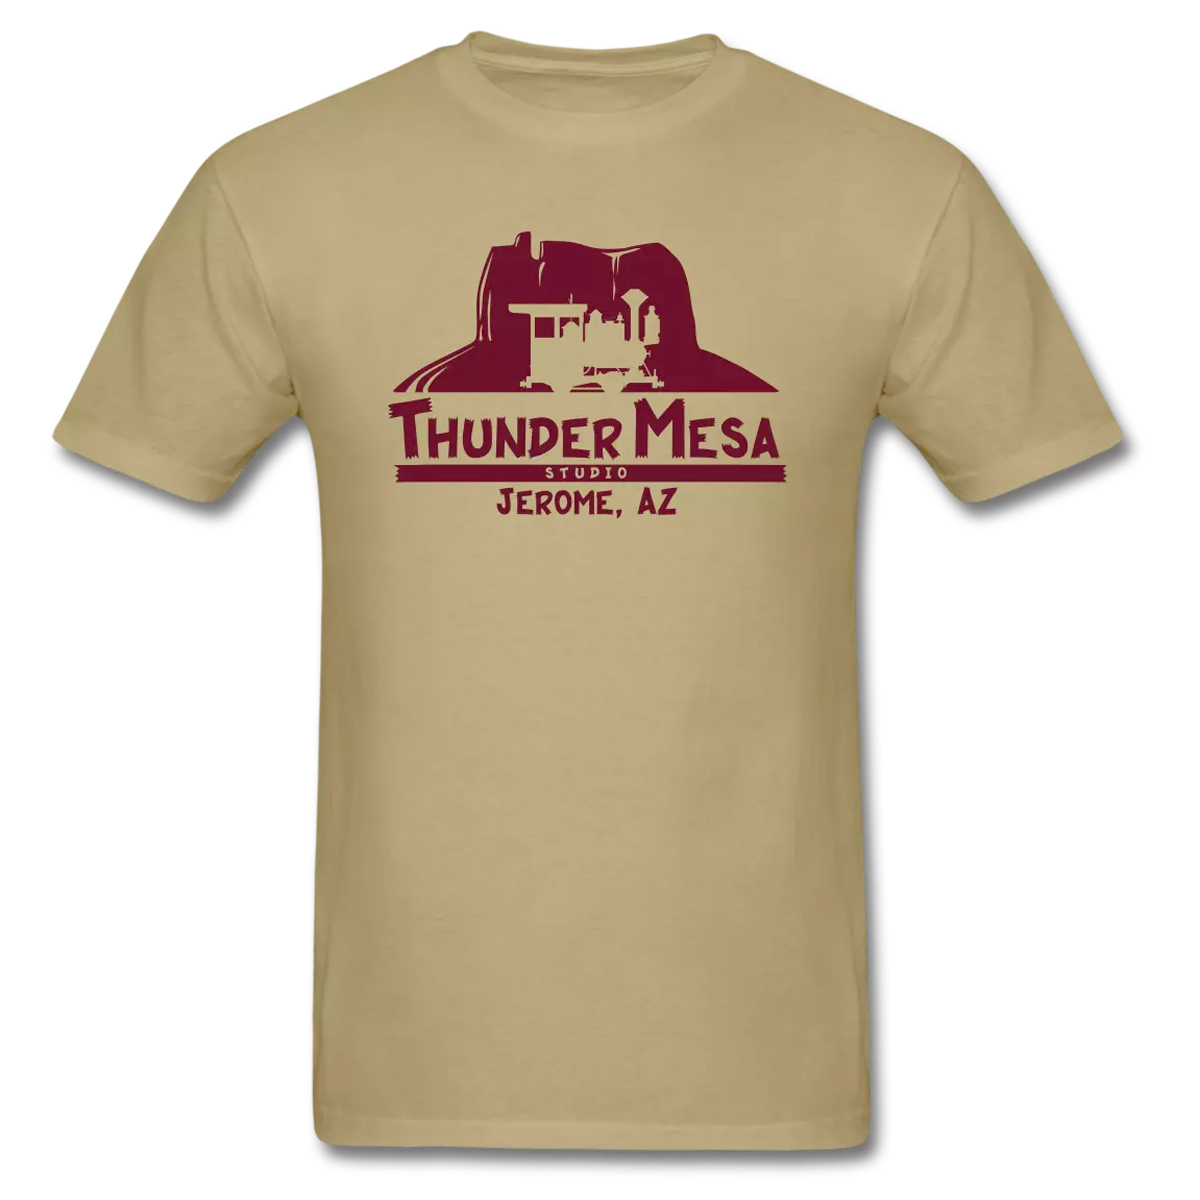
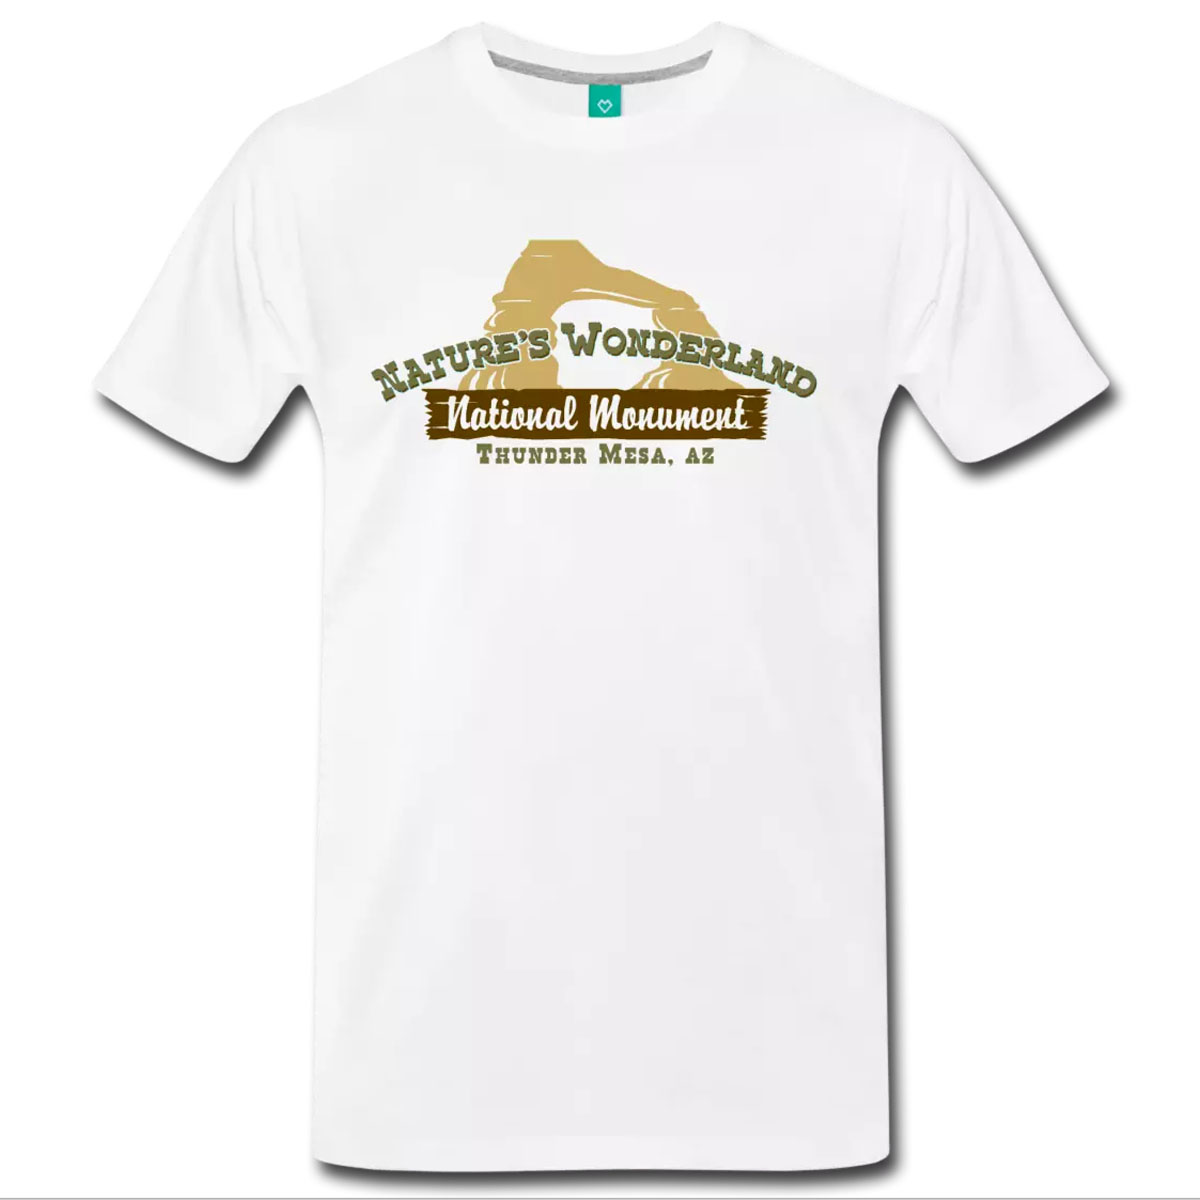
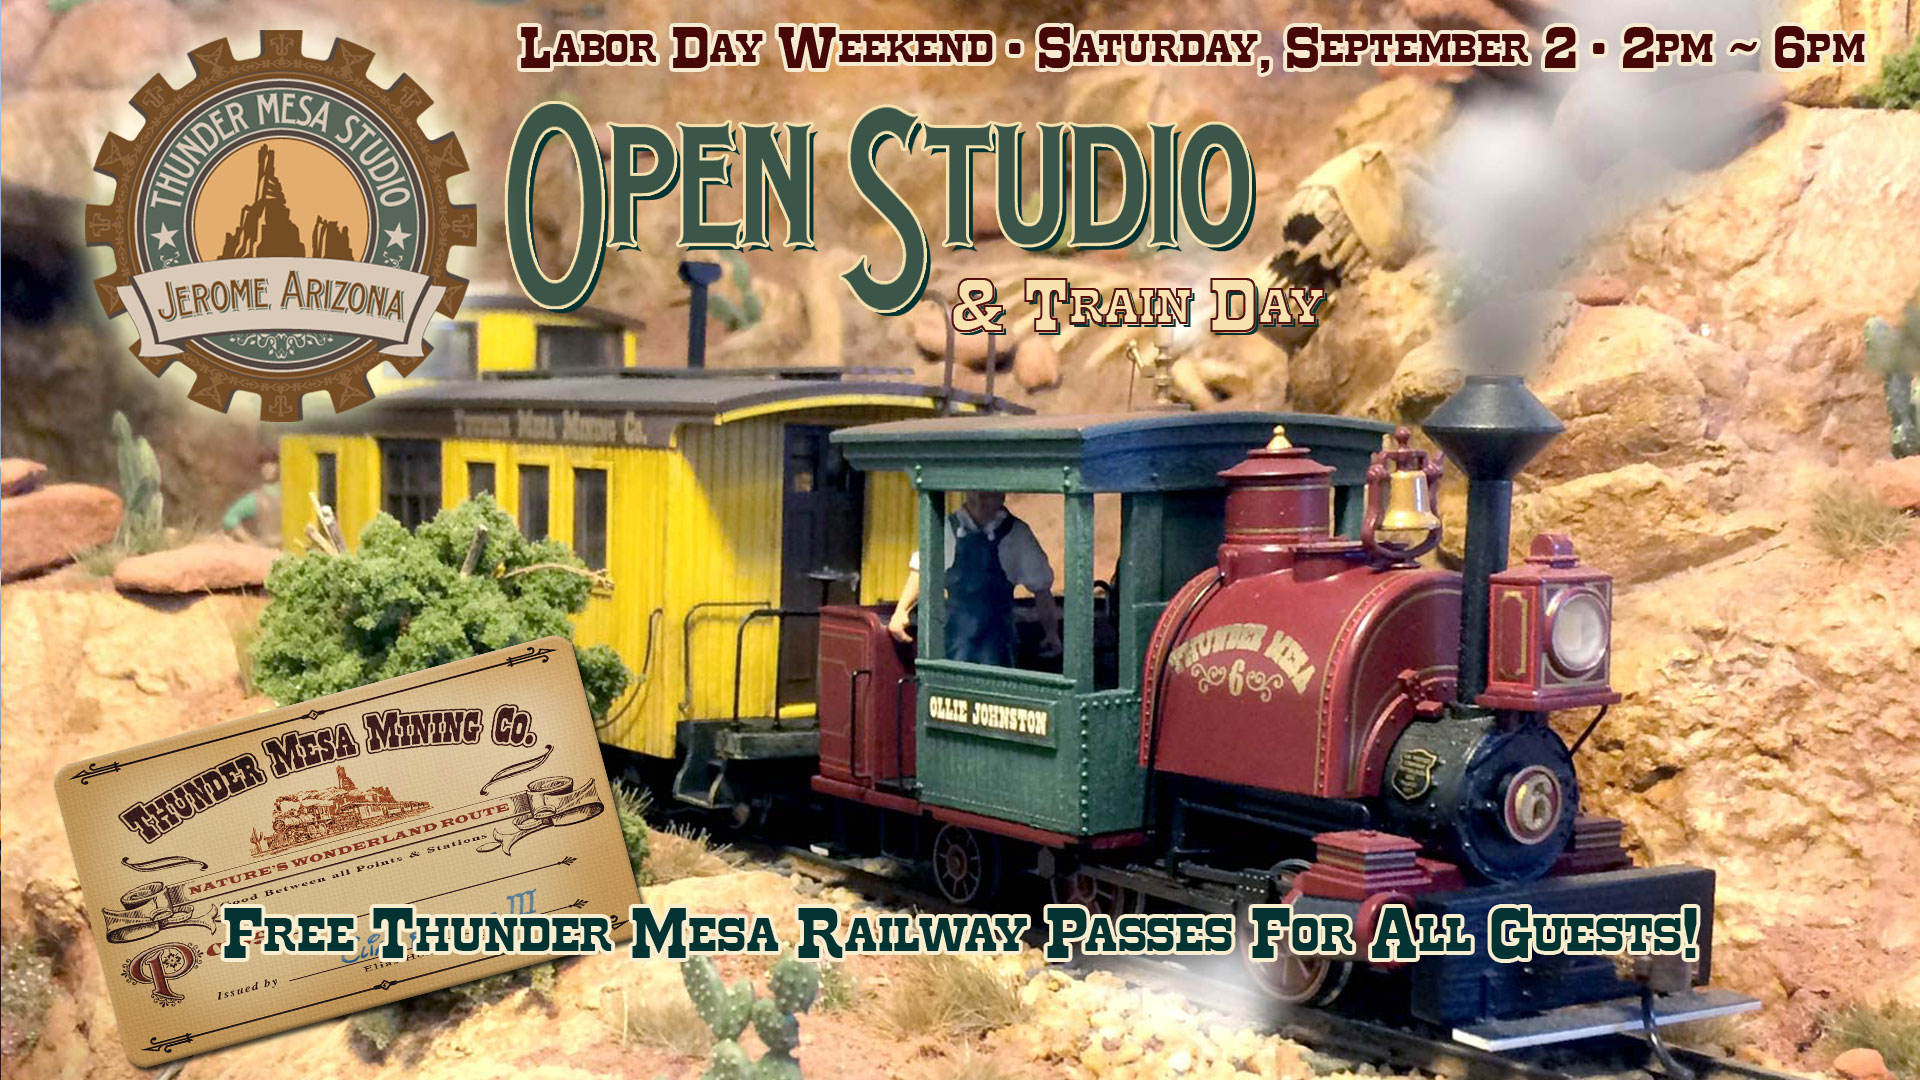
That's going to wrap it up for this week. Just a quick reminder that next Saturday, September 2, is the next Open Studio & Train Day at Thunder Mesa Studio and I hope to see some of you there. Also, a big thank you to those who have taken advantage of the 15% off coupon and free shipping going on now through August 31 at the Thunder Mesa Spreadshirt shop. The coupon code is: EAAIZSF9

Thanks for checking in, amigos. Adios for now!

An Update on Calico and This Week’s Video Log

Studio Update - Aug 19, 2017

Progress in Calico Town

It's been a busy week at Thunder Mesa Studio with the new Calico town section well underway. After taking precise measurements at the studio, plans were drawn up for the new 22x56" module and for the future 8' long staging yard to be built behind the backdrop and above my workbench. Click on this week's video log above to see some of the work being done on Calico town.

I built the module in my garage workshop, using dimensional kiln dried stock with a 1/2" thick plywood deck. It's my usual "box and stilts" method of construction, with 1x3 risers supporting the plywood sub-roadbed above a square and sturdy box built of 1x4's. It's strong and relatively lightweight; the same formula that has served me well on multiple layouts over the years, and remains the favored method of benchwork construction on the TMMC.

Installation up at the studio was relatively quick and easy, with everything fitting and lining up with the existing layout just the way it was supposed to. What can I say? I get lucky sometimes. The module is supported by a base built from 1x4's that sits atop some sturdy metal shop shelves. I built a little wiggle room into the base allowing the module to be adjusted to sit level and flush with the deck of the neighboring Canyon Section. The most challenging aspect was building a short piece of new roadbed on the existing layout to connect with the new module. Like most of the layout, track height in this new module will be about 52" above the floor.

When viewed from across the aisle, I want an unbroken vista of canyon scenery so I took particular care in planning the height and placement of the fascia. After testing sight lines, the fascia was cut from 1/8" thick Masonite and glued in place with a pro-grade construction adhesive.

With the module firmly in place, I turned my attention to cutting a "mouse hole" through the Masonite backdrop. This hole will allow trains to enter the layout from a new staging yard to be built "backstage" above my workbench. I used a spade bit in my drill, a small electric saw, utility knife and other hand tool to cut the hole, making sure that there was plenty of clearance allowed for trains to pass without getting hung up. A tunnel portal and some rocky scenery will be built to hide the opening on the layout side, while a simple, black-painted box will block the light and views from backstage on the staging yard side.

The final project I had time for this week was gluing down some HO scale Midwest cork roadbed for the tracks to ride on. Yellow carpenter's glue and a large helping of thumbtacks were used to get this done. Once the glue dried, a sanding block was used to make everything nice and smooth for track laying.

My plan for the town of Calico is for something like a cross between Knott's Berry Farm's Ghost Town, and the real, restored ghost town of Calico that's out near Barstow, CA. There will be some structures inspired by both locations, but unlike Knott's, my Calico town will be built up the side of a hill to add some visual interest to the scene. For now, I've mocked up the town with a few paper model structures to get a feel for how things will come together. The scenery here will evoke a strong Mojave Desert vibe, distinguishing it from the red sandstone, Colorado Plateau look on the Thunder Mesa side of the layout. I'll probably also tweak the backdrop painting here a bit to look more like the rugged scenery around the real town of Calico.

Next up will be extending the DCC electrical bus to the new layout sections and then laying some track. I'll probably get the track laid through Calico and make a good start on the scenery before diving into the staging yard - mostly because I haven't quite figured out how its going to be supported yet. Then there are all of the other ongoing projects like the Thunder Mesa Riverfront, the big canyon section, Calico Mountain On18 mini-layout, Balancing Rock Canyon, Hanging Rock, and the still unfinished portions of Rainbow Caverns. All in all, enough to keep me busy for quite awhile!

Don't forget to save the date for Thunder Mesa's next Open Studio & Train Day, coming up on Labor Day weekend, Saturday, September 2 from 2pm to 6pm. That's going to wrap it up for this week, amigos. Adios for now!

Open Studio & Train Day – Saturday, Sep 2

Join us this Labor Day Weekend for a fun time at Thunder Mesa Studio in Jerome, AZ. See what’s new on the Thunder Mesa Mining Company, an operating 1/4″ scale narrow gauge model railroad featuring spectacular scenery, lights, animation, and sound. Meet local artist D.L. Meek and see what’s new on his drawing board. Stick around after 5pm for the 1st Saturday Jerome Art Walk. Free popcorn and Thunder Mesa railway passes for all guests!

Free parking at the venue and free shuttle bus service to and from downtown Jerome from 5pm to 8pm.

See the Events Page for complete details.

A Visit to Thunder Mesa Studio

Today's blog is actually a vlog! A Thunder Mesa Studio Video Log to be precise. It's been quite awhile since I've done one of these and I decided to have some fun with it. Hope you enjoy!

Bonus video! Climb aboard Combine 101 for a Grand Circle Tour of the Thunder Mesa layout as the daily mixed train makes its rounds.

Lone Rock Moves to the Thunder Mesa Riverfront

TMMC Update - August 5, 2017

The 12x24" Lone Rock Diorama was built in January of 2015 to demonstrate scenery techniques and to act as a platform for photographing rolling stock models outdoors. It appeared in Joey Ricard's Trackside Scenery video on how to realistically model rocks, and in Verne Niner's cover shot for the April, 2015 issue of Model Railroader Hobbyist Magazine. That's a fairly illustrious history, but since moving the TMMC to its new home in Jerome, the old diorama has been sitting in a corner just gathering dust. After exploring several different scenarios for working it into the larger layout, I finally decided to remove its short stretch of On30 track and add the remainder of the diorama to the new riverfront scene.

1

The Lone Rock Diorama was never designed to function and the track had no power. It was built mainly to demonstrate rock carving techniques in urethane foam. It was a fun, quick project, and I'm very happy with the way it turned out. But it's time to move on and recycle this chunk of scenery into the larger layout.

2

With the decision made, disassembly of the diorama was quick and relatively painless. I popped the foam off of the 1x2" base, removed the track and roadbed, pried out the short stone bridge (to be reused at a new location), and then used a hotwire tool to cut away the parts that wouldn't fit the river scene. All in all, I was able to salvage about 90% of it.

3

From most viewing angles, Lone Rock will now obscure the point where the river meets the backdrop, giving the illusion that it disappears around a bend in the canyon. Once it was glued into position with Loctite Powergrab, I cut and contoured pieces of pink EPF foam to blend it with the rest of the riverbank.

4

With the butte in place, I turned my attention back to the near bank and finished roughing in the road with foam, cradstock and plaster cloth. I don't use a lot of plaster on the layout, but plaster cloth is perfect for creating the contours of a dirt road like this and blending it with the foam.

5

Ordinarily, the next step would be to blend the carved foam layers together with Sculptamold. However since I'm expecting guests for today's Open Studio & Train Day, I decided to go ahead and give the riverbed and rocky shoreline a base coat of latex paint. Much of this will be covered in the next step but it gives things a more finished look for now.

6

The paint colors used were leftover from the backdrop and the final river color will be a bit different. In the meantime, I'm digging the photo opportunities that this new River Unit will present, and the miles and miles of depth it will add to scenes like this one.

Ok Amigos! That's going to do it for this week. Now I've got to head up and sweep the studio to prepare for today's Open Studio & Train Day event! I hope to see some of you there today, but if you can't make it, just remember that I do it just about every month on the first Saturday. Adios for now!